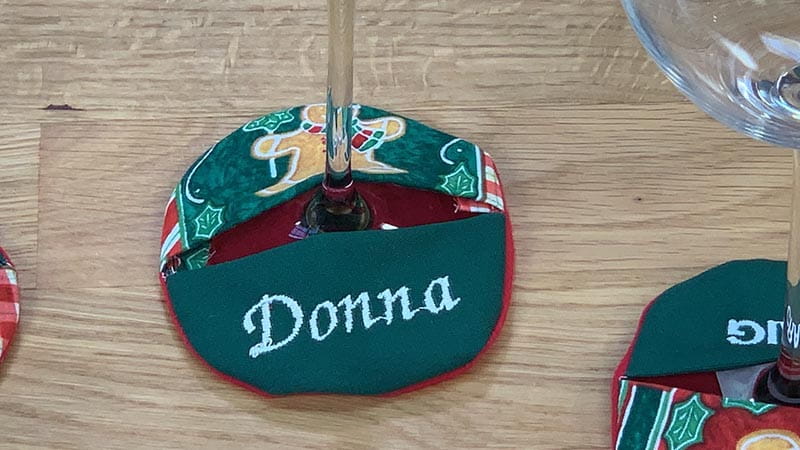
How to Create DIY Personalized Wine Glass Slippers
When you're at a party, it can be tough to keep track of your wine glass. You set it down to give your bestie a hug, and then the next thing you know the table is full of look-a-like wine glasses and you don’t know which one is yours! This is a quick and easy project to dress up your wine glass and personalize one for everyone at your party. It will help keep people from misplacing their drinks and is a fun DIY addition to your party décor. Are you ready to add some personalized fun to your next party? Let’s make these custom wine glass labels.

Supplies:
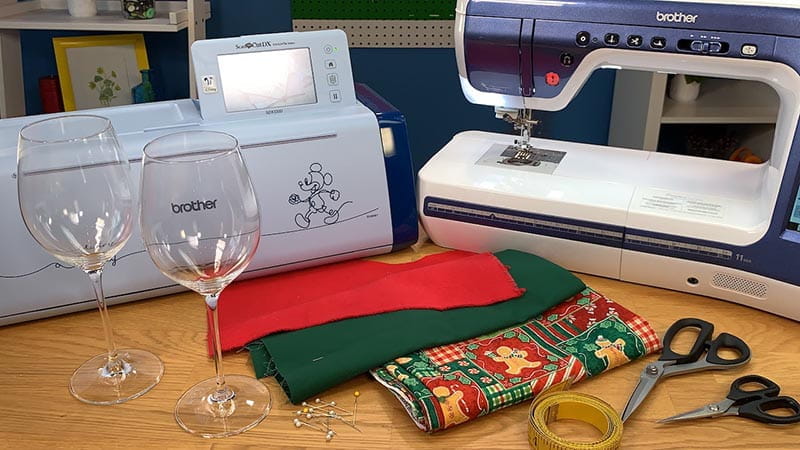
- Brother Sewning and Embroidery Machine
- Brother ScanNCut DX
- Brother Rotary Blade
- Brother Fabric Mat
- Two coordinating medium weight woven fabrics for the top of the slipper
- Felt or flannel for the base of the slipper
- Adhesive Tear-away Stabilizer
- Scissors
- Straight pins
- Sewing, embroidery, and bobbin thread
- Ruler or tape measure
Let's get started!
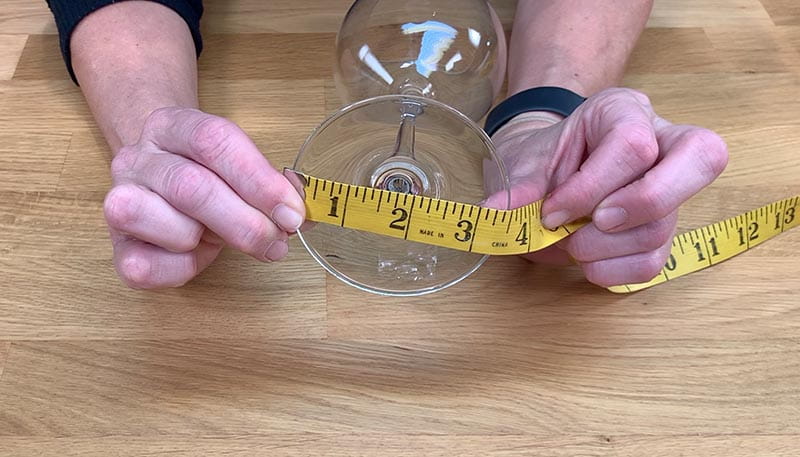
First, measure the foot of your wine glass.
On your ScanNCut DX, choose the circle pattern and adjust the size to equal the measurement of your wine glass foot.

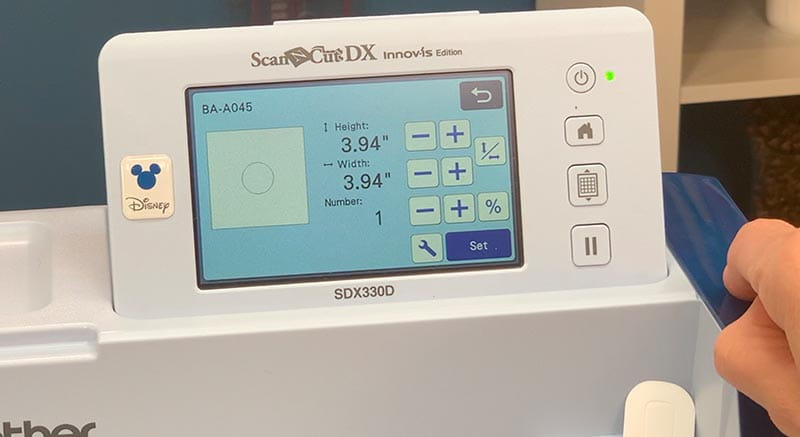
Add a 1/4- inch seam allowance using the preset option on your ScanNCut DX.

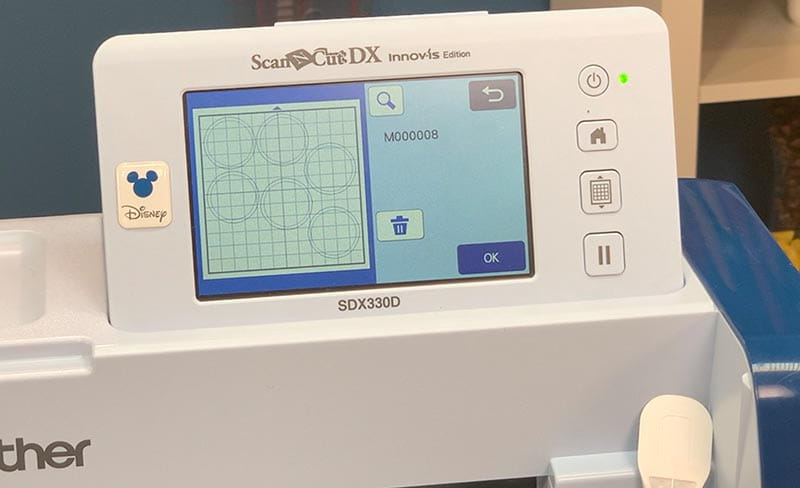
Once the circle is set, duplicate to add multiple circles to the design layout. You will need three circles for each wine glass slipper – one for each of the fabrics.
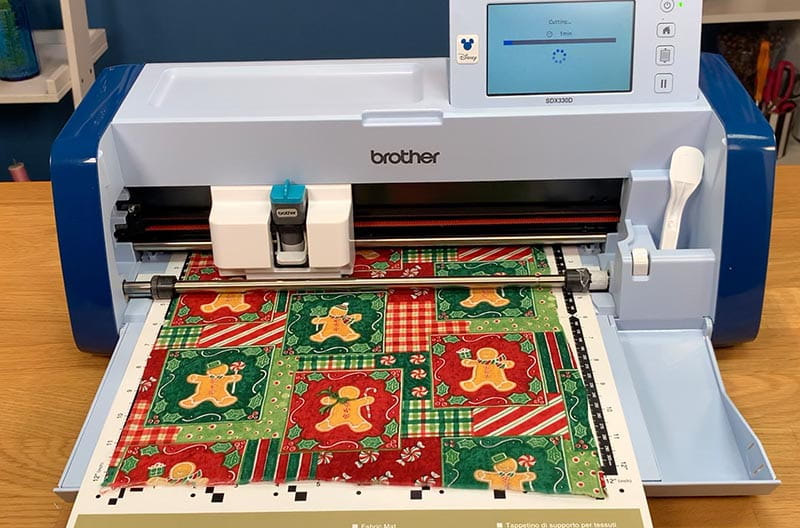
Insert the rotary auto blade into the ScanNCut DX machine. Then arrange the fabrics as desired on the fabric mat. Load the mat and cut the pieces. Repeat this step as many times as necessary until you have enough circles to complete the desired number of wine glass slippers.

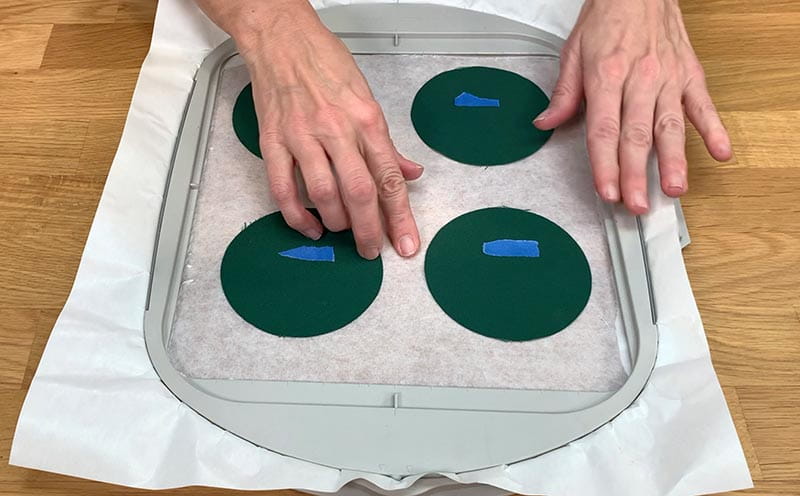
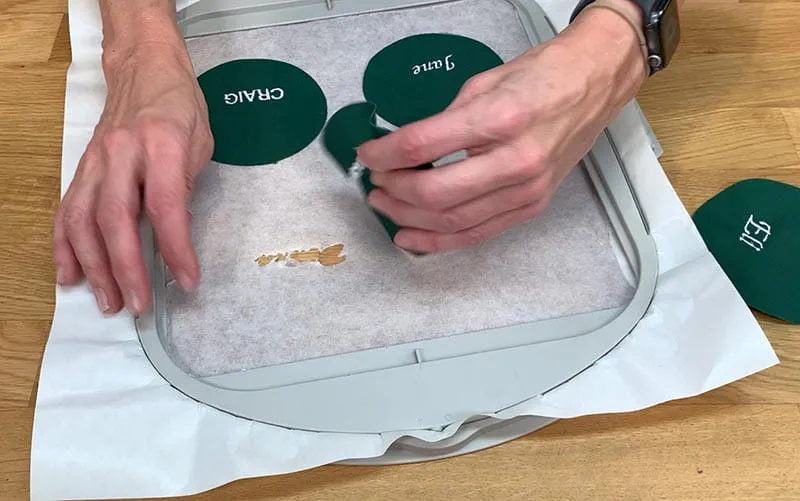
Prepare your embroidery hoop with adhesive stabilizer. Remove the release paper, then stick the circles you want to personalize on top of the stabilizer with the right side facing up. It is helpful to mark the center point for embroidery on the circles before adding them to the hoop. For this project, the embroidery should be positioned between the center fold and the bottom of the circle. Embroider names or sentiments.

Remove the circles from the stabilizer.
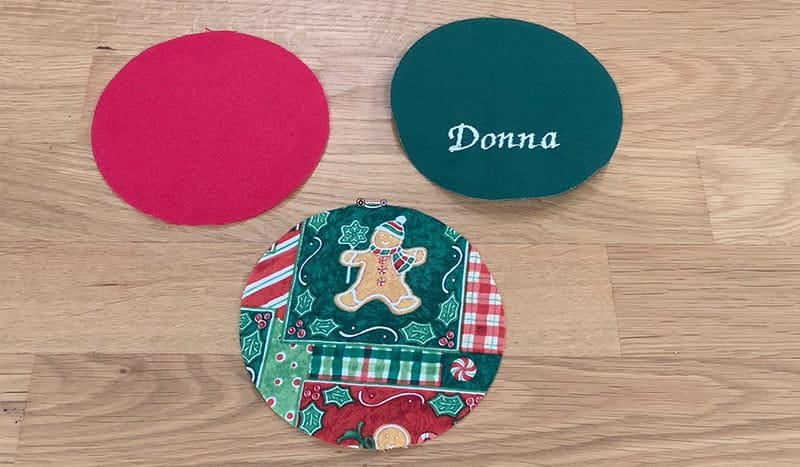
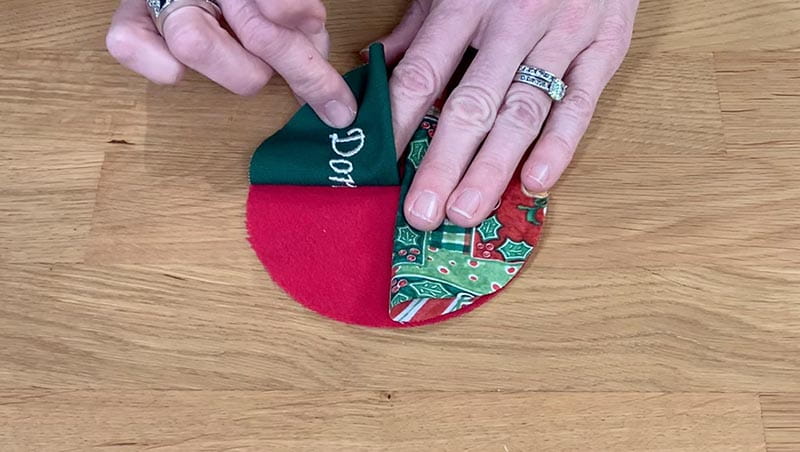
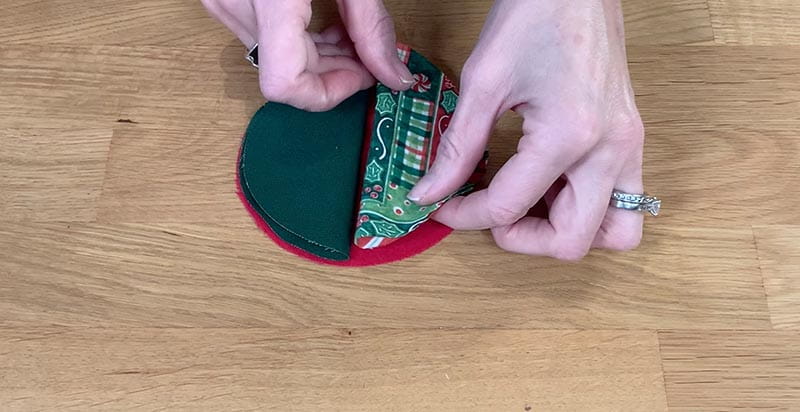
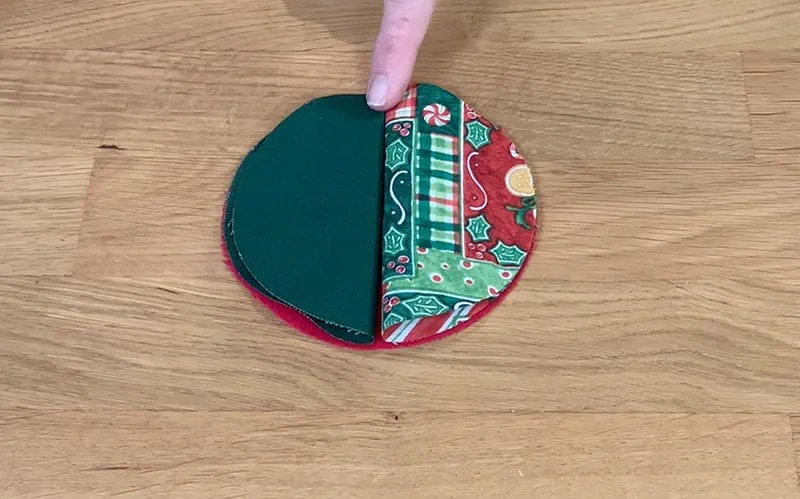
Sewing the pieces together is easy. Use 3 circles, lay the felt or flannel circle down as the base, fold the other two circles in half and place the circle with the name on it face down on top of the base. Add the other folded circle next to it so the folded edges meet in the middle.
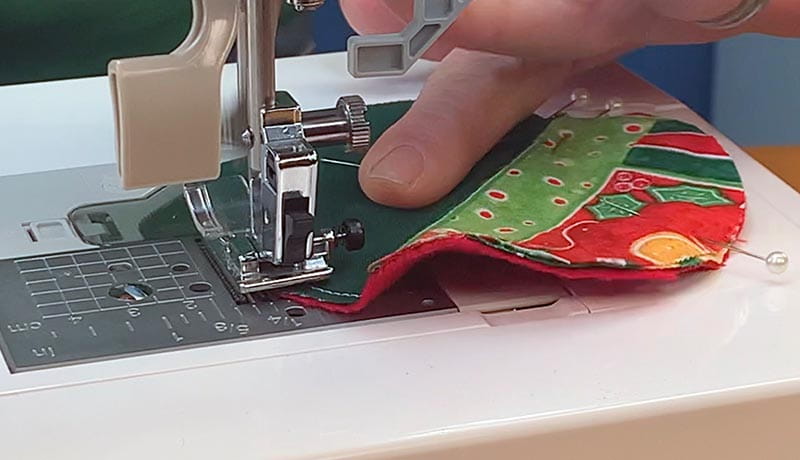
Sew around the outside edge with a 1/4-inch seam allowance.
Clip the seam allowance so the slipper lays flat when you turn it right side out. Be careful not to clip through the stitches.
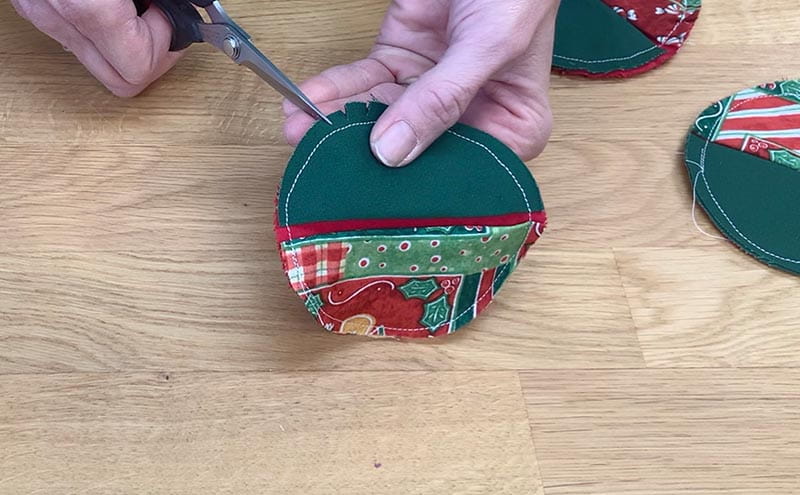
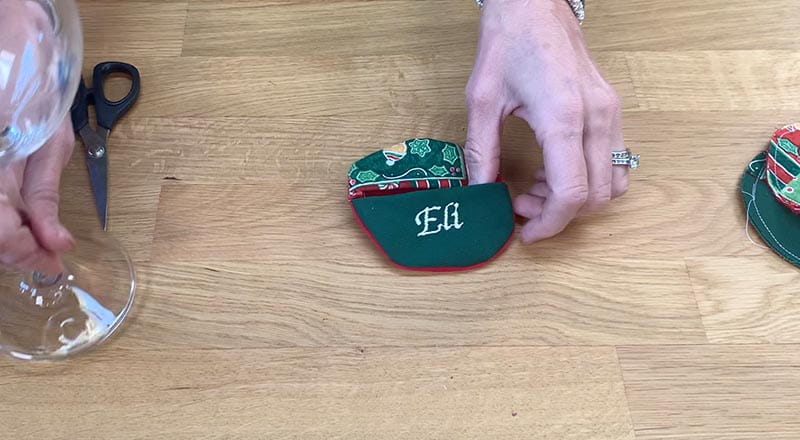
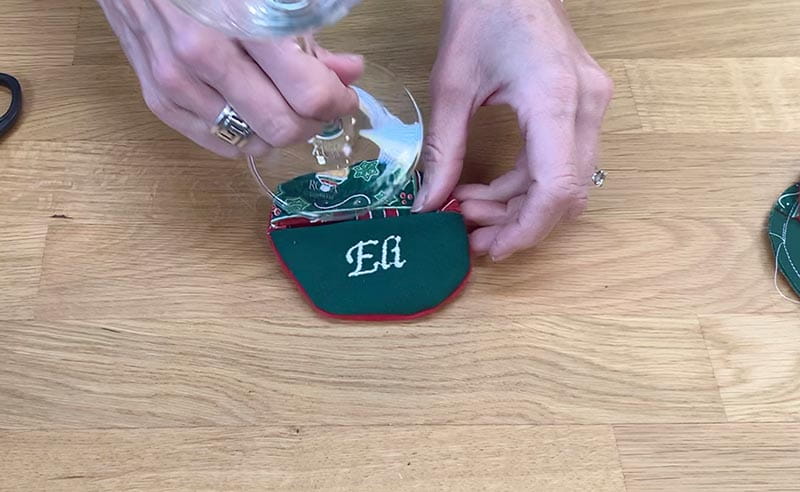
Turn the circle right side out and press lightly. Slip it on your wine glass.
Finish a wine glass slipper for everyone at your party plus a few extras and never mix up who’s glass is whose again.

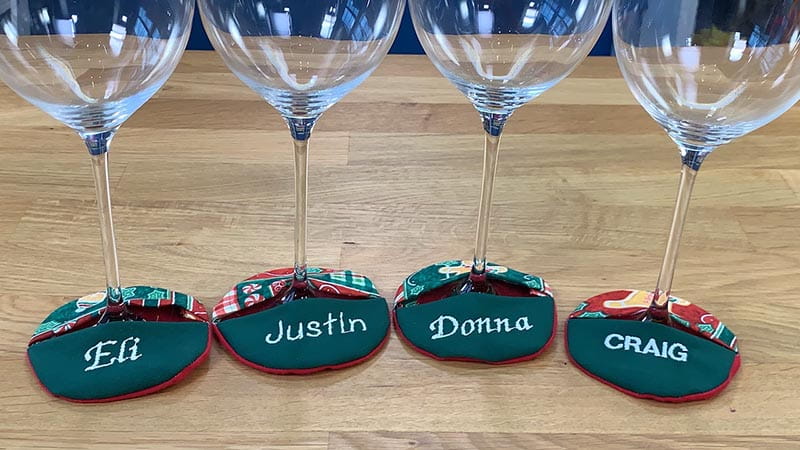
This is such a quick and easy project that everyone will love. These wine glass slippers also make a great companion to a hostess gift.
Tags
Shop this Project
No ScanNCut DX? No problem! Any products mentioned in this project are available, locate a dealer near you!
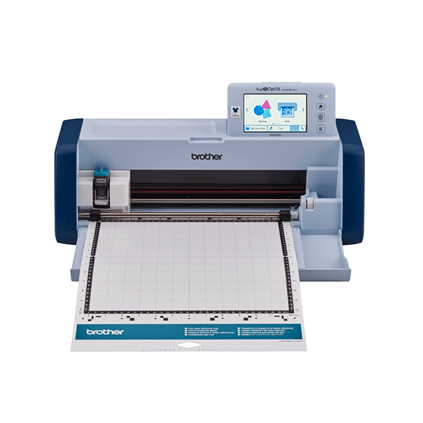
Brother SDX330D
- 182 built-in Disney Designs (Includes 30 Built In Applique!)
- Included Rotary Auto Blade Kit with 63 Design Activation Card!
- 140 Quilt patterns and 17 lettering fonts. Plus, 1283 additional built-in designs!
Related Projects
Stay Connected
* Required fields