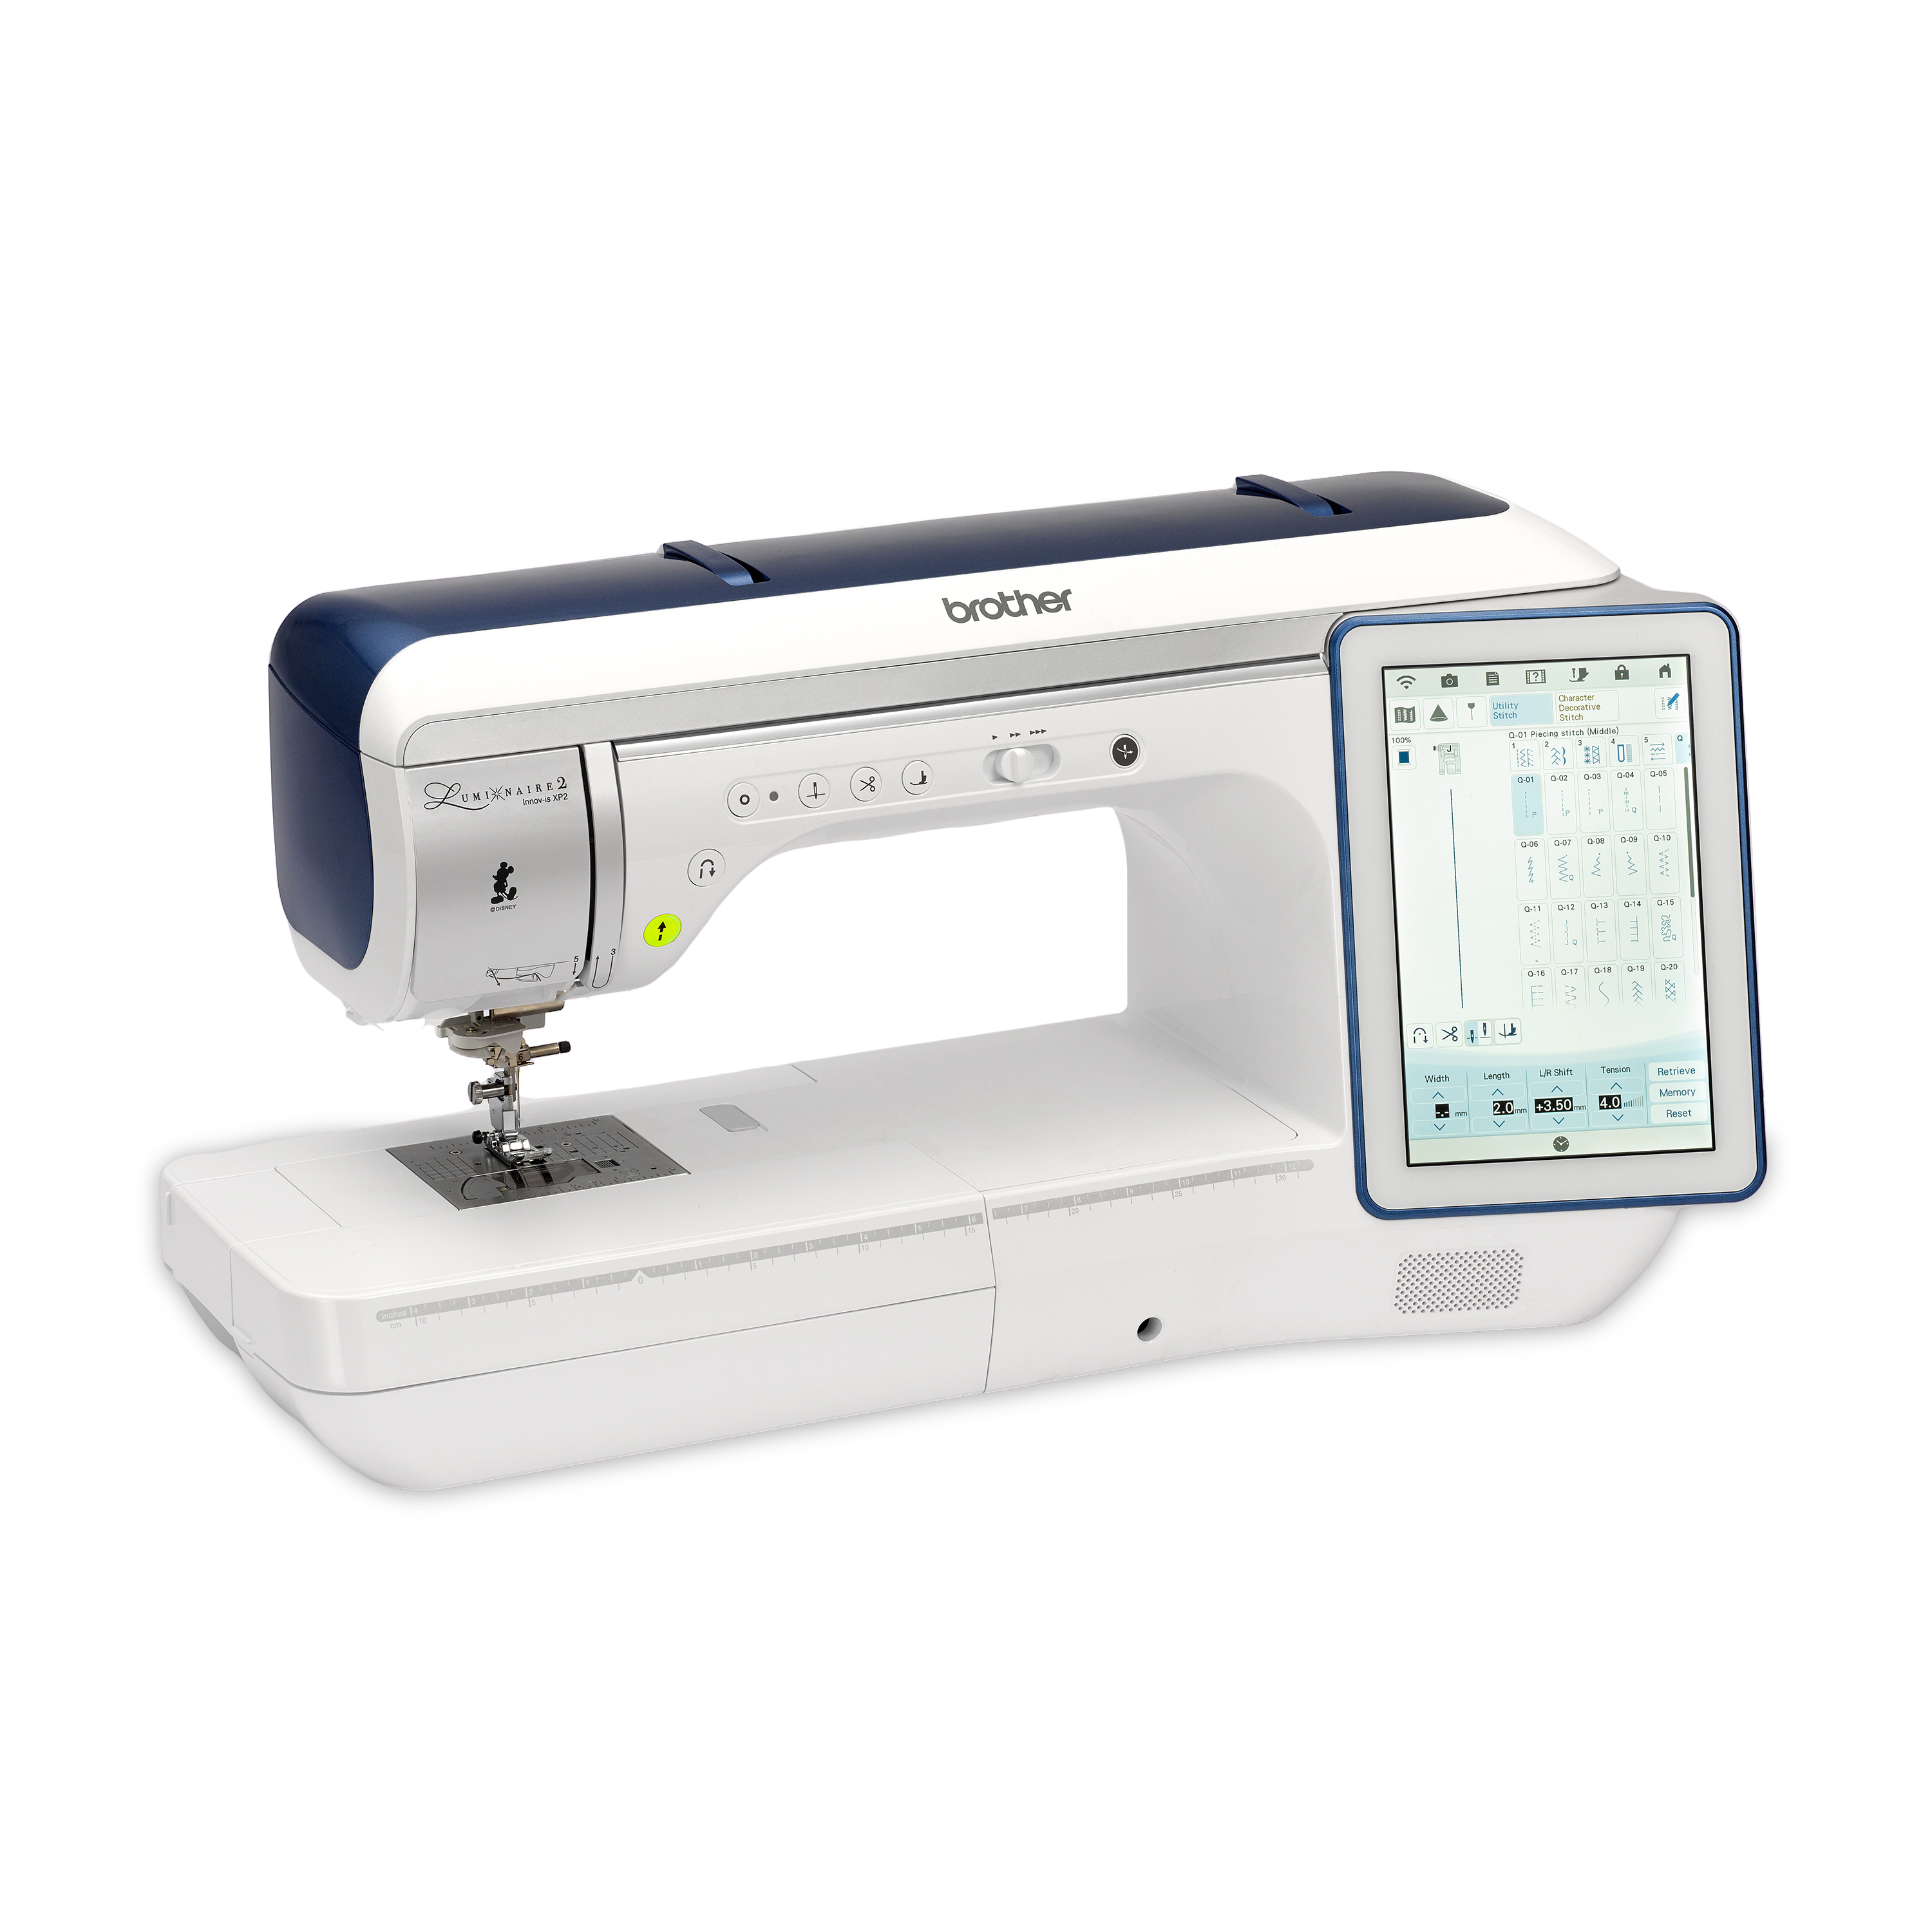
Monogramming foot: Brother accessory spotlight
In my latest embroidery tutorial, I'm highlighting the Brother monogramming foot, labeled with an “N” and typically referred to as the “N foot” or “foot N.”
The N foot is commonly found in the included accessories for many Brother sewing machines, so chances are you already own one! Plus, if you’re looking for a replacement N foot because yours is broken, you can reach out to your Brother dealer for a new one.
This monogramming foot is designed for decorative stitching and for sewing out lettering and character patterns in your machine.
While you will find some utility stitches mixed into the decorative menu, you will primarily use foot N for decorative patterns and stitches that do not lay totally flat on the fabric.
You can see examples of various stitches from different Brother machine models in the images below labeled Figure #1a, Figure #1b, and Figure #1c.
Figure #1a
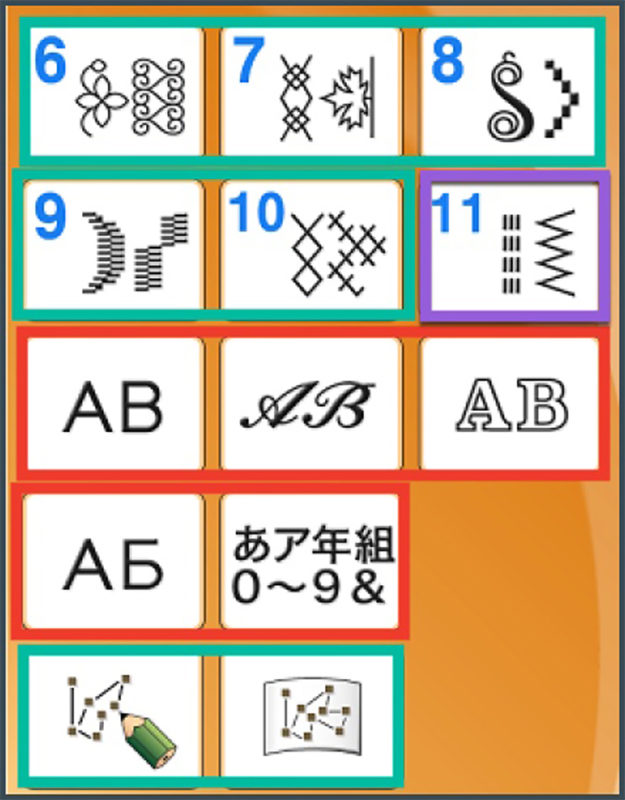
Figure #1b
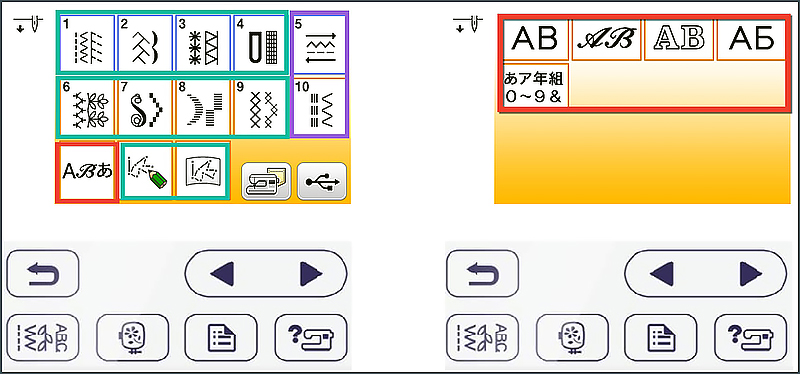
Figure #1c

Important tips to know when using the N foot
Here’s a quick rundown of crucial tips to know when it comes to the N foot:
- Unless you are stitching stiff or firm fabric, you’ll likely have the best results when using foot J for utility stitches.
- If you do select foot N in place of foot J, you need to first test your stitching on fabric scraps.
- Be sure to stabilize the fabric when stitching decorative and character stitches.
- You are essentially creating mini embroidery without a hoop when you use the N foot. Test some stitches on fabric scraps and add stabilizer as needed.
Why choose an N foot for stitching decorative patterns and characters?
Let’s take a look at some of the reasons why the N foot is an essential part of any kit.
- This N foot is a genuine Brother embroidery and sewing accessory. We only make our products from quality materials, so you know it’s built to last. Plus, the N foot is specially designed for use with patterns included in the “Decorative and Character/Monogram” menus of your Brother embroidery machine.
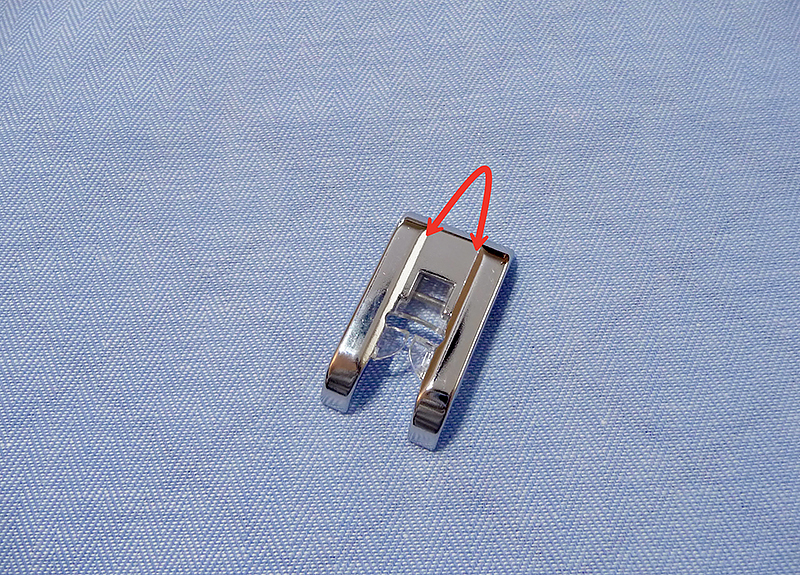
- This wide, snap-on foot has a 7mm opening in the center.
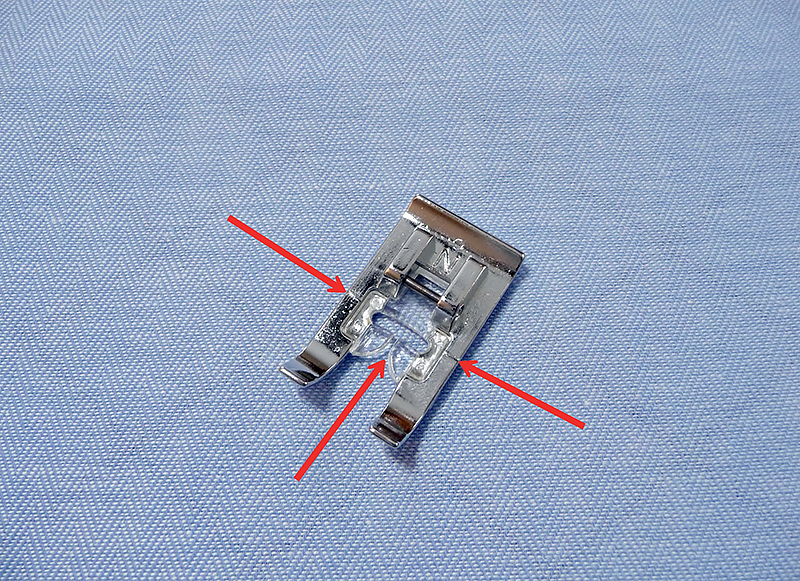
- The clear view in the center provides excellent visibility.
- The N foot is designed with a deep groove on the bottom side, so it slides easily over bulky decorative stitches.
- Use the monogram foot for satin stitching with a dense zigzag, and your stitches will flow smoothly under the deep groove on the foot.
- Dash lines on the foot show where stitching starts and can also be used as an alignment guide when pivoting a corner.
Notice the clear view in the center of the foot along with dash lines that show where the stitching starts. See Figure #2.
Figure #2
The deep groove extends from the front all the way to the back of the foot. See Figure #3.
Figure #3
Decorative sewing stitches on some Brother models fit within the 7mm opening on the foot.
On other Brother models, you’ll find multi-directional stitches where the feed dogs move from side to side as well as front to back, forming large decorative patterns.
The oversized base of the N sewing foot helps keep the fabric flat and secure while these large stitches form on the fabric.
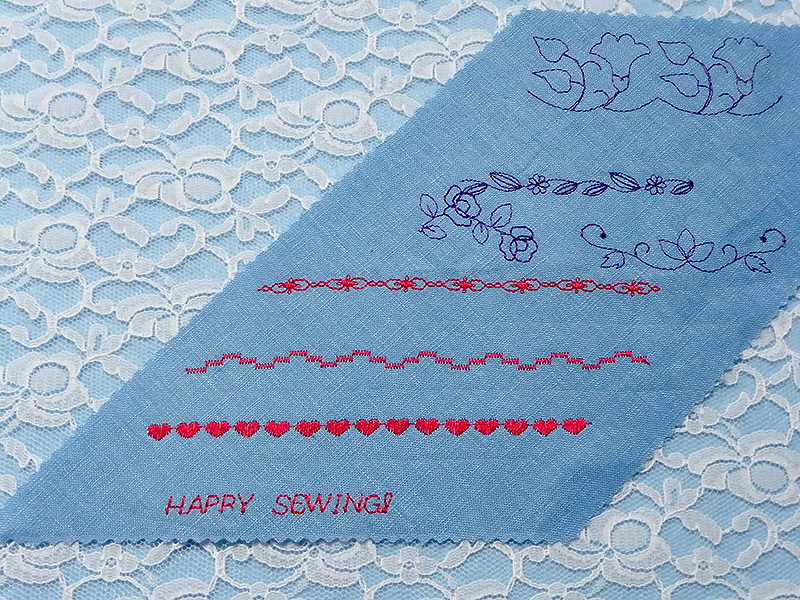
See examples of 7mm stitches in pink and large, and larger multi-directional decorative patterns in purple in Figure #4.
Figure #4
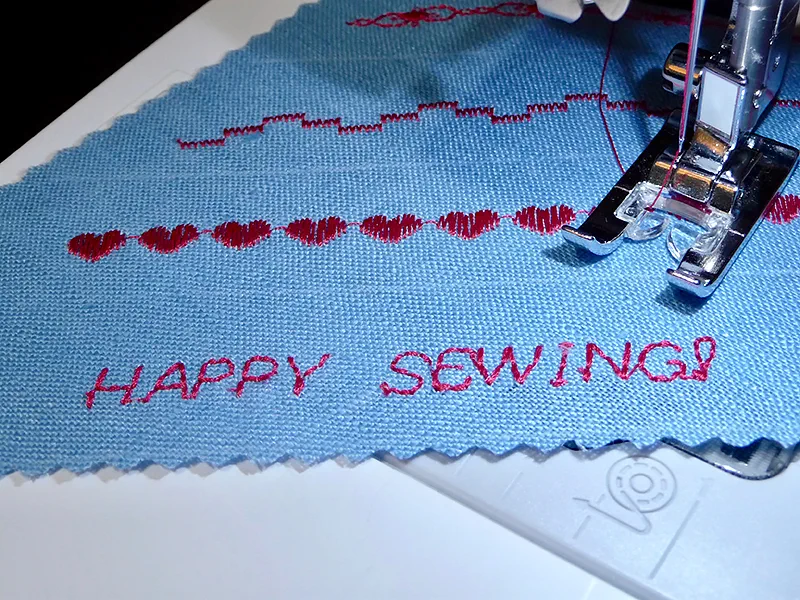
Now that you know more about your N foot for Brother sewing machines, experiment with the wide variety of decorative patterns and character stitches built into your machine.
Figure #5
We answer your monogramming foot FAQs
Find answers to frequently asked questions about sewing machine presser foot types below.
Are Brother sewing machine feet universal?
Brother sewing machine feet are generally meant for use only with Brother sewing machines, so we do not typically recommend using an adapter for cross-brand compatibility.
This includes the following machine parts: presser foot, straight-stitch foot, hem foot, zigzag foot, binder foot, edge-joining foot, open-toe walking foot, quilting foot, ditch foot, overlock foot, blind-stitch foot, pin-tuck foot, gathering foot, roller foot, piping foot, cording foot, buttonhole foot, and zipper foot.
You can purchase these individually or buy a foot set with multiple pieces.
How do you replace the foot on a Brother sewing machine?
Always turn off your Brother sewing machine before removing or attaching a presser foot.
If your machine includes a baby lock, make sure to utilize that as well.
Injuries may occur if the controller is accidentally pressed while replacing the foot.
Here’s how to replace the foot:
- First, raise the presser foot lever and press the black button on the back of the foot holder to release the foot.
- Next, place the new presser foot under the holder so the pin foot aligns with the shank.
- Then, slowly lower the presser-foot lever down so the pin snaps into the shank.
- Finally, raise the lever to ensure the presser foot is securely attached.
What are the different parts of the sewing machine foot?
The different parts of the sewing machine foot include the low shank, the high shank, and the slant shank.
The low shank is a half-inch from the bottom of the foot, the high shank is 1 inch from the bottom, and the slant shank (as the name suggests) is slanted at an angle.
The N foot: a must-have accessory for monogramming
If you love to monogram and stitch decorative patterns or you simply want the ability to do so in the future, the N foot deserves a spot in your kit. It’s an incredibly handy little accessory that will help you get the most out of your Brother sewing machine.


