Inspired by Disney's "Encanto": How to Sew a Bib Collar
-Brother Sews Blogger

In honor of the new film, Disney’s Encanto, I was super inspired to create a look from one of the colorful characters, Luisa Madrigal who is the middle daughter with incredible super strength. I love who this character embodies. I thought her outfit would be a fun challenge to recreate; possibly a more trendy version of her look. To build her look, this tutorial will be broken into two parts. This tutorial will focus more on creating an on trend peter pan bib collar. To create a beautiful blue satin skirt, keep up with our Blog, a tutorial is coming soon!
The one thing that stood out to me about her top was the neckline design. I thought the best way to recreate this was to create a removable bib collar that you can use with any top/ shirt you probably have at home. No need to go out and purchase a white top.
Bib Collars are great because you can use them year round. They are perfect for layering with sweaters and cardigans during colder months. Pairing these trendy collars with a nice blouse or even a basic tee is great too. However you wear, you’ll look adorable.
Let's talk about customization. The best part about sewing for yourself, is being able to customize things that fit your personal style. As we are designing the bib, keep in mind that we will be free-styling this. What does this mean exactly? Well, you can create a pointed collar, a big-rounded color, or a short-rounded collar. You decide. Because this project is so quick and easy to recreate, you can make as many designs as you want.
Now that we’ve talked about the many options of the basic foundation, let’s talk about the option of including a ruffle. This is my favorite part about this tutorial. When it comes to customizing the ruffle, the options are endless. Allow me to share. You can keep it classic and go without a ruffle. Bib collars without a ruffle paired with a beautiful fabric is slice of heaven. You can also go with a gathered ruffled effect which gives off a more school girl type of look which I think is the cutest. If you want to have a bit more fun, add trim. The craft stores has an enormous selection of trim of all designs, shapes, and colors. I say GO WILD in your choosing. What could go wrong?! Fashion is fun! It’s such a great way to express our individual selves.
SUPPLIES & TOOLS
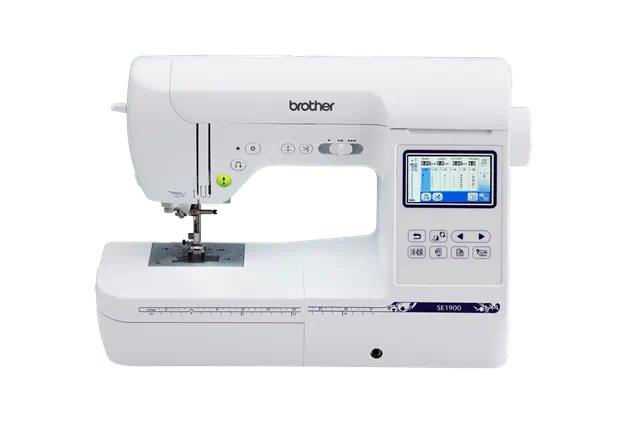
- Brother Sewing Machine SE625
- White Cotton Sateen
- Rick Rack Trim
- ¼” Width Red Ribbon
- Matching Thread & Bobbin
- Scissors
- Pencil
- 4 Sheets White Paper
- T-shirt/ Blouse (w/ High Rounded Neckline)
- Iron + Ironing Board
- Sewing Pins
1. Let’s start by taking our blouse and folding it in half making sure that the front neckline is facing out. Place a sheet of white paper underneath. Align the folded edge of the blouse to the edge of the paper. With a pencil, trace around the neckline and across the shoulder seam 3 inches like you see in the picture. Remove your shirt and finish the collar by drawing rounded ‘U’ shape connecting the end points you drew previously. Tweak your design until you get the collar shape that you want. If you don't want a peter pan collar, change it! That’s the fun part about designing things to fit your personality.

2. We need to create a back side. To do this, take your shirt and fold in half making sure that back side of the neckline is facing out this time. When your shirt is folded, place a sheet of white paper underneath. Align the folded edge of the blouse to the edge of the paper. With a pencil, trace around the neckline and across the shoulder seam 3 inches like you've done previously. Remove your shirt and finish the collar by drawing a rounded shape that connects the end points you drew previously.

3. Once you complete your design, cut it out. Connect the front and back side of your collar using tape. Test out your design on your shirt. Note: If you need to add additional length to it because it’s too short, add the length in the middle of the front and back piece.

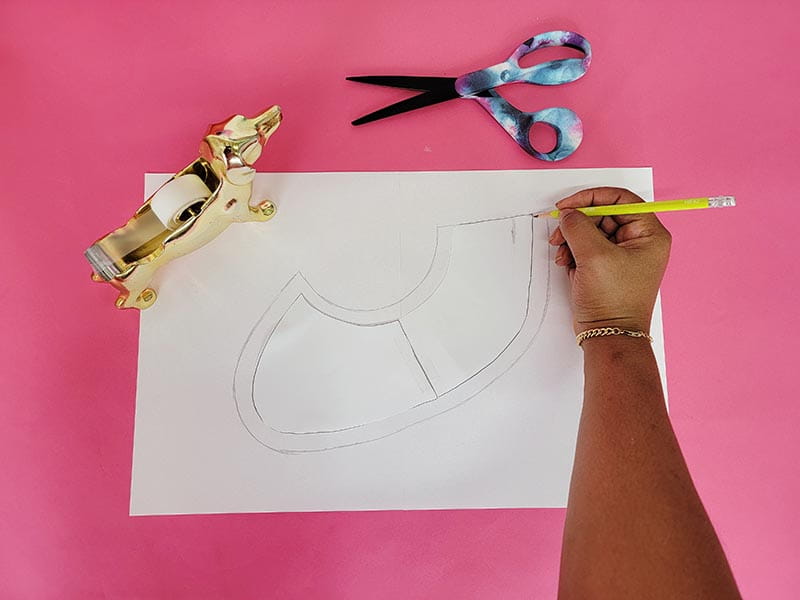
4. Now we’ll need to add seam allowance. Take two full sheets of white paper and tape them together. Take your collar pattern and place it on top of the paper. Draw a ½ inch outline around the entire color.
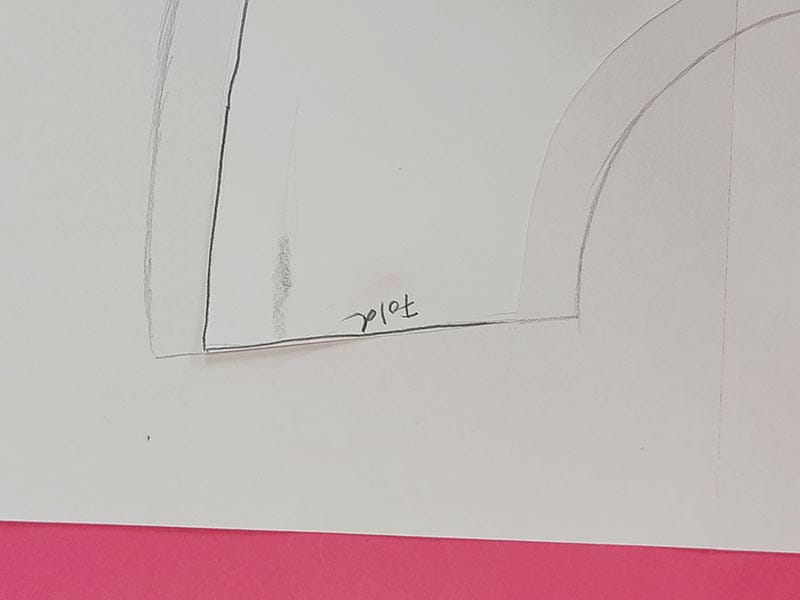
5. On the back end of the collar, there is no need to add an additional seam allowance, instead leave it as is and write the word ‘fold’ at the center. Your pattern is complete.
6. Take your pattern and transfer it to your fabric and cut out your collar. You’ll need to cut two.
7. (optional) If you are adding trim, sew it onto the bottom edge of one of your collar pieces making sure that the bottom edge of your trim is facing the inside of your collar.

8. Grab your ribbon and cut two pieces at 15 inches long. Attach it to the inner corner of your collar ½ below the top edge. Make sure that the end inside of the collar shown. Baste in place.

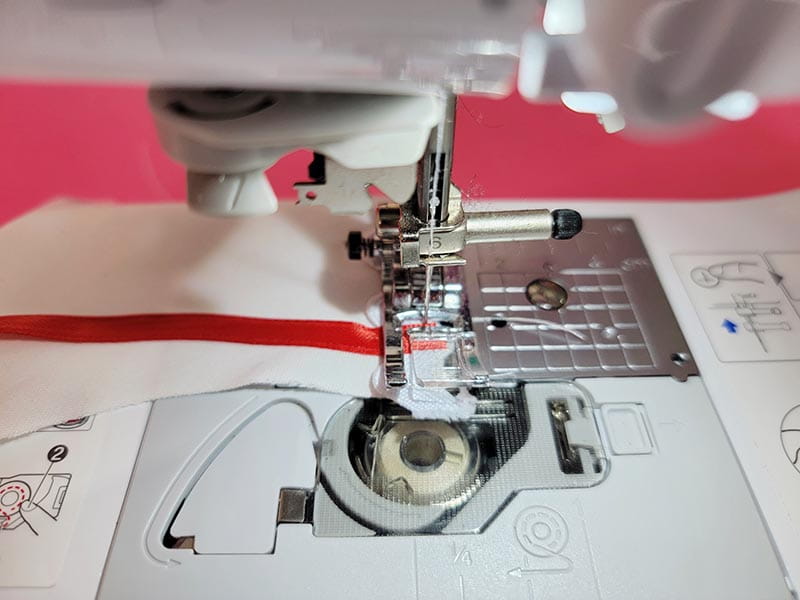
9. Place the opposite collar on top, right sides facing. Pin in place.
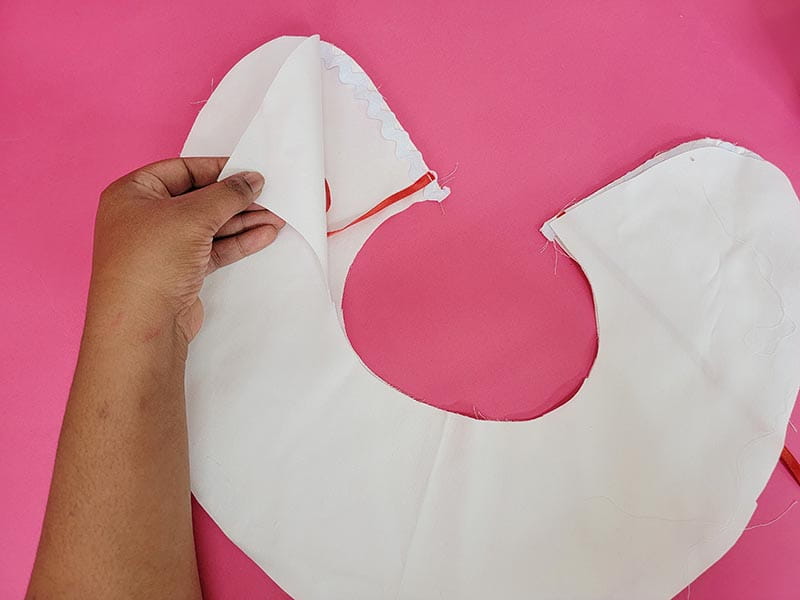
10. Sew all the way around the collar leaving a 3 inch opening in the neckline.
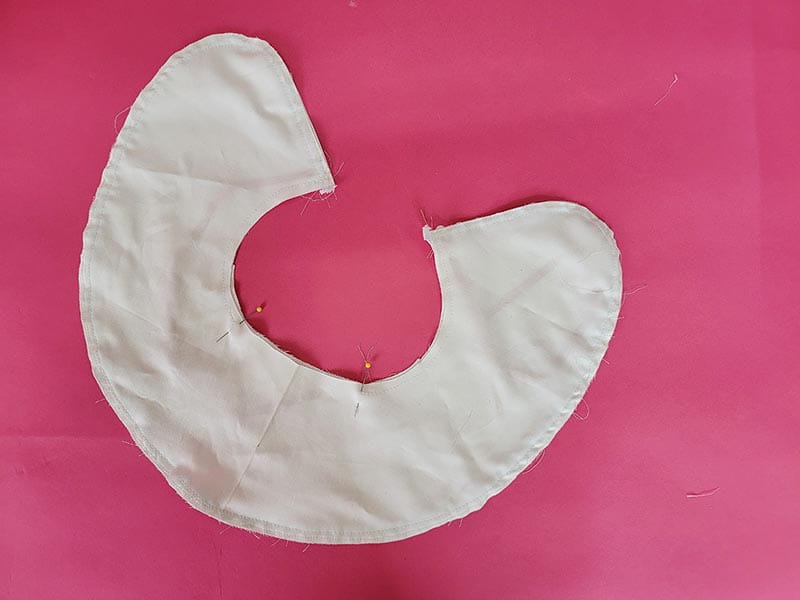

11. Turn collar right side out. Fold the opening to the inside at ½ inch. Press in place.


12. Stitch opening closed by sewing as close to the edge as possible.

13. Do a final press and that’s it!
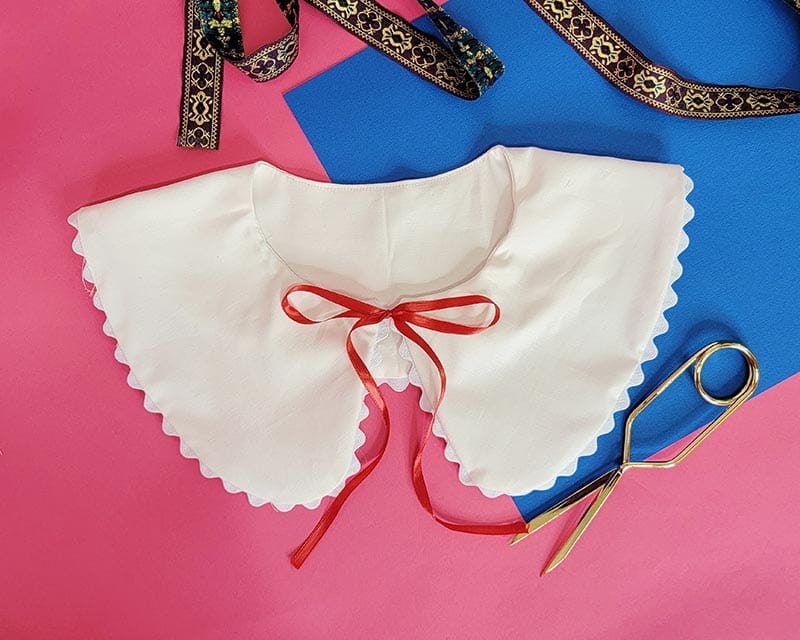
Disney’s Encanto is Now Streaming on Disney+.

In honor of the new film, Disney’s Encanto, I was super inspired to create a look from one of the colorful characters, Luisa Madrigal who is the middle daughter with incredible super strength. I love who this character embodies. I thought her outfit would be a fun challenge to recreate; possibly a more trendy version of her look. To build her look, this tutorial will be broken into two parts. This tutorial will focus more on creating an on trend peter pan bib collar. To create a beautiful blue satin skirt, keep up with our Blog, a tutorial is coming soon!
The one thing that stood out to me about her top was the neckline design. I thought the best way to recreate this was to create a removable bib collar that you can use with any top/ shirt you probably have at home. No need to go out and purchase a white top.
Bib Collars are great because you can use them year round. They are perfect for layering with sweaters and cardigans during colder months. Pairing these trendy collars with a nice blouse or even a basic tee is great too. However you wear, you’ll look adorable.
Let's talk about customization. The best part about sewing for yourself, is being able to customize things that fit your personal style. As we are designing the bib, keep in mind that we will be free-styling this. What does this mean exactly? Well, you can create a pointed collar, a big-rounded color, or a short-rounded collar. You decide. Because this project is so quick and easy to recreate, you can make as many designs as you want.
Now that we’ve talked about the many options of the basic foundation, let’s talk about the option of including a ruffle. This is my favorite part about this tutorial. When it comes to customizing the ruffle, the options are endless. Allow me to share. You can keep it classic and go without a ruffle. Bib collars without a ruffle paired with a beautiful fabric is slice of heaven. You can also go with a gathered ruffled effect which gives off a more school girl type of look which I think is the cutest. If you want to have a bit more fun, add trim. The craft stores has an enormous selection of trim of all designs, shapes, and colors. I say GO WILD in your choosing. What could go wrong?! Fashion is fun! It’s such a great way to express our individual selves.
SUPPLIES & TOOLS
- Brother Sewing Machine SE625
- White Cotton Sateen
- Rick Rack Trim
- ¼” Width Red Ribbon
- Matching Thread & Bobbin
- Scissors
- Pencil
- 4 Sheets White Paper
- T-shirt/ Blouse (w/ High Rounded Neckline)
- Iron + Ironing Board
- Sewing Pins
1. Let’s start by taking our blouse and folding it in half making sure that the front neckline is facing out. Place a sheet of white paper underneath. Align the folded edge of the blouse to the edge of the paper. With a pencil, trace around the neckline and across the shoulder seam 3 inches like you see in the picture. Remove your shirt and finish the collar by drawing rounded ‘U’ shape connecting the end points you drew previously. Tweak your design until you get the collar shape that you want. If you don't want a peter pan collar, change it! That’s the fun part about designing things to fit your personality.

2. We need to create a back side. To do this, take your shirt and fold in half making sure that back side of the neckline is facing out this time. When your shirt is folded, place a sheet of white paper underneath. Align the folded edge of the blouse to the edge of the paper. With a pencil, trace around the neckline and across the shoulder seam 3 inches like you've done previously. Remove your shirt and finish the collar by drawing a rounded shape that connects the end points you drew previously.

3. Once you complete your design, cut it out. Connect the front and back side of your collar using tape. Test out your design on your shirt. Note: If you need to add additional length to it because it’s too short, add the length in the middle of the front and back piece.

4. Now we’ll need to add seam allowance. Take two full sheets of white paper and tape them together. Take your collar pattern and place it on top of the paper. Draw a ½ inch outline around the entire color.

5. On the back end of the collar, there is no need to add an additional seam allowance, instead leave it as is and write the word ‘fold’ at the center. Your pattern is complete.

6. Take your pattern and transfer it to your fabric and cut out your collar. You’ll need to cut two.
7. (optional) If you are adding trim, sew it onto the bottom edge of one of your collar pieces making sure that the bottom edge of your trim is facing the inside of your collar.

8. Grab your ribbon and cut two pieces at 15 inches long. Attach it to the inner corner of your collar ½ below the top edge. Make sure that the end inside of the collar shown. Baste in place.


9. Place the opposite collar on top, right sides facing. Pin in place.

10. Sew all the way around the collar leaving a 3 inch opening in the neckline.


11. Turn collar right side out. Fold the opening to the inside at ½ inch. Press in place.


12. Stitch opening closed by sewing as close to the edge as possible.

13. Do a final press and that’s it!

Disney’s Encanto is Now Streaming on Disney+.


