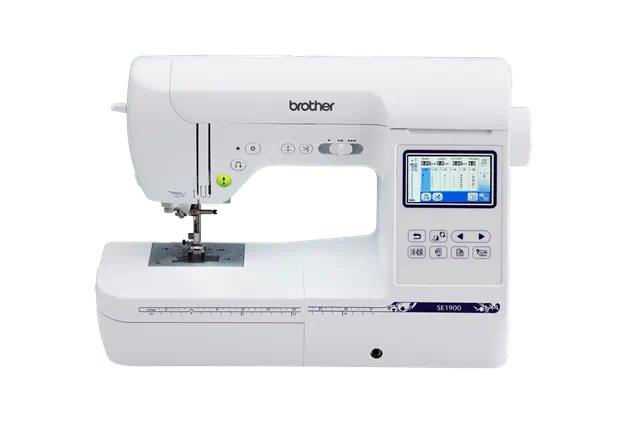
Inspired by Disney's "Encanto": How to Sew a Gathered Skirt With Ribbon Trim
-Brother Sews Blogger
In honor of the new film, Disney’s Encanto, I was inspired to create a look from one of the colorful characters. Luisa Madrigal is the middle daughter with incredible super strength. I love what this character embodies. I thought her outfit would be a fun challenge to recreate, possibly a more trendy version of her look. To build her look, this tutorial will be broken into two parts. This sewing tutorial will focus more on creating her beautiful blue skirt. To create a bib collar, you can find that tutorial linked HERE.
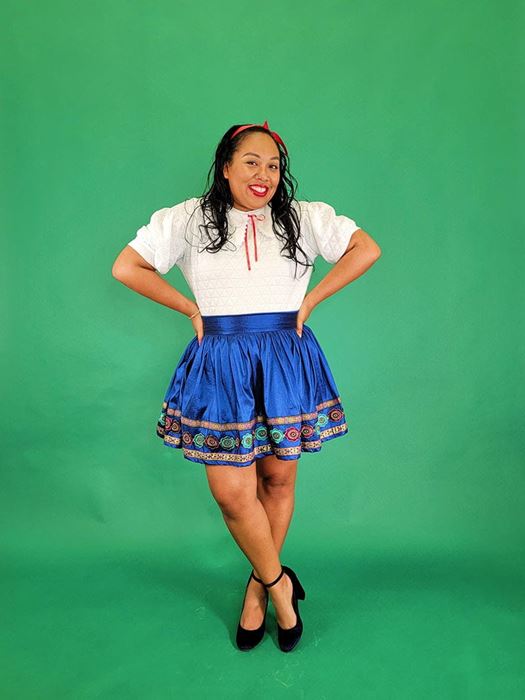
Gathered skirts are a classic garment that’s been around forever. For me, it's a staple that I must have in my closet. If you love skirts, sewing them is best because there are so many different ways in which you can customize them and make it your own. Choosing from the many options of fabric prints and colors, adding trim or embellishments, choosing the perfect length; The customization options can go on forever. I’ve made so many skirts in my day but never have I ever added trim to my design. I'm so excited with the inspiration I received from Disney’s Encanto. I’m ready to get started!
SUPPLIES & TOOLS
- Brother Sewing Machine SE625
- Blue Medium- Weight Fabric
- Double Folded Bias Tape
- 3 Different Ribbon Trim
- Invisible zipper
- Sewing Pins
- Matching Thread & Bobbin
- Scissors
- Medium-Weight Fusible Interfacing
- Iron + Ironing Board
- Measuring Tape
- Ruler
1. Let’s start off by taking the body measurements we need to create this skirt.
a. WAISTBAND: Measure your waist then add 1 inch seam allowance to that measurement. (Example 30” waist + 1” seam allowance= 31”) This will be the length of your waistband. The width of your waistband will be 3.5 inches. If that’s too wide, try 2.5” or 3”.
b. SKIRT BASE: Take your waist measurement and multiply it by 2. (Example 30” waist x 2= 60W”) This will be the width of your skirt.
Measure the length you’ll want your skirt. Place the end of your measuring tape at your waist near your belly button. From here, measure how long you want your skirt to be. You can choose to have a mini skirt whose length is about 2-3 inches above your knees. A knee length skirt is also a great length. A midi skirt who length hits 2-3 inches below your knees is my go-to for comfort and versatility. You can also choose to measure you skirt to be a maxi length, which is floor length. Once you figure out your measurement, add 1.5 inches to that measurement.
(Example: 15” length + 1.5” seam allowance= 16.5”L)
c. Now that we have the measurements you can take your fabric and cut it out. To ensure that I create a smooth and even cut, I like to cut my fabric on fold. You can choose to cut your fabric in whatever way that makes you feel comfortable. For your waistband, you’ll need to cut one out of your fabric and one out of the interfacing.
(Example: For the waistband, I’ll cut 4 rectangles at 31”L x 3.5”W. {two fabric and two interfacing} For the skirt base, I’ll cut one rectangle at 16.5”L x 60”W {fabric})
Tip: We are cutting the fabric on the cross grain versus the grain line here, but based on your fabric size, do what works best for you.
2. Now we are going to prepare to sew the ribbon trim onto your skirt. Lay the base of your skirt on a flat surface facing up. We’ll need to mark the placement of each of your three ribbons. Place all three of your ribbons along the bottom edge of your skirt and create a mark at the bottom edge of each one. Measure their placement on the skirt and create a mark along the entire bottom edge of your skirt where each ribbon will be placed.

3. Pin the bottom trim along the edge of your first marking. Sew in place.
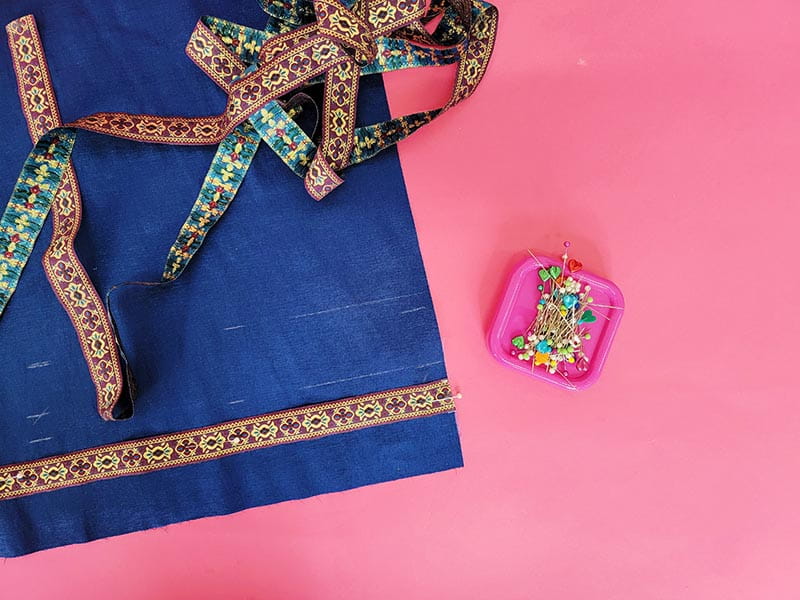
4. Pin the middle trim along the edge of your second marking. Sew in place.


5. Finally, pin the third and final trim and sew in place.
6. Gather the top edge of your skirt. I like using the yarn gathering method. You can gather the top edge of your skirt in whatever way you feel comfortable. Set the base of you skirt to the side.
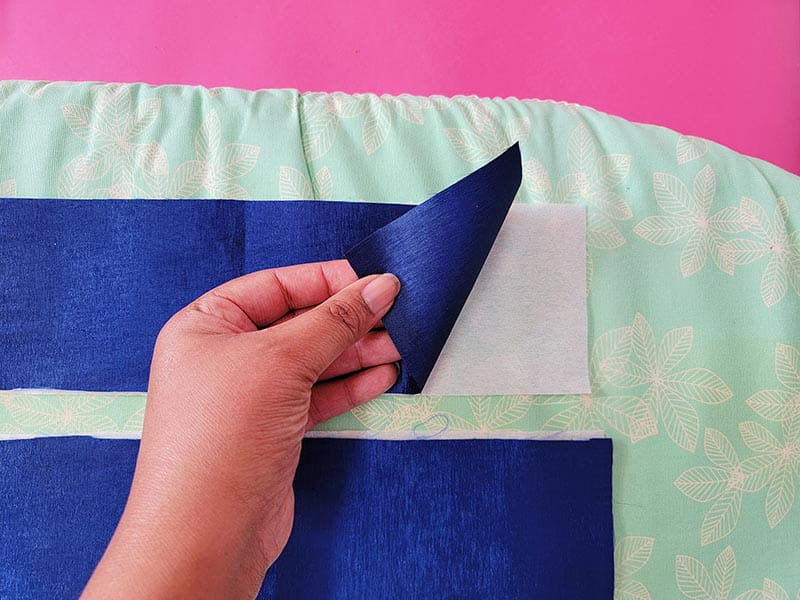
7. With a hot iron, follow the manufactures instructions to fuse interfacing, so I am ironing my interfacing onto the back side of both of the waistband pieces.
8. Pin your waistband to the top edge of your skirt. Loosen your gathers evenly until your skirt matches perfectly to your waistband.

9. Sew your waistband in place at .5”.
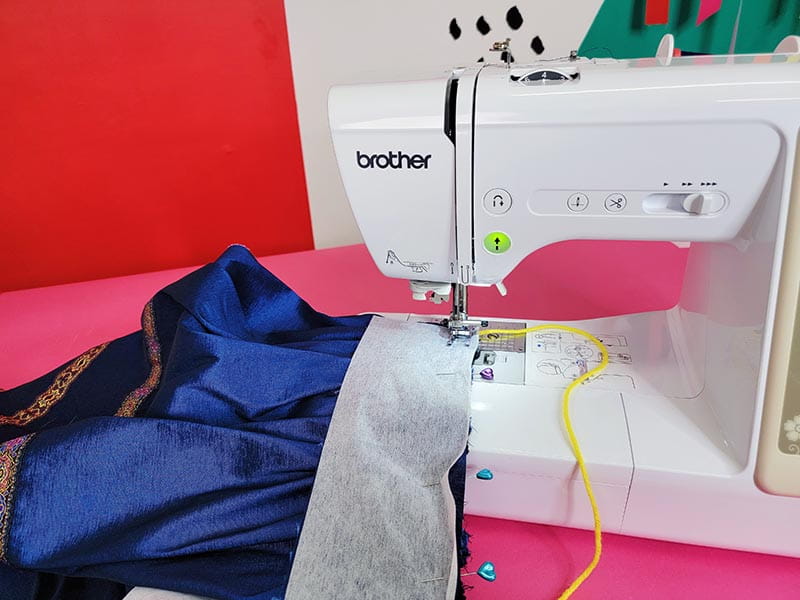
10. On the opposite waistband, sew bias tape to the bottom edge.
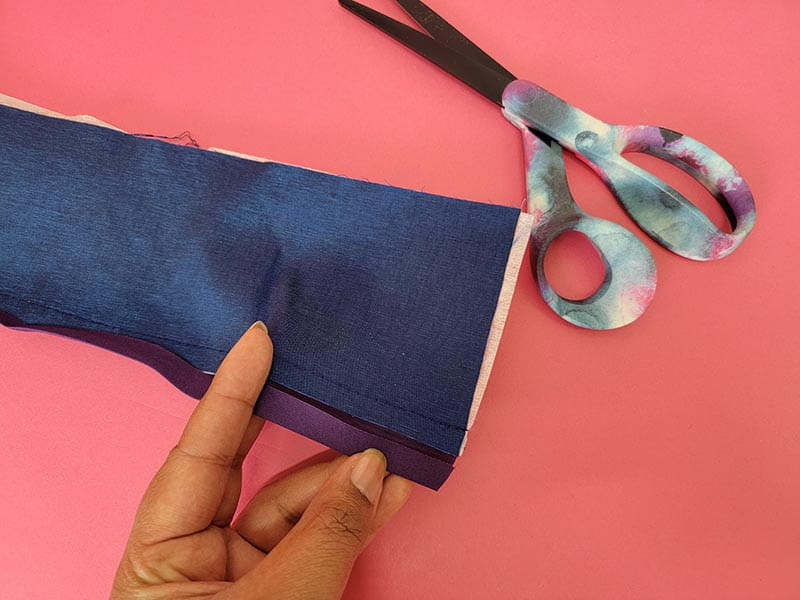
11. With right sides facing, pin waistbands together.

12. Sew waistbands together at top edge using .5” seam allowance.
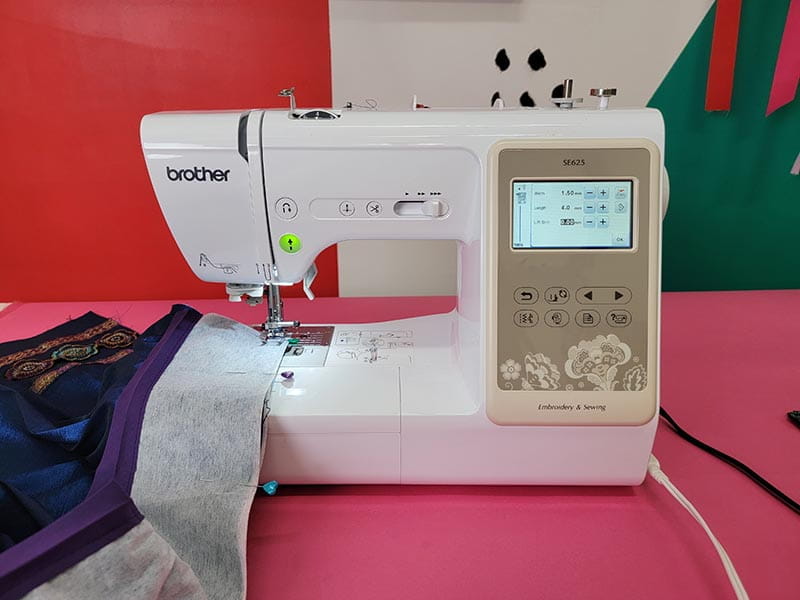
13. Install invisible zipper. *You can also check out Brother's optional accessory, the Concealed Zipper Foot to hold the sipper in place for easy installation! Both the SA102 and SA128 are compatible with the Brother SE625.

14. Sew the side edge of your waistband in place. Flip right side out and stitch the waistband in place by stitching in the ditch.
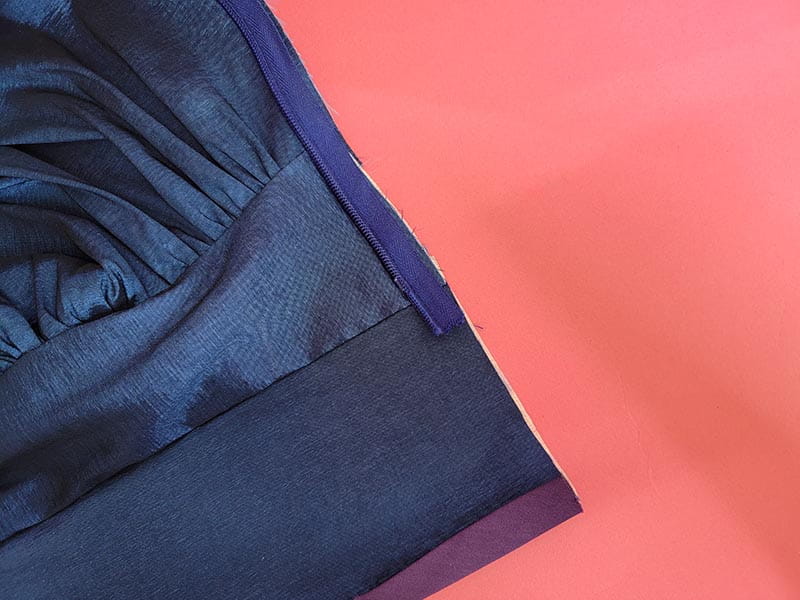
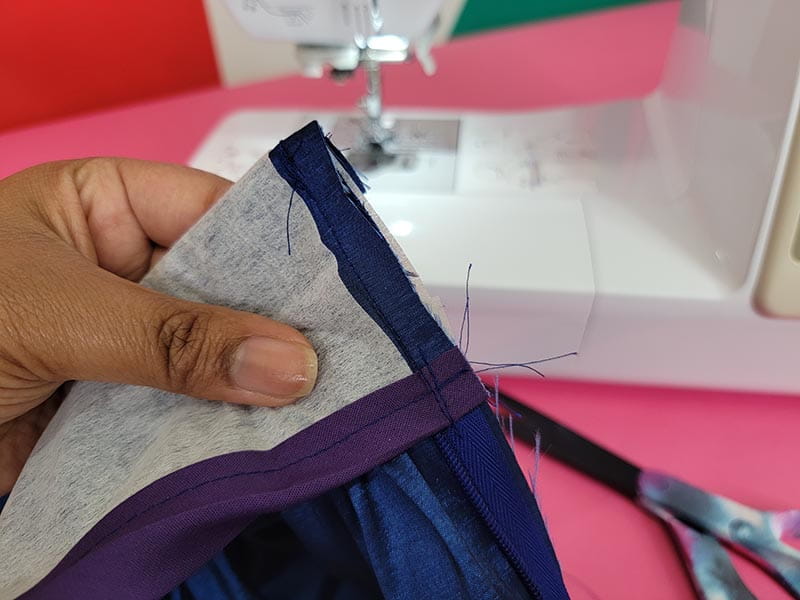
15. Hem the bottom edge of your skirt by folding up at ¼”, the press and folding again and press. Use pins to hold in place if necessary. Remove the pins as you are sewing in place.

16. Using your hot iron, do a final press, and you are done.


Disney’s Encanto is Now Streaming on Disney+.


