How to Sew Shirts and Hem with a Coverstitch Machine
-Brother Sews Blogger
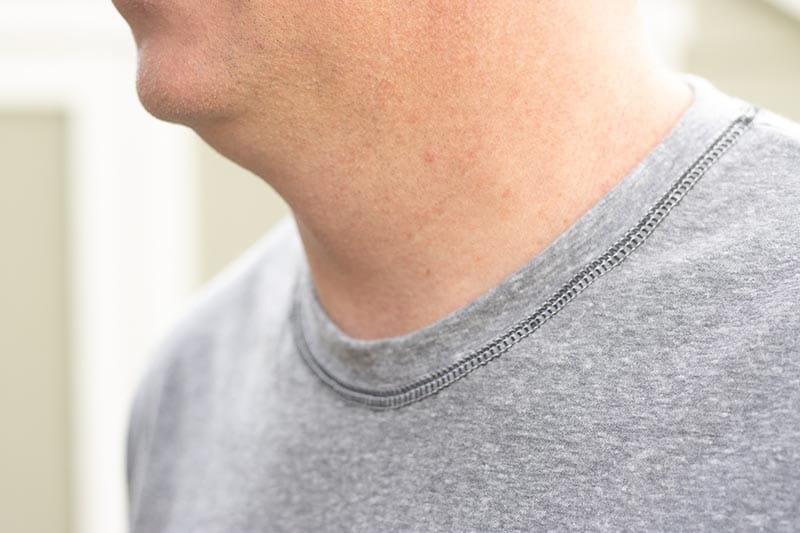
Just in time for Father's Day learn how to add coverstitch, top-stitching, and hems to a t-shirt to create a beautiful custom finish. This step-by-step tutorial will also show you how to use a double coverstitch for a sporty look. Let’s go learn how to sew!
Supplies and Tools:
● Shirt Sewing Pattern {I used the free one from Life Sew Savory here}
● Knit tri-blend t-shirt fabric
● Serger Machine {I used model 3734}
● Coverstitch machine {I used model 3550}
● Coordinating or contrasting thread for top-stitching
This tutorial will show you how to add coverstitch hemming and top-stitching to your t-shirts. It will show you how to stitch when the seam is open {raw edges on both ends} and when in a round {like the bottom hem} There is also a short video showing these options, so check that out for clarification.

Start by cutting out your shirt pattern as directed in the instructions.
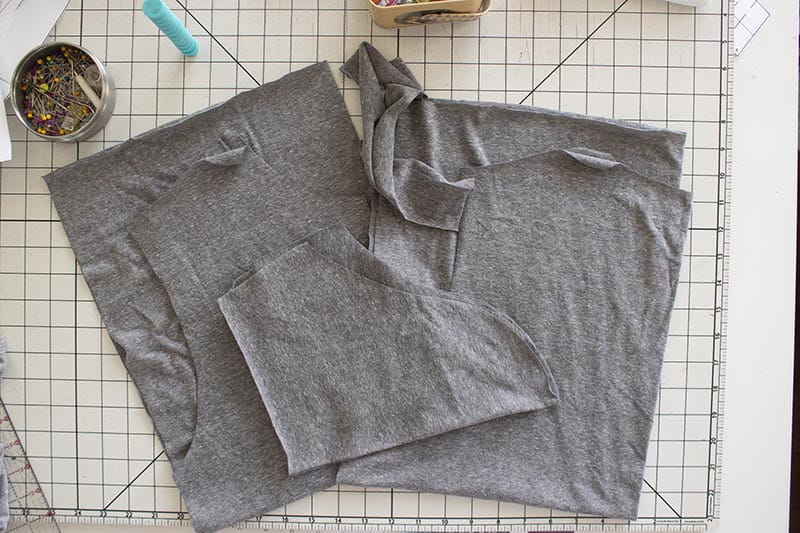
Sew one shoulder seam using your serger or a knit stitch on a sewing machine.
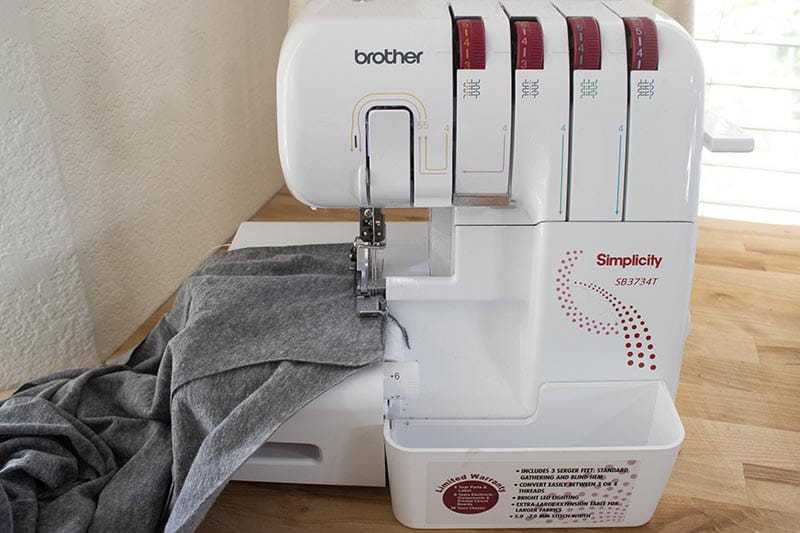
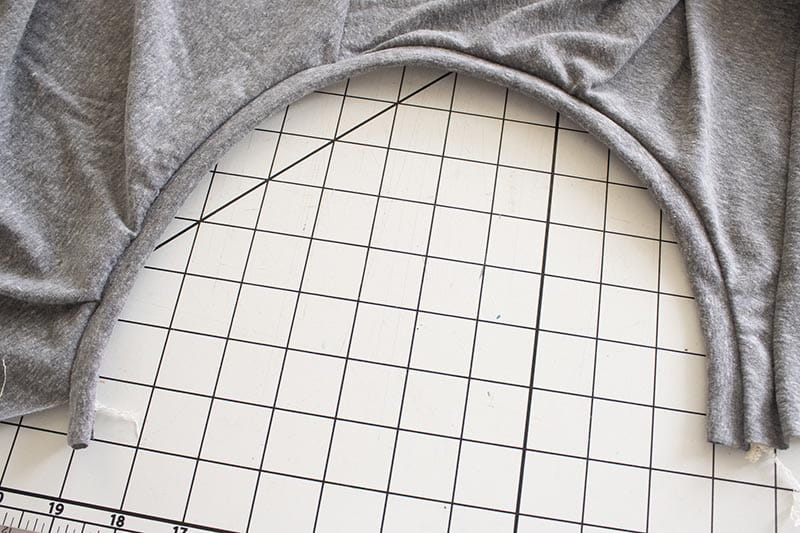
Next sew on the neck band. I like to sew and top-stitch the neckband while the second shoulder seam is open. This allows for easier access and makes the whole process much easier for me. This is also how ready to wear clothes are sewn, so it’s a common practice. I know many traditional sewers do not like this method, so you can sew on the neckband however you like best.
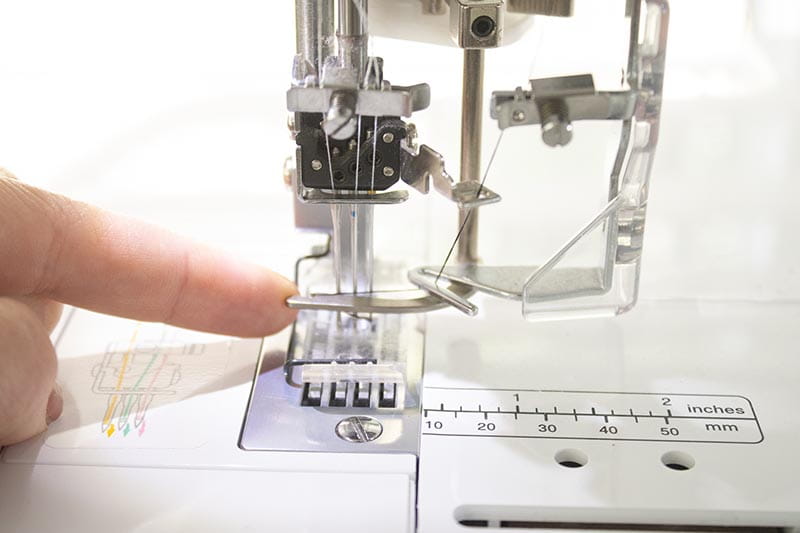
Now it's time to set up your coverstitch machine. For this double coverstitch sporty look I threaded both my top and bottom looper. This machine can sew with only the bottom looper, but I wanted the added stitch detail, so threaded the top one as well.
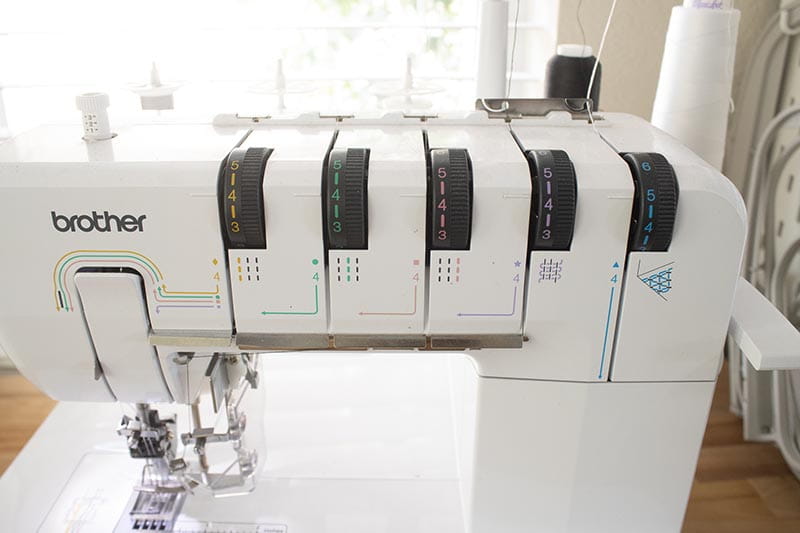
Do a test run before sewing on the actual shirt. Here were my settings after the test and using tri-blend t-shirt fabric.
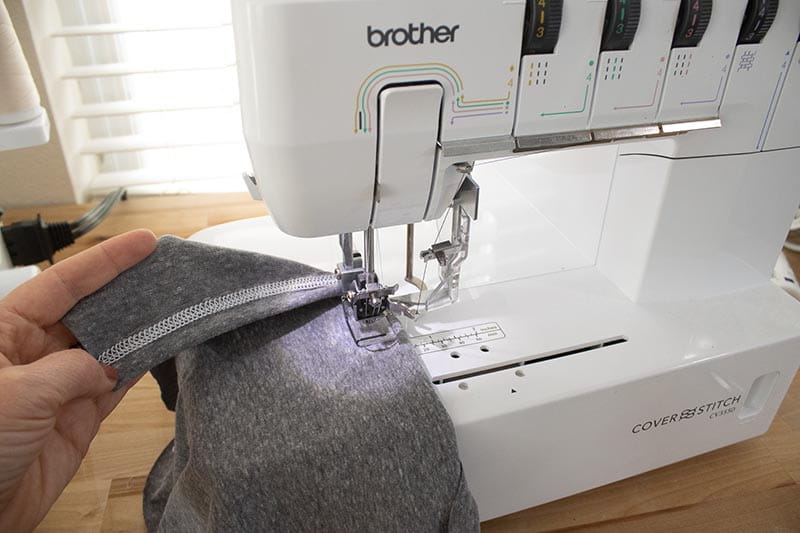
Place the edge of the shirt neckline under the pressure foot with the seam allowance folded over towards the shirt. You want to stitch right on the top of the shirt and not on the neckband. When top-stitching an open seam like this I like to use the serger tails to help pull the fabric from the back as I’m starting. Once it gets going you shouldn’t have to pull from the back, but this helps the fabric move forward.
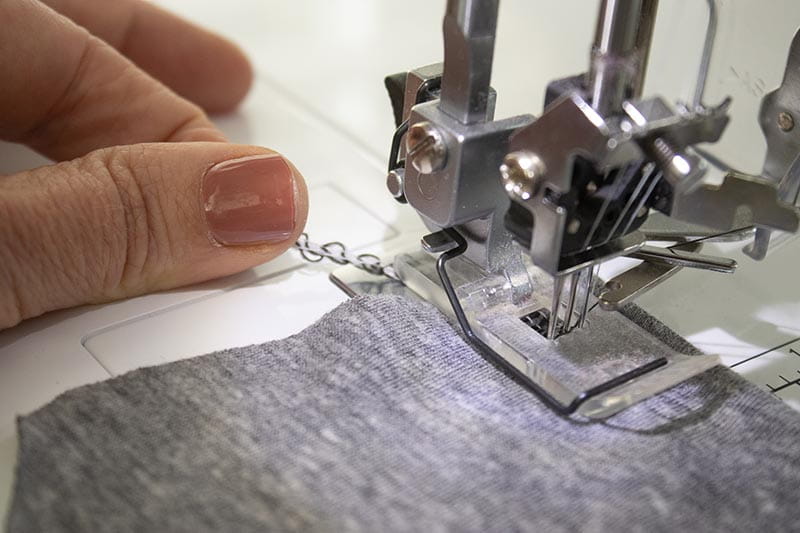
Sew the neckband top-stitching.
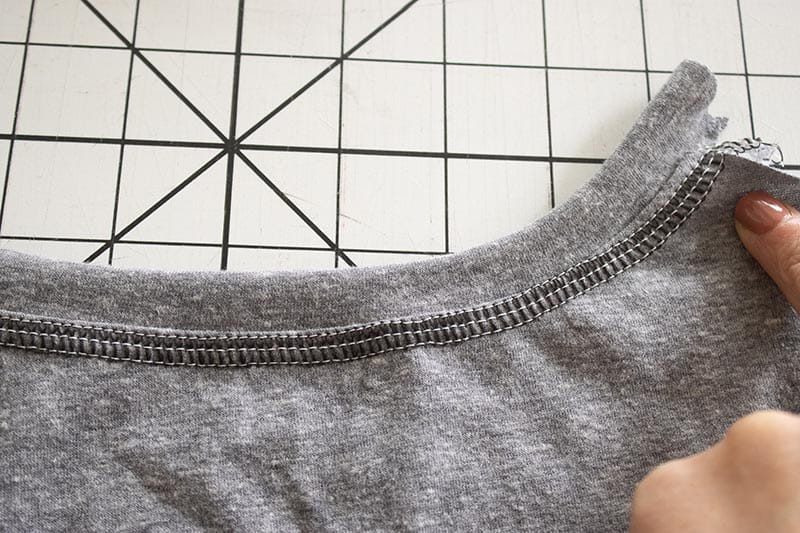
Now it’s time to sew the other shoulder seam and complete the neckline. You can see it should be easy to match the topstitching then sew the shoulder seam.
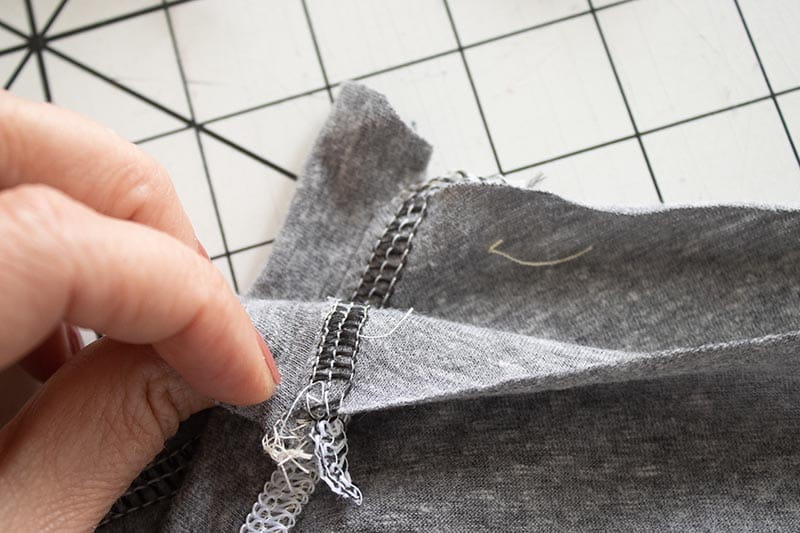
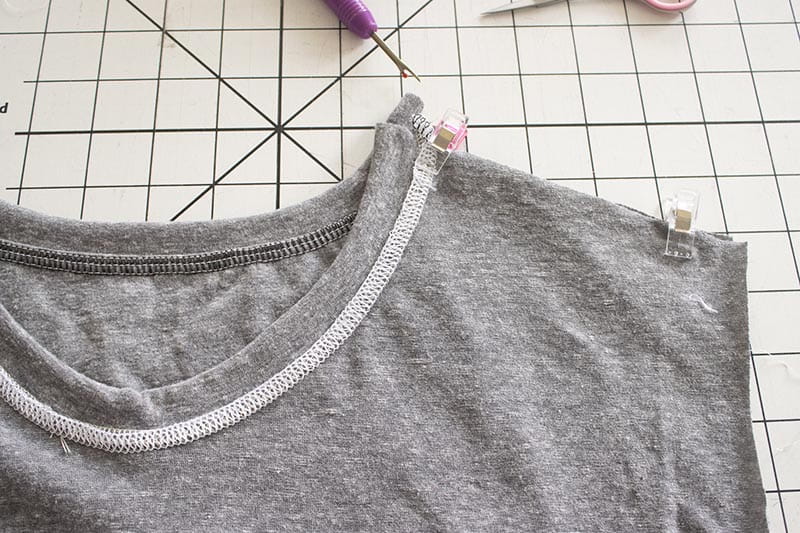
I think this shoulder seam looks just great, even when sewn after the top-stitching.
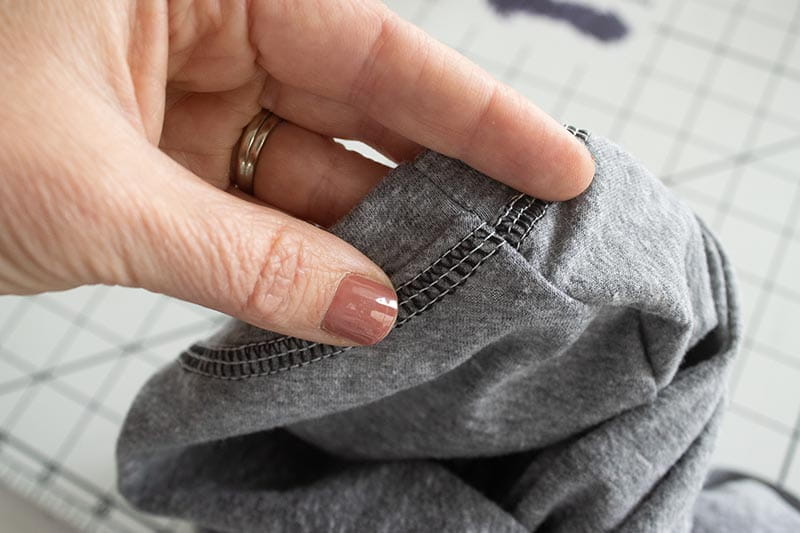
Now it’s time to continue sewing the shirt. I also like to hem the sleeves before sewing on the shirt when hemming with my coverstitch. This keeps things easy and less fabric to mess with while sewing. You can see here one sleeve hemmed and the other folded back and ready to sew.
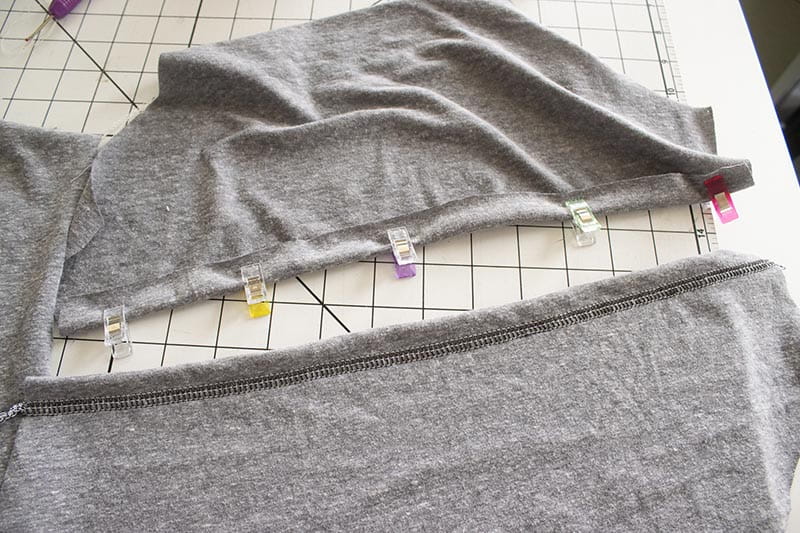
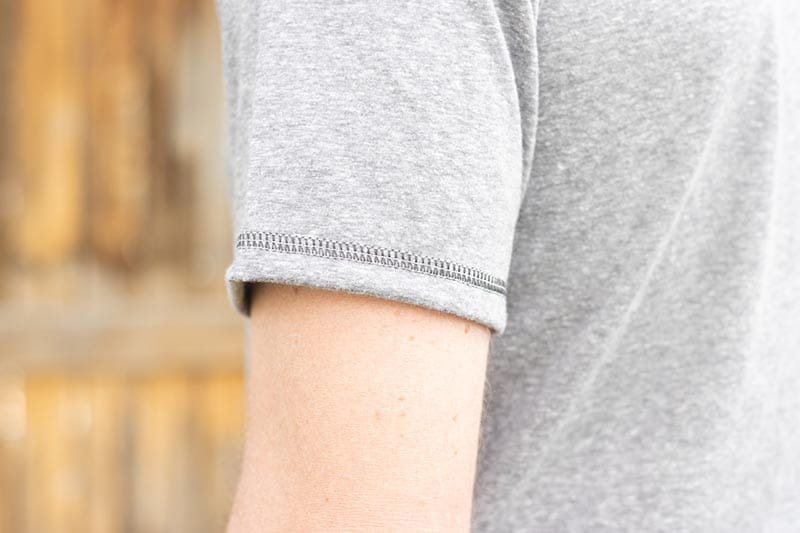
Sew the hem of the sleeve guiding the fabric through the machine just as above for the neckline. You can see here the chain stitch on the back of the fabric. This should cover the raw edge of the fabric so it hems and finishes all in one step.
Then pin/clip the sleeve in place according to the pattern directions and sew the sleeve on.
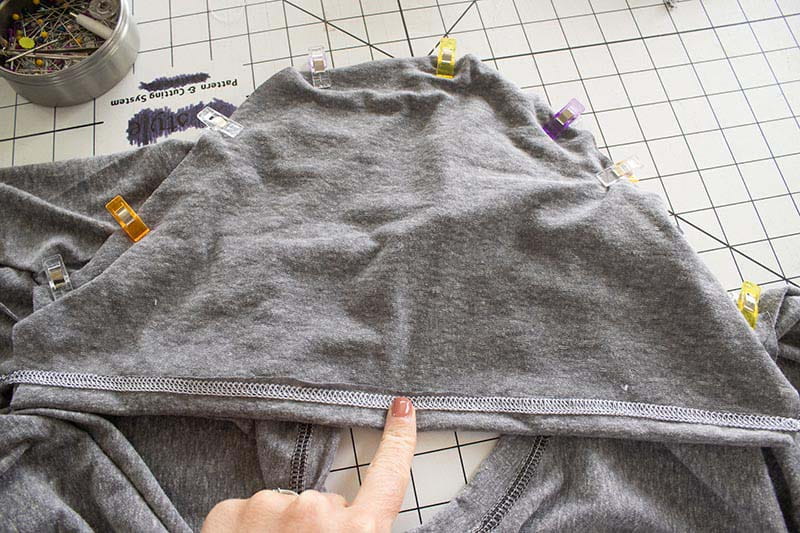
The final step to finish the sleeves is to sew the side seams. Make sure to match the hemmed edges and stitching when sewing. Sew the side seam.
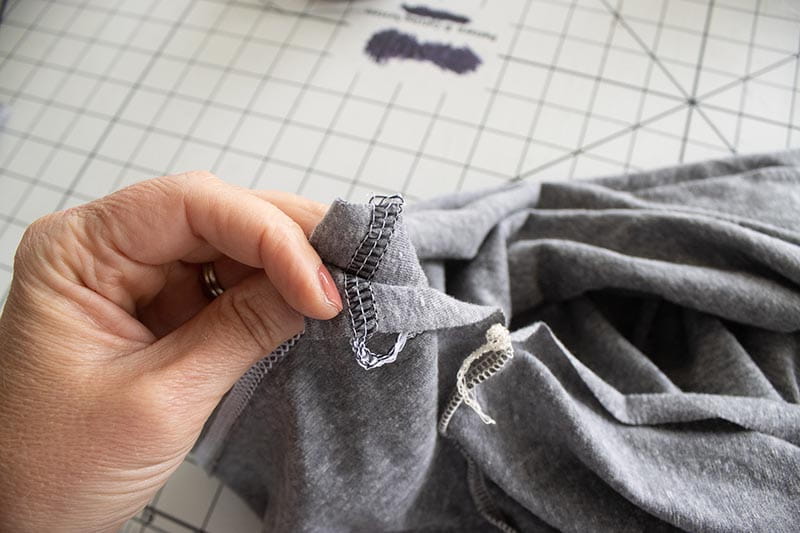
If you used a serger to sew the side seam make sure to finish off the serger threads by pulling them back through the stitches, or sewing to the seam allowance with your sewing machine.
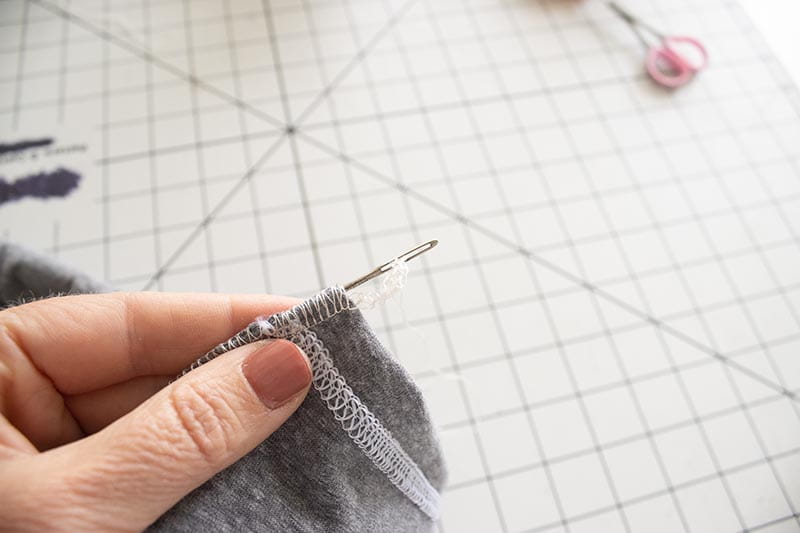
Love the finished hem and stitching!
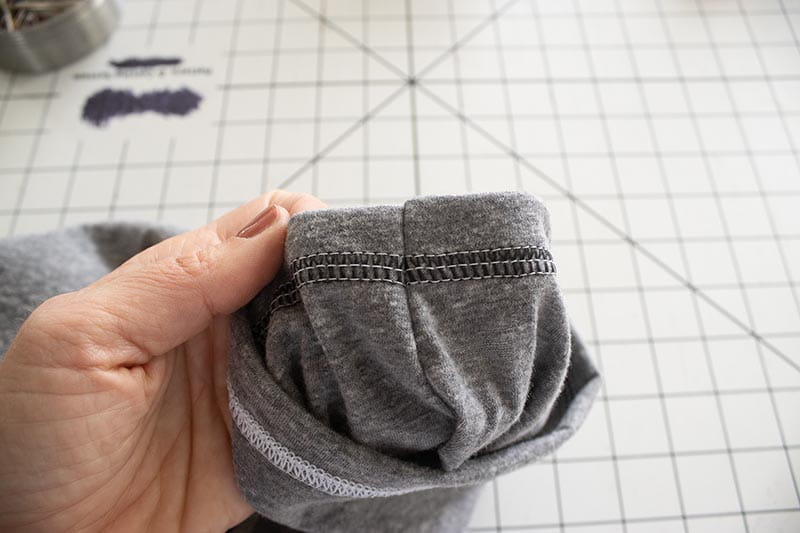
Now it’s time to hem the shirt. For this step I will demonstrate how to hem when the fabric is in a full circle. Pin or clip up the desired hem. Then lift the presser foot. You will need to push the fabric under the needles and move the needle threads to the side to get it under. Lower the foot and turn the hand dial under the needles go into the fabric. Now you can begin sewing. Pull the fabric from the back to get it started. Sew all the way around the bottom hem until you are about 6 inches from the starting point.
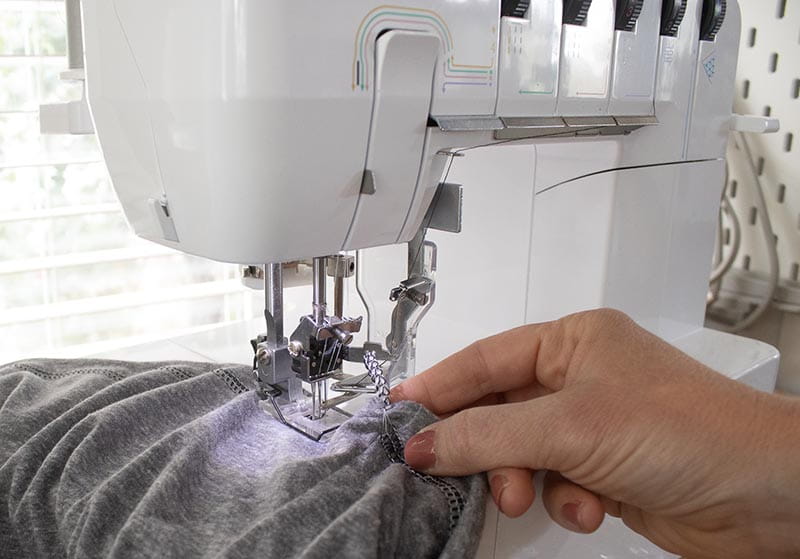
The place where you started sewing probably has a bit of a chain tail and maybe some bulky threads, before you get back to that point, you need to trim off the tail and any thread bumps or clumps. After trimming continue sewing until you have overlapped the threads two inches. Raise the presser foot and pull out your hem. Cut the threads, then pull them to the back of the shirt to tie off. {See my exact method in the video}
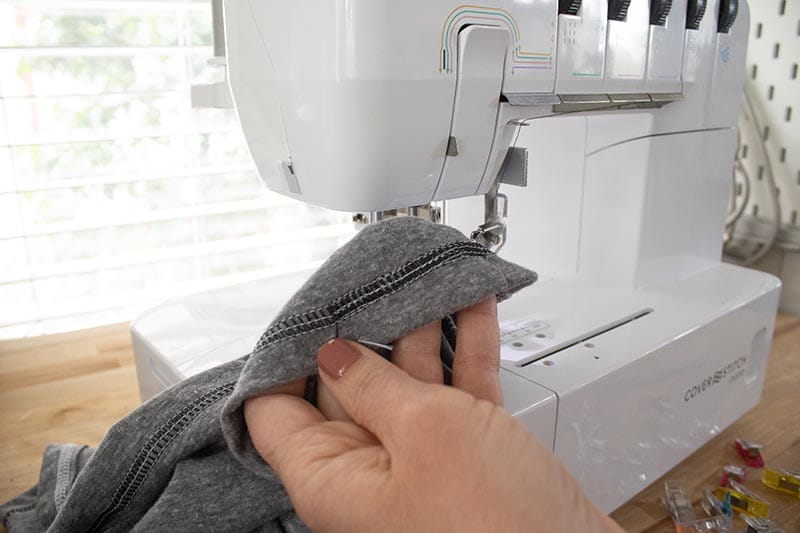
Now you have a super awesome shirt with great finishing details. Play with colors and threads when top-stitching for different looks.
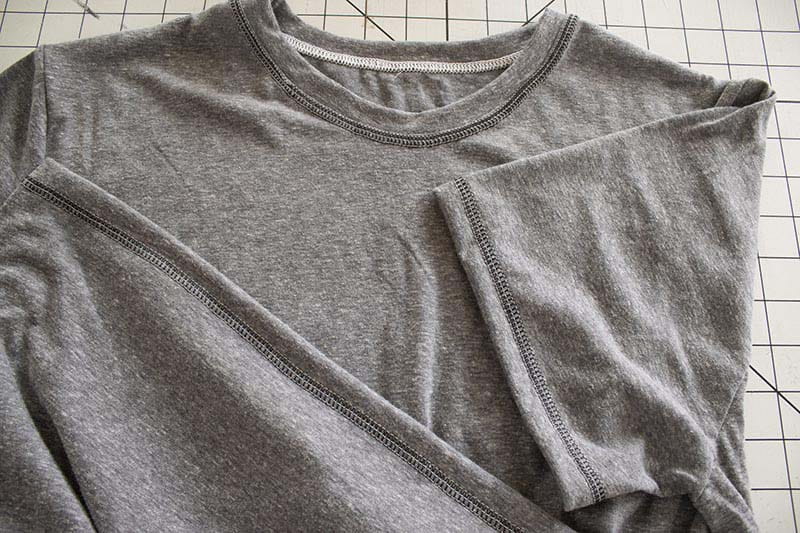
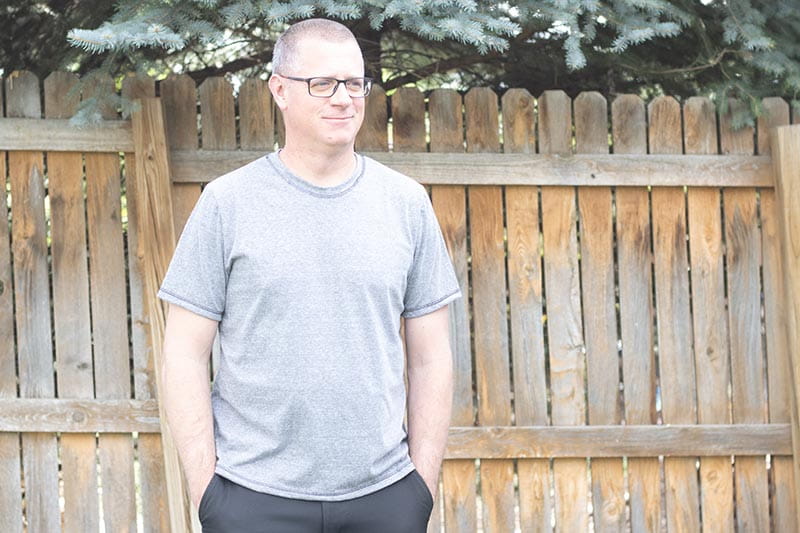

I love the sleeve finish! You could also top-stitch the shoulder and side seams if you want more top-stitching.
The neckline also looks great and is a fun detail.
