Fall Fashion Sewing: Let’s Sew a Cardigan
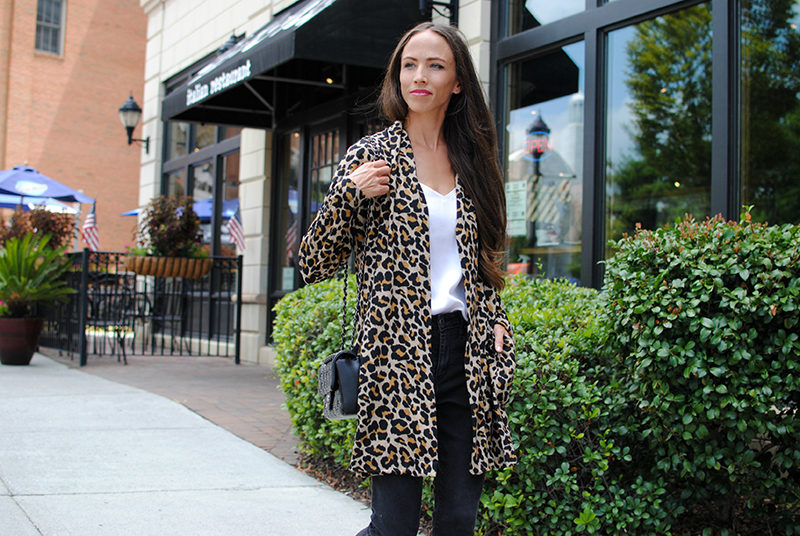
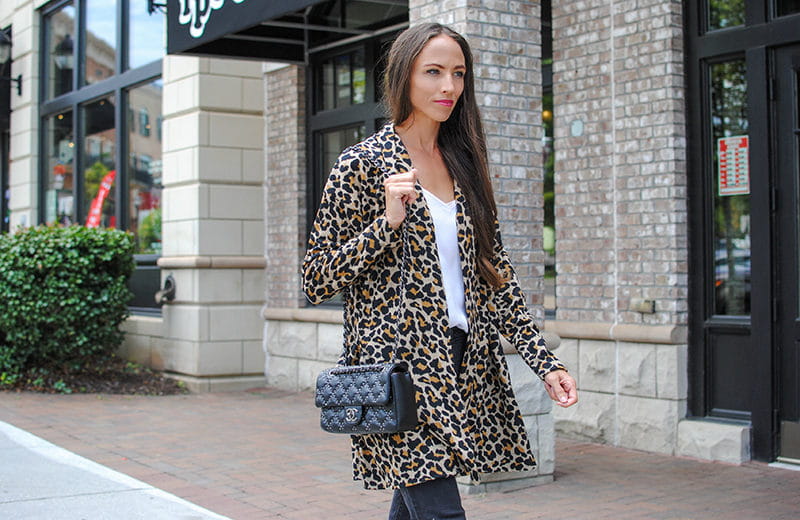 With fall and cooler temperatures around the corner, I like to sew transitional pieces that can be worn year-round. A good example of a transitional garment would be a cardigan. I’ve always liked the look of the longer ones and wanted to make one with pockets, and a fun print. Because leopard/cheetah print is still a hot trend, I thought it would be a good time to use this French Terry Leopard Knit I had in my stash. I like that you can dress this up with slacks and heels or go casual with leggings and sneakers. As I sewed the garment I took some notes and compiled a list of tips and details to inspire you to make your own.
Fabric:
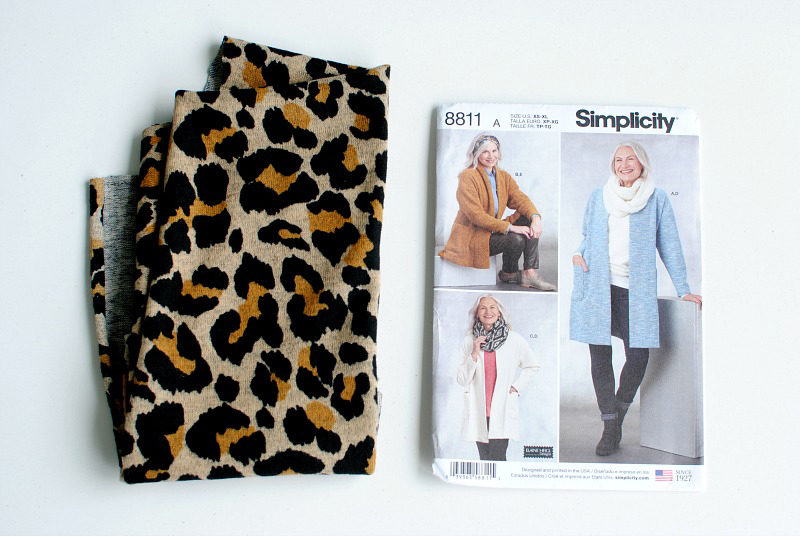
When picking a fabric for a longer cardigan, you will want to look for a medium to heavy weight knit. Anything lighter than 7oz will be very hard to sew with because it will stretch out quite easily and be see through (burrrrr). Some great fabric options for a long cardigan would be French Terry Knit, Novelty Sweater Knit, Double Knit, and Sweatshirt Fleece. I found this animal printed French terry knit from a local fabric store. For the pattern, I wanted something that fit like a classic cardigan but with a longer hem and pockets. This Simplicity 8811 was perfect and you can adjust the length accordingly. It was also simple to follow and make and all you need is general sewing notions and 2-2.5 yards of fabric.Disclaimer: Featured pattern are products from the Simplicity Company and Brother International Corporation makes no representations or warranties regarding these products.
Sewing:
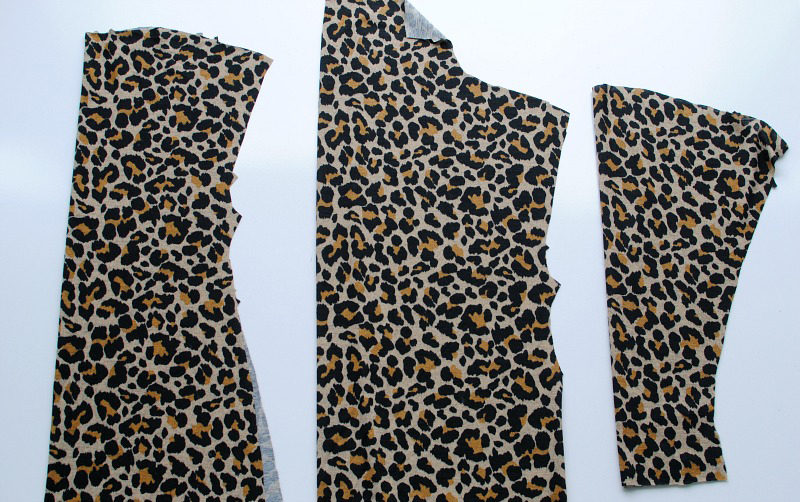
Once you cut out your pattern and have the pieces ready to sew together, you will want to use these tips to create the garment: Needle: Use a ball point needle is best when sewing with stretchy material like knit so you don’t get skipped stitches.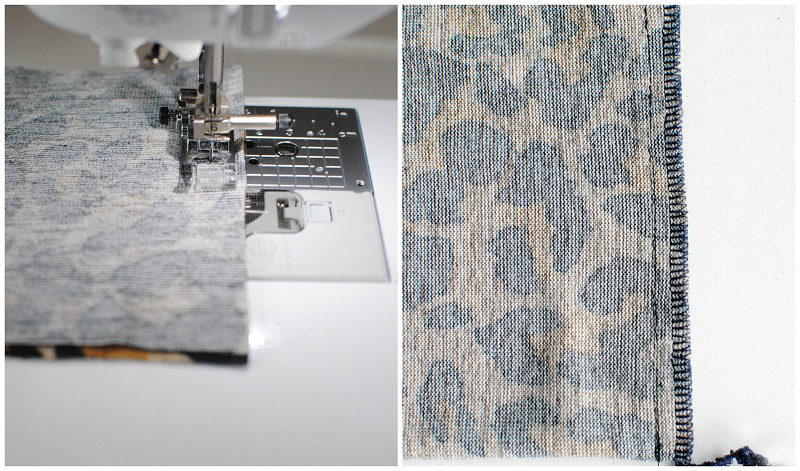
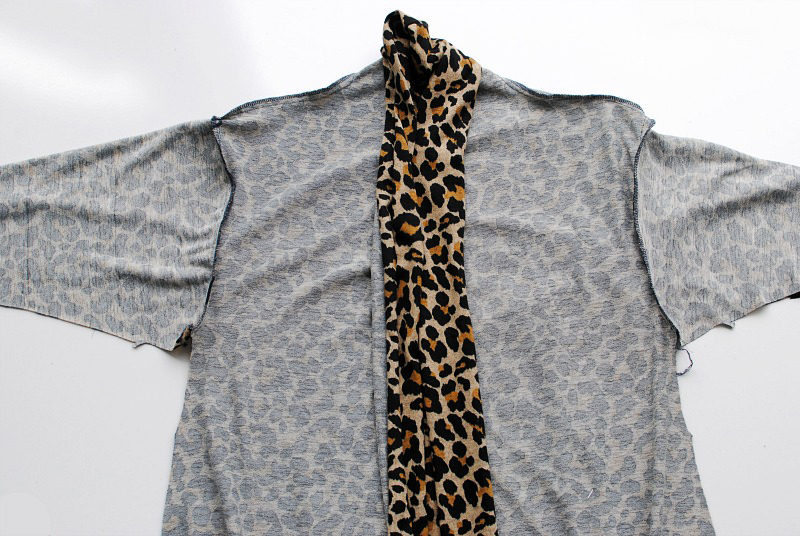 When sewing seams with knit fabric, I generally use a zigzag stitch but because this is a looser fitting garment it’s not necessary. I used a regular straight stitch with a 3.0 stitch length.
Once I’ve sewn the seams, I prefer to serge the seam allowance down with my Brother 1034DX serger.
When sewing seams with knit fabric, I generally use a zigzag stitch but because this is a looser fitting garment it’s not necessary. I used a regular straight stitch with a 3.0 stitch length.
Once I’ve sewn the seams, I prefer to serge the seam allowance down with my Brother 1034DX serger.This isn’t necessary but it cleans up the interior of the garment and gives it a professional finish. I like to sew my garment first but some may just go straight to the serger. Either way is fine.
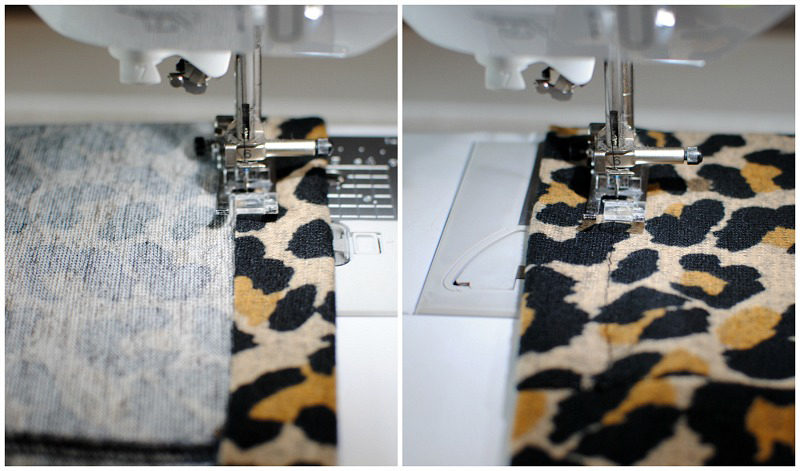
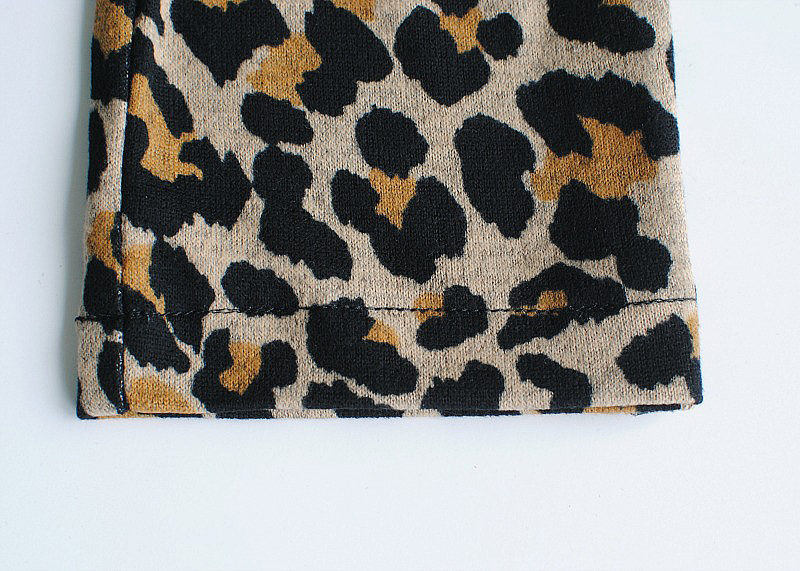 To finish the edges, I generally use my Brother Coverstitch machine
with knits but because the fabric was heavier, I went with my sewing machine. You can use a twin needle, but this pattern had me press the hem down from the fold line marked on the pattern and baste from the wrong side about 1/8” from the raw edge. Then topstitch over the baste stitch on the right side of the garment which I really liked. I’ve already been wearing this out and about… it’s a great cover-up for evenings or cold AC. I’m hoping to add a couple more to my wardrobe since I know this is a winner. Don’t you love when you find a pattern you get good use from? Hopefully this inspired some Fall garment sewing projects for you all.
