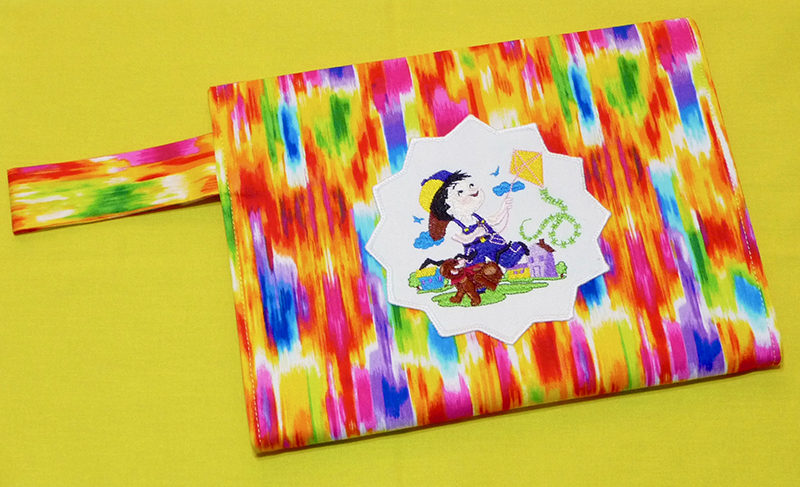
Free Design: Storage Pouch for Children’s Art Supplies
Finished size of pouch:
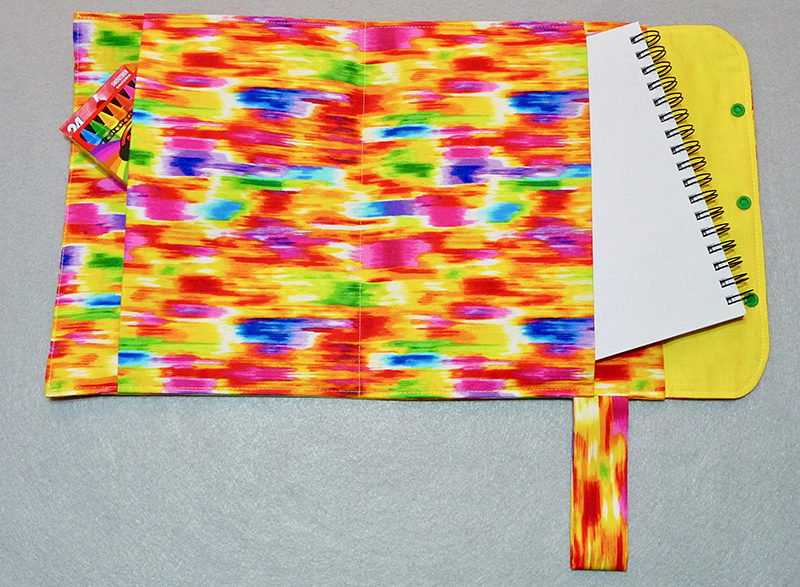
- 11-inches wide X 8.5-inches long. Inside pocket is sized to hold a blank sketchpad measuring 6-inches wide X 9-inches High X 1-inch deep.
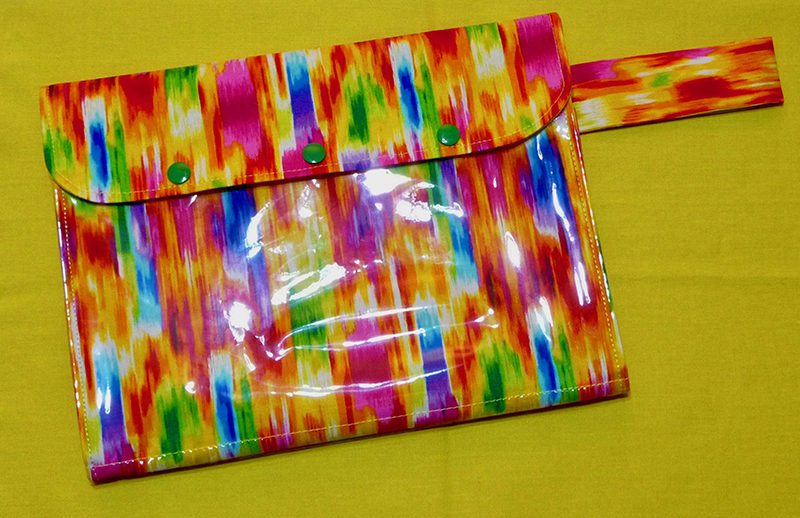
Opposite side of Finished Pouch
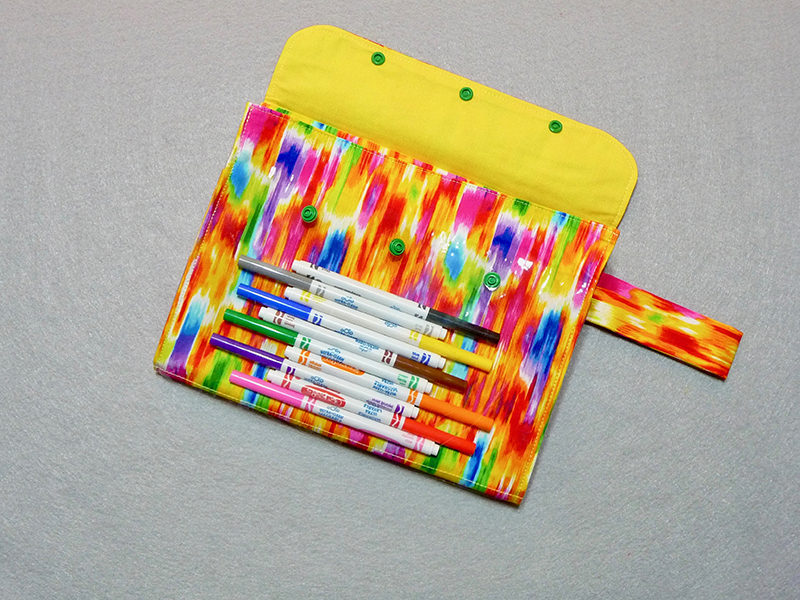
 Have a budding artist in your midst? Keep art supplies such as markers, crayons and a sketch pad handy in this simple storage pouch. April is National Kite Month so we decorated the pouch with a cute kite design you can download as the Brother Free Design of the Month.
Materials and Supplies
- Brother Machines
for embroidery and for sewing. Note: Boy with Kite design fits within a 4-inch hoop. A larger hoop is needed if you are creating an appliqué using the appliqué function. Please see instructions for more details. - Brother Embroidery Thread
and Brother Bobbin Thread. - SA190 Brother Non-Stick Roller foot
for sewing over vinyl. - Basic sewing notions including pins and a removeable marker for fabric.
Quilt weight cotton fabric and notions for pouch:
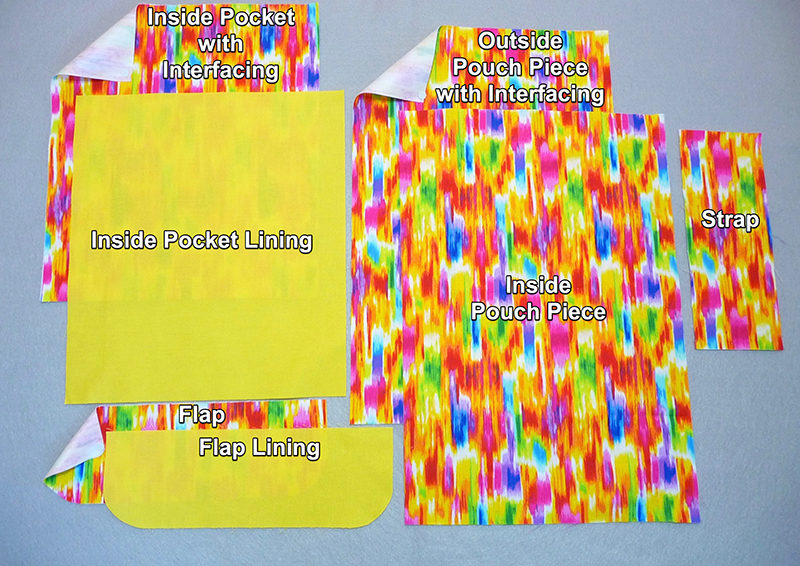
- Main pouch piece: Cut two pieces measuring 12-inches wide X 18-inches long from decorative fabric. Label one for outside piece and one for inside piece.
- Inside pocket: Cut one piece measuring 12-inches wide X 14-inches long from decorative fabric, and one measuring 12-inches wide X 14-inches long from lining.
- Flap: Cut one piece measuring 12-inches wide X 5-inches long from decorative fabric, and one measuring 12-inches wide X 5-inches long from lining. (Round off two corners to create shape for flap).
- Cut one piece measuring 3-inches wide X 10-inches long.
- Medium weight clear vinyl for outside pocket – cut one piece measuring 12-inches wide X 7-inches long.
- Medium weight fusible interfacing for outside pouch piece and inside pocket piece.
- Contrast fabric for embroidering design as an appliqué. Choose a firm cotton and fuse medium weight interfacing to the wrong side. Featured design is embroidered in an 8-inch square hoop. See instructions for additional options.
- Plastic snaps and snap setter for flap closure. Option: Use sew on hook and loop tape as a substitute for snaps.
- BoyWithKite.pes
- 3.90” Wide X 3.50” High.
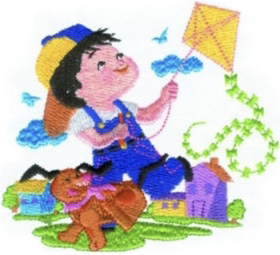 Figure #1[/caption]
Steps to Create Pouch
- Prepare pieces for sewing, adding interfacing to wrong side of outside pouch piece and inside pocket piece. See below:
Note: You need approximately ½ yard of decorative fabric for this project, plus remnants of coordinating fabric for lining. If you want to determine exact yardage, make patterns from paper or pattern tracing cloth and do a trial layout to calculate yardage.
- Transfer free design to your machine and embroider design on contrasting piece to create an appliqué.
Options: If you have appliqué function on your machine, you can use it to create the appliqué patch. Your manual includes complete details for creating an appliqué patch. See Figure #2a. For another option, embroider on contrast fabric, trim design to desired shape and turn under raw edges or satin stitch to attach to pouch. If your fabric is not too busy you can skip the appliqué process, embroidering the design directly on the outside of the pouch piece.
Pin, and then sew appliqué, having it centered at one end of outside (interfaced) pouch piece. See Figure #2b and Figure #2c.
[caption id="attachment_19360" align="aligncenter" width="800"]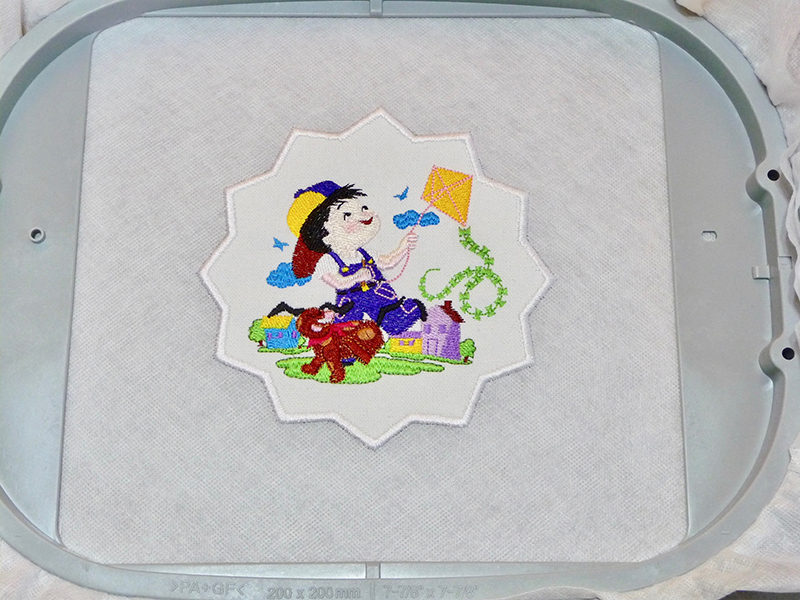 Figure #2a[/caption]
[caption id="attachment_19361" align="aligncenter" width="800"]
Figure #2a[/caption]
[caption id="attachment_19361" align="aligncenter" width="800"]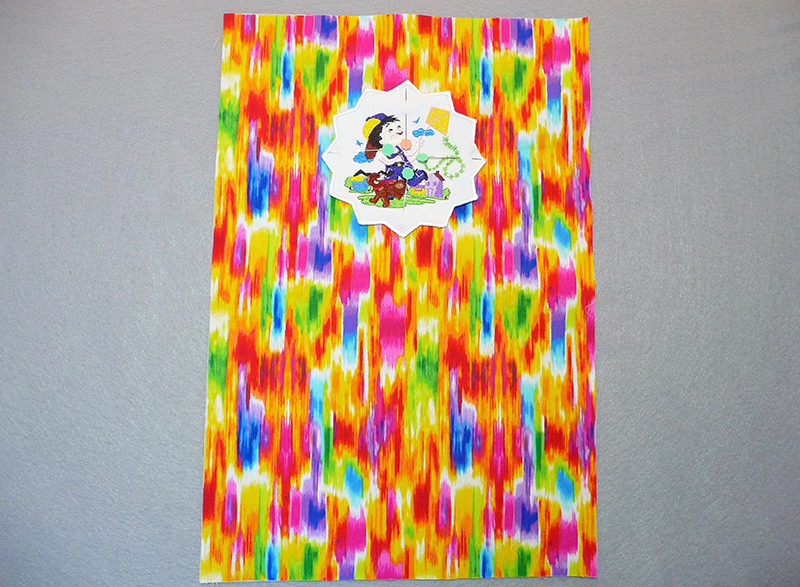 Figure #2b[/caption]
[caption id="attachment_19362" align="aligncenter" width="800"]
Figure #2b[/caption]
[caption id="attachment_19362" align="aligncenter" width="800"]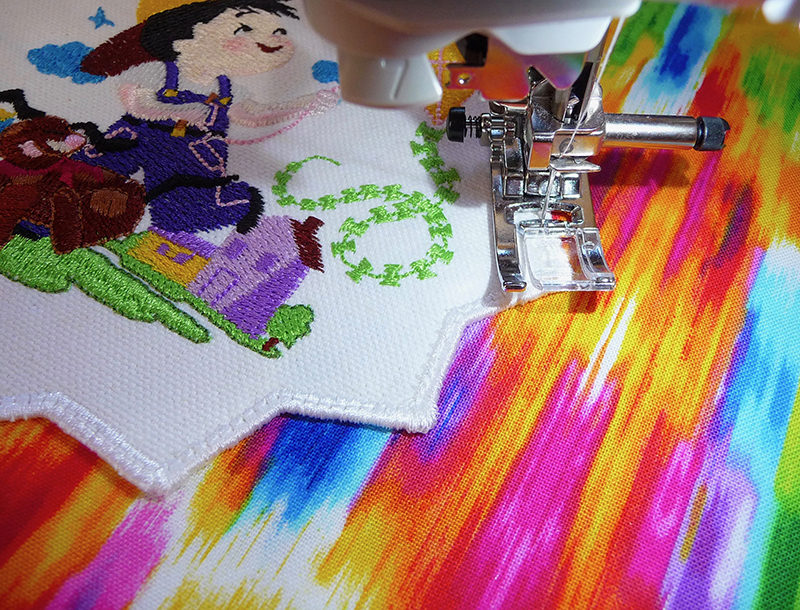 Figure #2c[/caption]
- Select strap piece. Fold in half and sew a ½-inch seam along long edge. Turn right side out and press. Fold in half and pin 1-inch from top edge of outside piece. Locate the lengthwise center of front piece and place edge of transparent plastic pocket piece along center line. Attach non-stick rolling foot and stitch close to bottom edge using a straight stitch with a length of 3.5. Switch to a basting stitch and baste vinyl along side edges. See stitching lines shown in Figure #3.
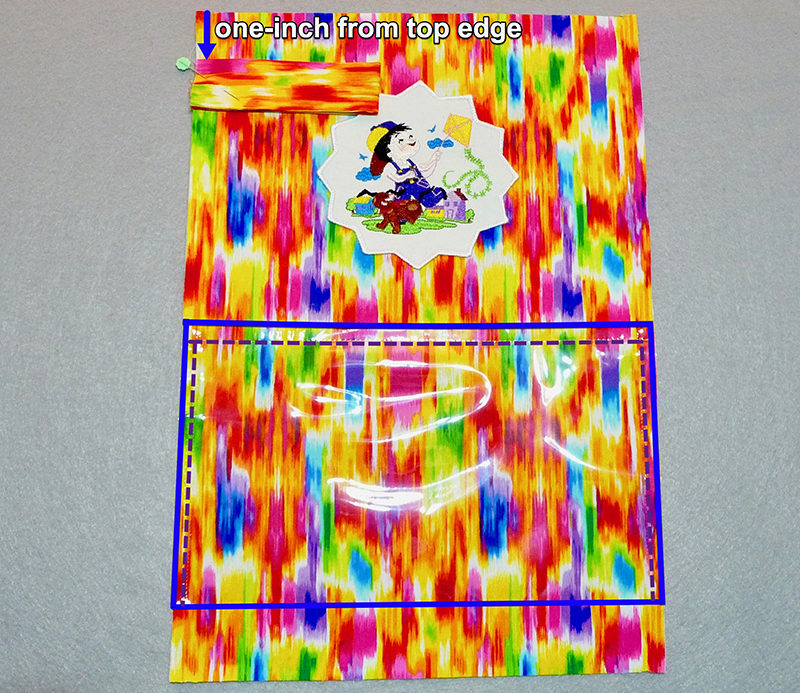 Figure #3[/caption]
- Place standard foot back on the machine. Sew pocket pieces right sides together along each 12-inch edge. Turn right side out and press. Center lining side of pocket on inside pouch piece, then mark and sew along center of inside pocket. Baste raw edges together along sides. See enhanced photo in Figure #4.
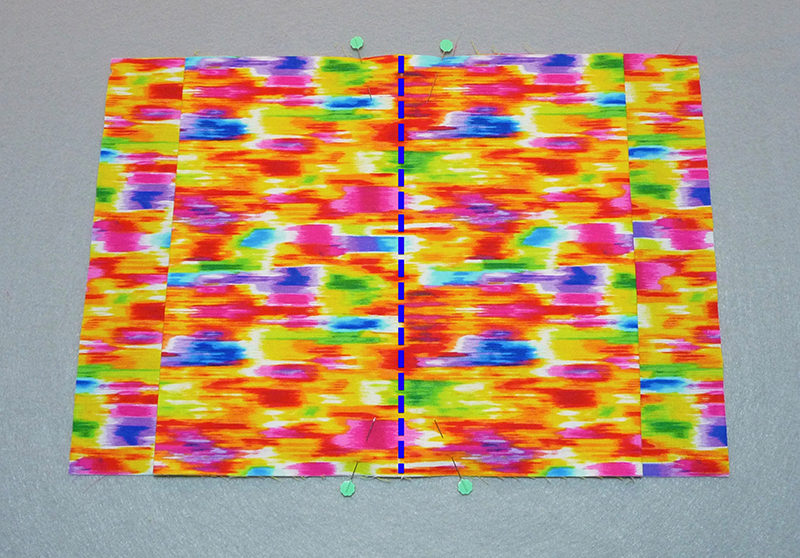 Figure #4[/caption]
- Place flap pieces right sides together and sew a ½-inch seam along shaped edge. Turn right side out and press. Pin to top edge of outside piece. See Figure #5.
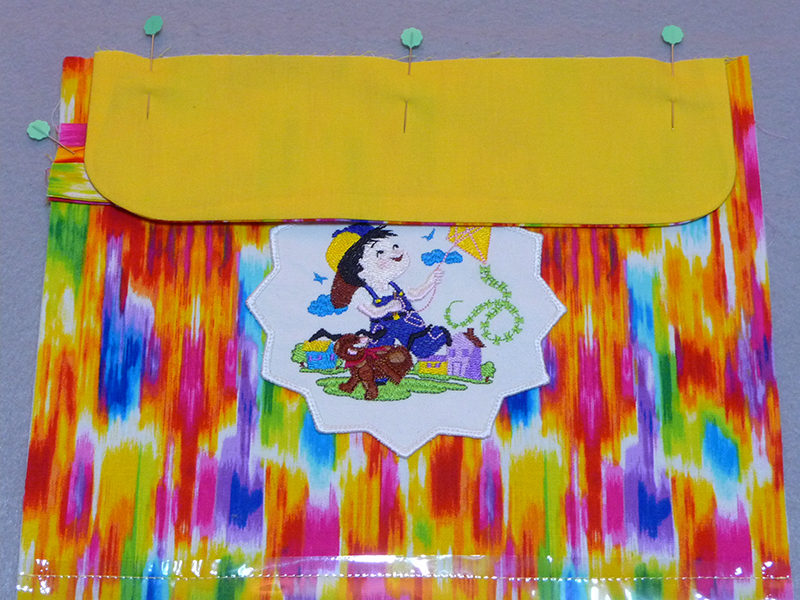 Figure #5[/caption]
- Layer outside and inside pieces as shown below.
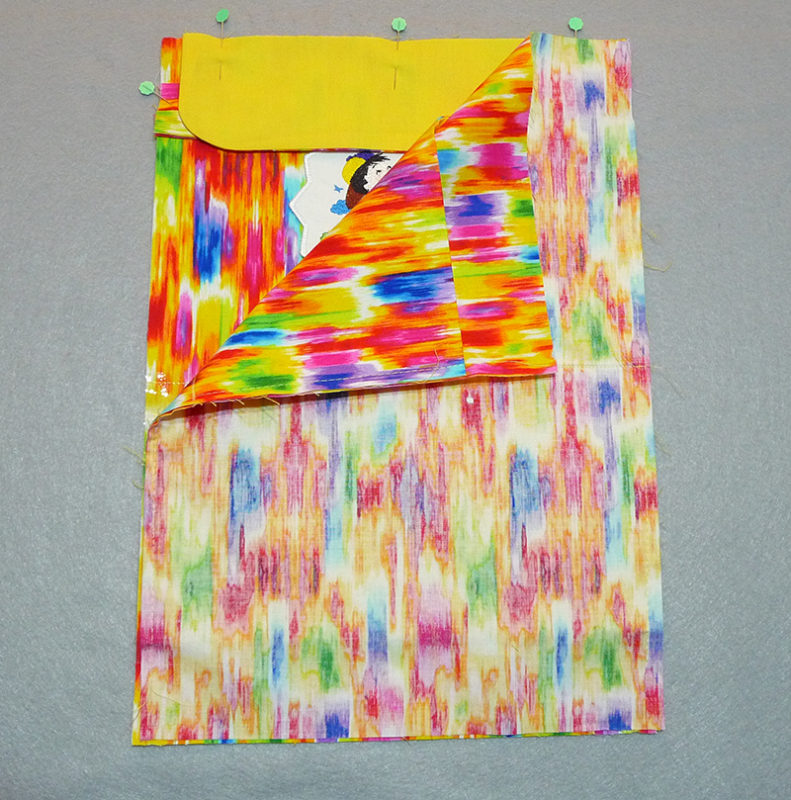
- Pin layers together, leaving a space marked for turning. See Figure #6.
Tip: Use clips to avoid pinning through vinyl area.
[caption id="attachment_19366" align="aligncenter" width="800"]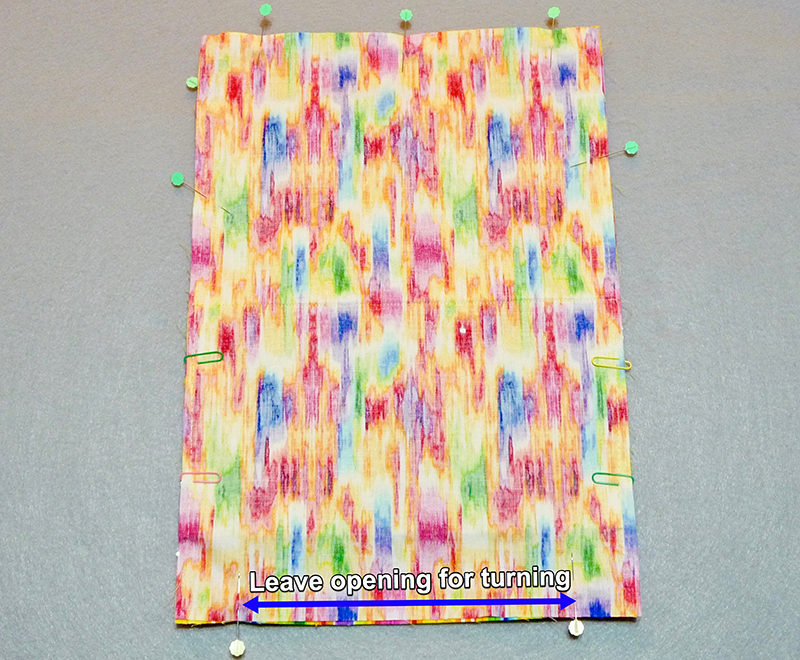 Figure #6[/caption]
- Stitch pouch pieces together using a 3/8-inch seam allowance. Turn right side out, taking care to avoid wrinkling vinyl as much as possible. Press from the inside of the pouch without touching vinyl with iron.
- Topstitch close to finished edge, using a stitch length of 3.5.
Tip: Use the leveling button on foot “A” to sew over thick spots. See Figure #7.
[caption id="attachment_19367" align="aligncenter" width="800"]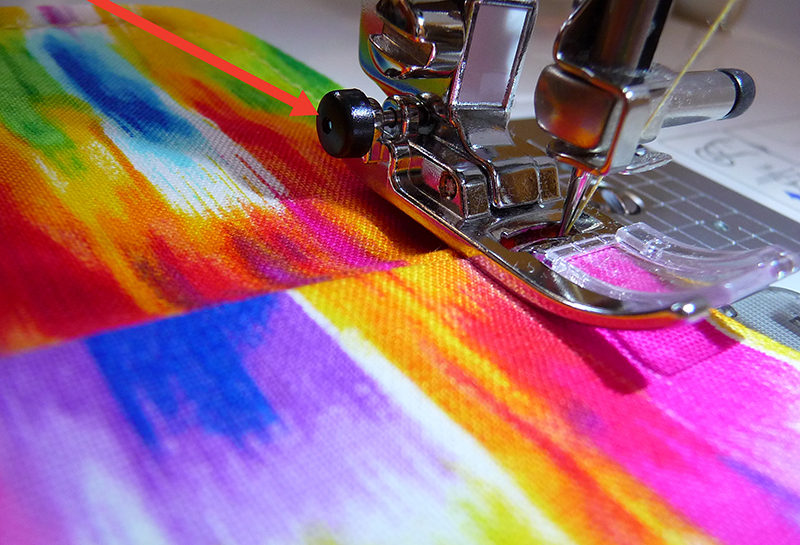 Figure #7[/caption]
- Gather snap parts. See Figure #8.
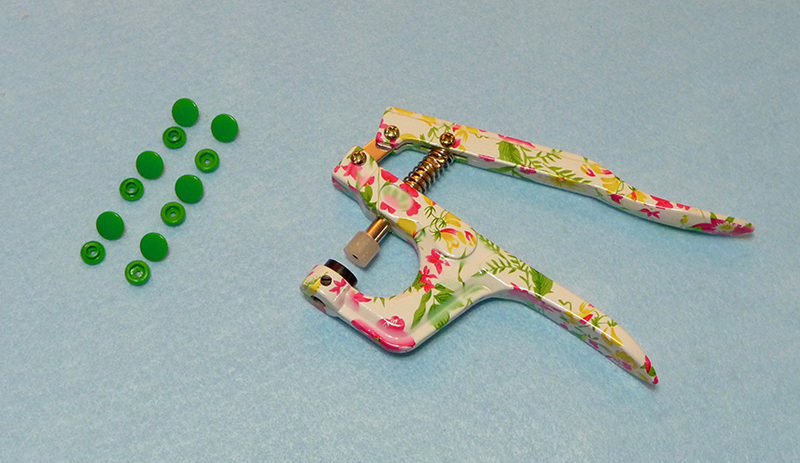 Figure #8[/caption]
Attach snaps to flap. Attach corresponding snaps to vinyl pocket, adding a 1-inch piece of vinyl as a reinforcement for each one. You are finished!
Insert art supplies and your child is ready to express their artistic side at a moment’s notice. See photos below:
Figure #8[/caption]
Attach snaps to flap. Attach corresponding snaps to vinyl pocket, adding a 1-inch piece of vinyl as a reinforcement for each one. You are finished!
Insert art supplies and your child is ready to express their artistic side at a moment’s notice. See photos below:
Related Projects
Stay Connected
* Required fields