Get a Hold of This! Stylish Soft Fabric Container
Organizing can be fun when you make soft containers to match your home décor. Each container requires minimal materials so you’ll no doubt find yourself making several. This project is quick and easy. Are you ready? Let’s go sew!
Materials and Supplies:
- Brother Sewing Machine.
Machine featured in this project is the Brother Pacesetter PS200T
but another option would be the Brother Pacesetter PS700. - Basic sewing notions including sewing thread to match fabric, a measuring tool, and a hand sewing needle for closing bottom of container.
Fabric and materials for two color container:
- Fabric #1 for outside of container, two rectangular pieces of print fabric measuring 12-inches wide X 14-inches long.
- Fabric #2 for inside, (lining) of container, two rectangular pieces of coordinating fabric measuring 12-inches wide X 14-inches long.
- Two rectangular pieces of thin fusible craft fleece measuring 12-inches wide X 14-inches long.
Important Notes: Select medium weight home décor fabric or duck cloth for best results. A ½-inch seam allowance is used throughout the project.
Steps to Create Container
1. Fuse craft fleece to wrong side of each piece selected for fabric #1. 2. Layer both outer pieces right sides together. Layer both inner pieces right sides together. To create box shaping at the bottom, cut away a 2 ½-inch square from the bottom corner of each of the four pieces. Sew side seams on each set of layered fabrics. Next, sew across entire bottom seam on outer piece. Sew bottom seam of inner piece leaving a 3-inch opening in the bottom seam for turning piece right side out. See enhanced photo with seams sewn and corners cut in Figure #1. [caption id="attachment_21357" align="aligncenter" width="800"] Figure #1[/caption]
3. Press all seams open.
4. Box bottom corners on outside piece by bringing raw edges together and matching seams. Sew using a ½-inch seam allowance. Repeat for inside piece. See Figure #2a and Figure #2b.
[caption id="attachment_21360" align="aligncenter" width="800"]
Figure #1[/caption]
3. Press all seams open.
4. Box bottom corners on outside piece by bringing raw edges together and matching seams. Sew using a ½-inch seam allowance. Repeat for inside piece. See Figure #2a and Figure #2b.
[caption id="attachment_21360" align="aligncenter" width="800"] Figure #2a[/caption]
[caption id="attachment_21361" align="aligncenter" width="800"]
Figure #2a[/caption]
[caption id="attachment_21361" align="aligncenter" width="800"]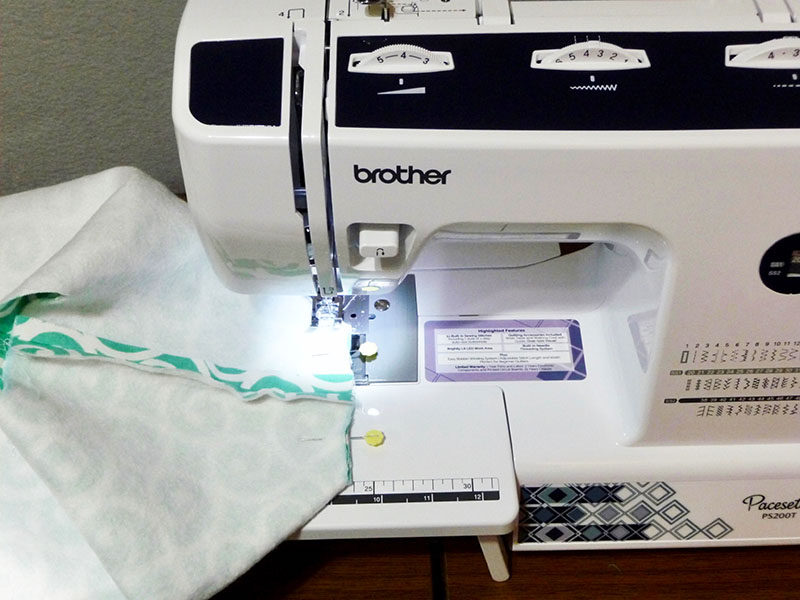 Figure #2b[/caption]
5. Slip inside piece into outside piece, having right sides together, side seams matching, and raw edges even at the top edge. See Figure #3.
[caption id="attachment_21362" align="aligncenter" width="800"]
Figure #2b[/caption]
5. Slip inside piece into outside piece, having right sides together, side seams matching, and raw edges even at the top edge. See Figure #3.
[caption id="attachment_21362" align="aligncenter" width="800"] Figure #3[/caption]
6. Set up machine for free arm sewing and sew all around top edge using a ½-inch seam allowance. See Figure #4.
[caption id="attachment_21363" align="aligncenter" width="800"]
Figure #3[/caption]
6. Set up machine for free arm sewing and sew all around top edge using a ½-inch seam allowance. See Figure #4.
[caption id="attachment_21363" align="aligncenter" width="800"] Figure #4[/caption]
7. Pull inside and outside pieces out so they are opposite one another. See Figure #5.
[caption id="attachment_21364" align="aligncenter" width="800"]
Figure #4[/caption]
7. Pull inside and outside pieces out so they are opposite one another. See Figure #5.
[caption id="attachment_21364" align="aligncenter" width="800"] Figure #5[/caption]
8. Carefully pull outside bag through the opening in the lining. See Figure #6a and Figure #6b.
[caption id="attachment_21365" align="aligncenter" width="800"]
Figure #5[/caption]
8. Carefully pull outside bag through the opening in the lining. See Figure #6a and Figure #6b.
[caption id="attachment_21365" align="aligncenter" width="800"] Figure #6a[/caption]
[caption id="attachment_21366" align="aligncenter" width="800"]
Figure #6a[/caption]
[caption id="attachment_21366" align="aligncenter" width="800"] Figure #6b[/caption]
9. Sew bottom opening of lining closed using small hand stitches. See Figure #7.
[caption id="attachment_21367" align="aligncenter" width="800"]
Figure #6b[/caption]
9. Sew bottom opening of lining closed using small hand stitches. See Figure #7.
[caption id="attachment_21367" align="aligncenter" width="800"] Figure #7[/caption]
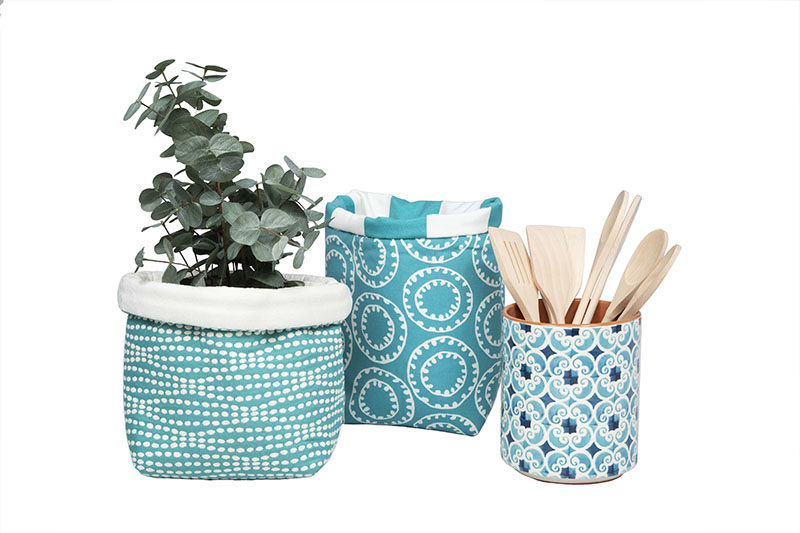
10. Tuck inside piece into outside piece, shape the container by pushing the lining down inside, and then thoroughly press the entire container. Roll approximately 1 ½-inches of the contrast lining to the outside and press firmly with a steam iron to keep it in place. You are finished! See completed container below:
Figure #7[/caption]
10. Tuck inside piece into outside piece, shape the container by pushing the lining down inside, and then thoroughly press the entire container. Roll approximately 1 ½-inches of the contrast lining to the outside and press firmly with a steam iron to keep it in place. You are finished! See completed container below:

Options and ideas:
- If you’d like to use this in the sewing room, this container holds standard sewing patterns perfectly. Of course you can use it for a variety of different items. Fill your soft container with sewing supplies, household items, kitchen accessories, or anything else you desire. Increase or decrease the length of the rectangles to make containers of varying sizes.
Related Projects
Stay Connected
* Required fields