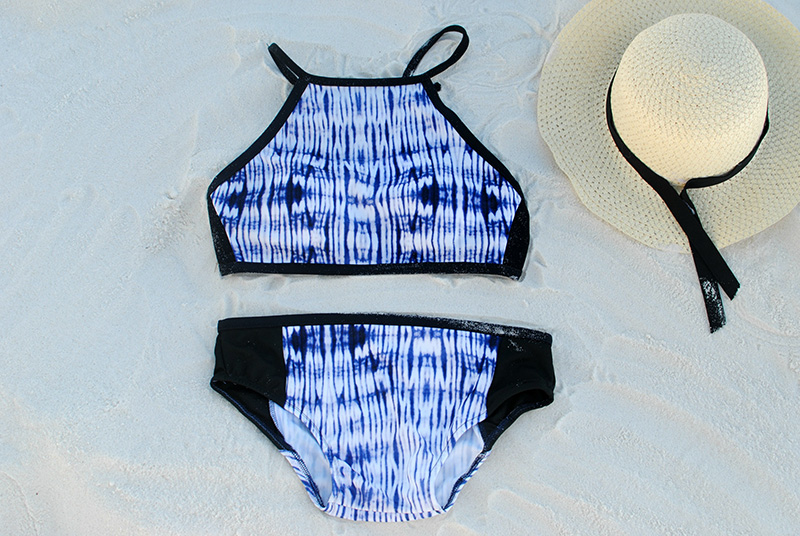
Let's Dive Into Sewing Swimwear
 Sewing swimwear can seem a bit intimidating at first. But, once I gave it a try, I learned with the right tips and tricks it’s a great project to try out. Not only can you sew a custom suit fit to your style and measurements, but there are a lot of fun prints offered in fabrics suited for swimwear. You can create a swimsuit with a basic sewing machine - no special machines necessary. Get the details below in our Sewing Swimwear Guide so you can make your own!
Fabric:
It's important to use the right material for swimwear. I typically look for a Nylon/Spandex blend with 4-way stretch. You will want to use high quality fabric with coverage. Nylon/Spandex blends are versatile for swim and athletic wear. You can also find some manufacturers that add UPF protection! You will also want to add a liner to the bottoms and the bust area.
Equipment:
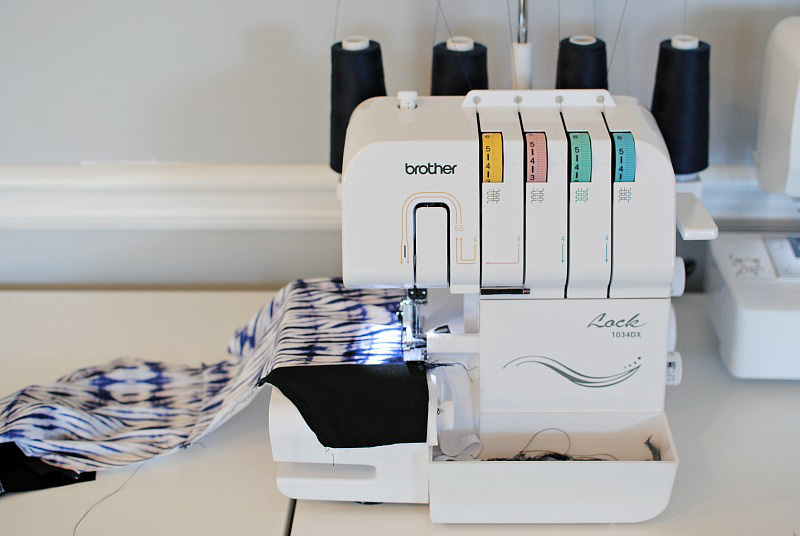
I am using my Brother 1034DX Sergerand my Brother SE625 Sewing and Embroidery Machine.
It's ideal to have a serger but not necessary. A sewing machine will do just fine. I usually combine both my serger and my sewing machine.
 I use the sewing machine to sew the pieces together and the serger to clean up the seam allowance. I find it easier to sew first due to the slippery nature of nylon/spandex materials. Plus, if I have a mishap it’s easier unpicking than an overlock stitch.
Pattern:
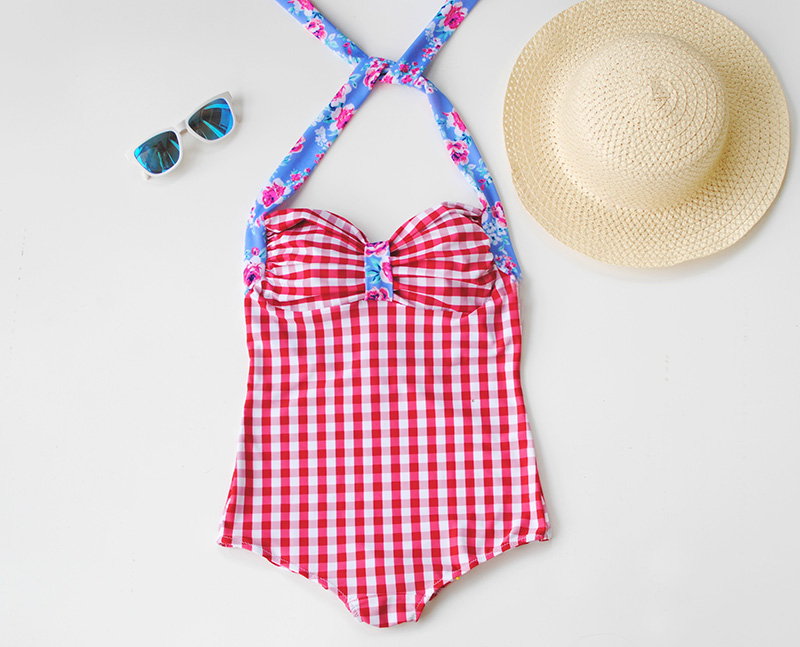
There are plenty of options for swimsuit patterns and styles to choose from!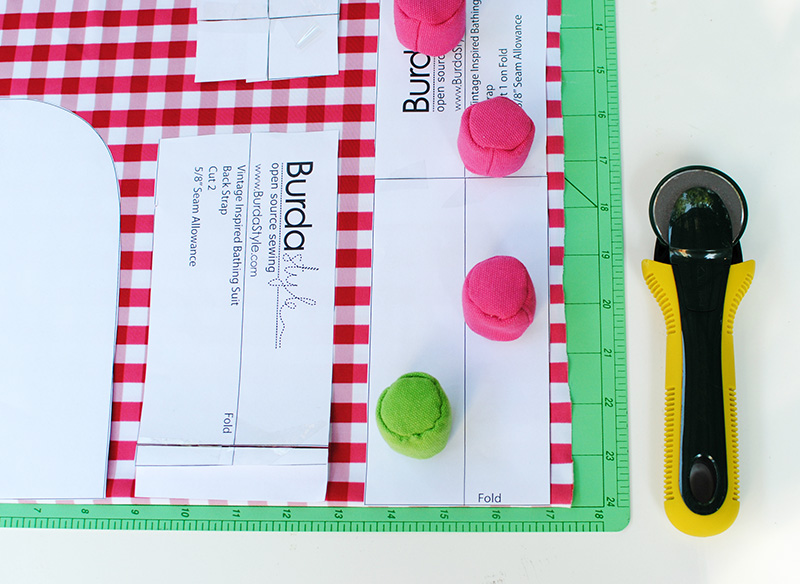
Disclaimer: Pattern used is from BurdaStyle and Brother International Corporation makes no representation or warranties regarding this product.
Pattern Layout/Cutting:
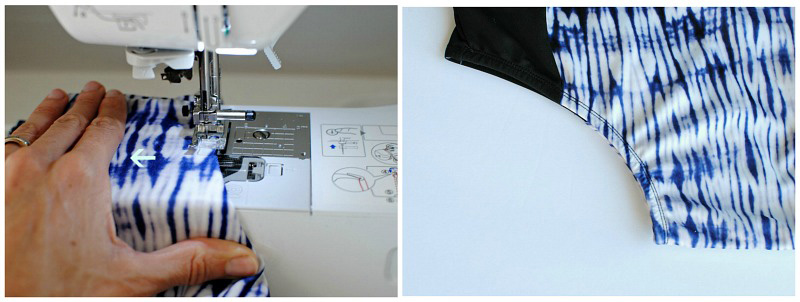
When working with stretchy fabrics like spandex (or any knit for that matter), I use pattern weights, a rotary cutter, and mat to cut the pattern out. It's much easier this way, saves time, and great for slippery, stretchy materials like spandex. You will also want to cut 1 full pattern piece (don't use folds) 1 layer at a time.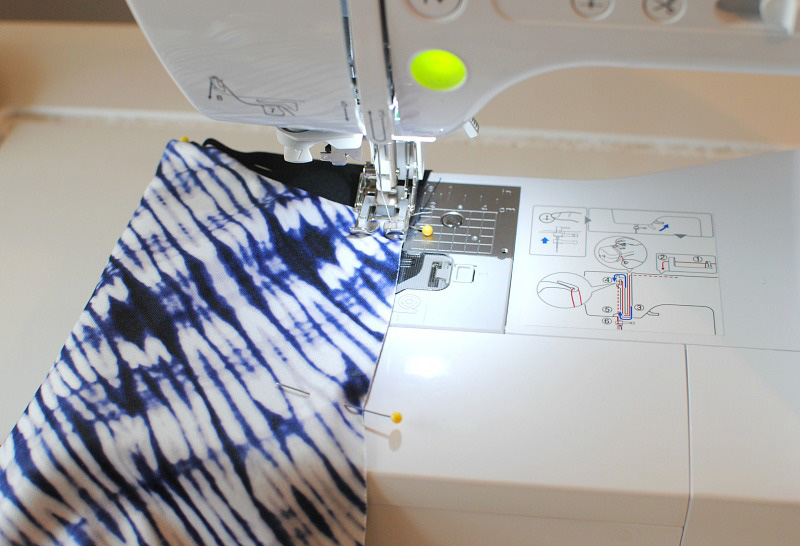
Machine set up:
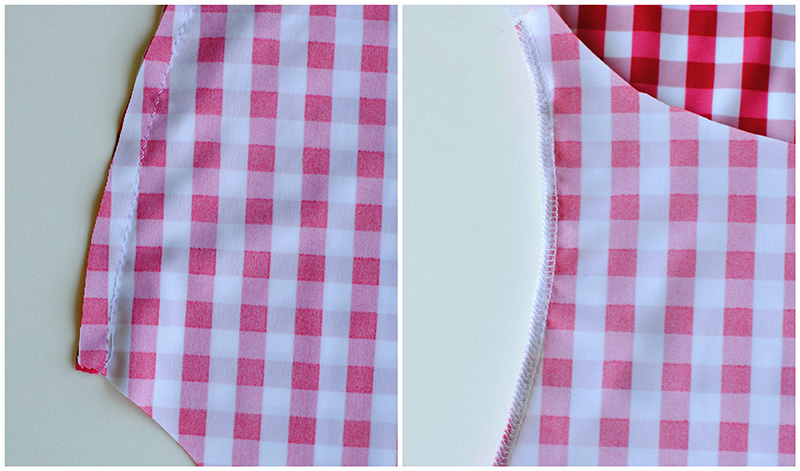
You will want to use a ball point needle when sewing with spandex/knit fabrics or you may get skipped stitches. You will also sew with a zigzag stitch when using your sewing machine or a special stretch stitch that some machines have. I prefer a basic zigzag that is 2.0 wide and 2.5 length. This always does the trick for me. For finishes: use a twin needle. It has the finish similar of a Cover Stitch machine and a professional result. If using a serger just make sure to test out on the same fabric to get the tension dials correct before the final project.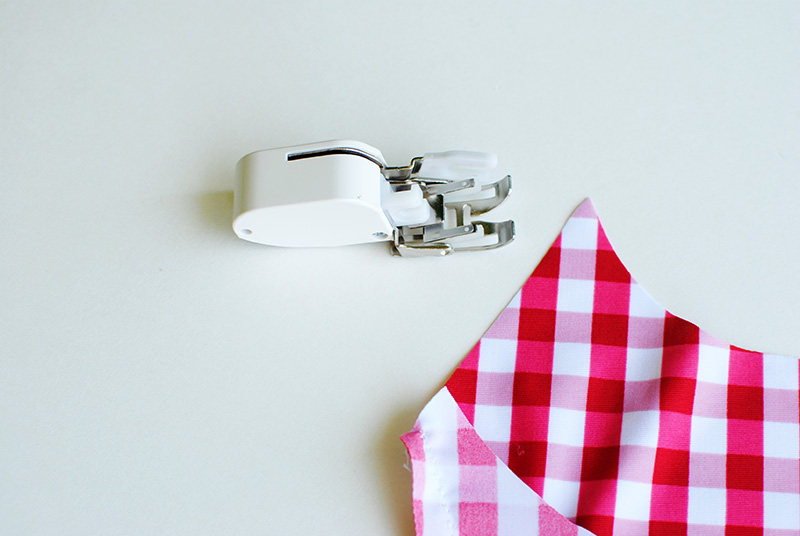
Try the Walking Foot:
This is a bigger foot (that looks like the above) and may take some extra steps to secure but is worth it for sewing knits and stretchy materials. "The walking foot is a moving feed system that holds and moves fabric between the presser foot's upper feed go and the machine's lower feed dogs to better control difficult fabrics (like knits/spandex/etc) as well as multiple layers of fabric." It came in handy when sewing the thicker layers of the spandex binding along the swimsuit edge.Thread:
Find a good, quality All-Purpose Thread to sew with that won’t break when stretched.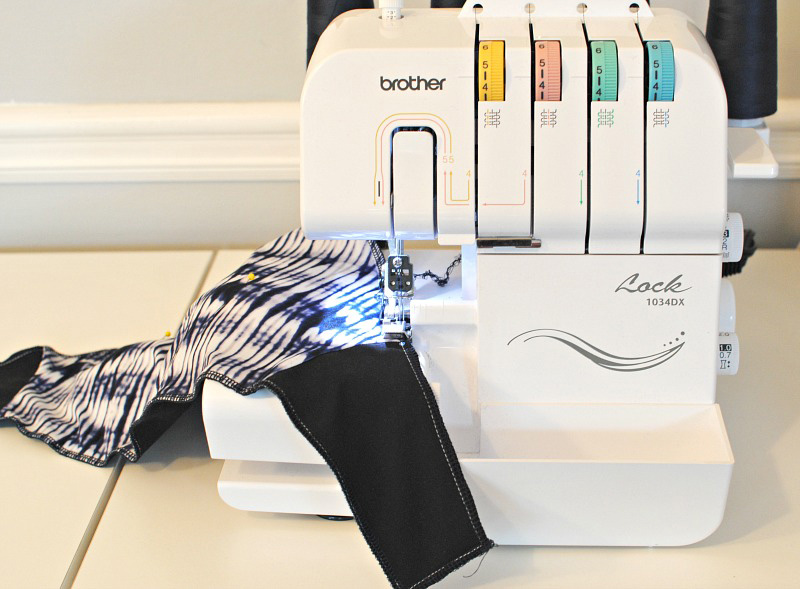
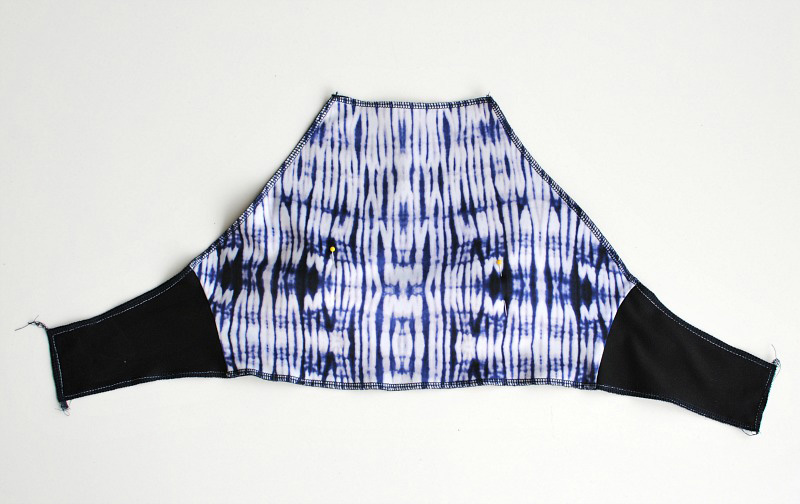
Construction:
Most swimwear is sewn with a 1/4" seam allowance, follow your pattern instructions for this. You most likely will be adding elastic leg bands which will keep the leg openings nice and tight around your legs.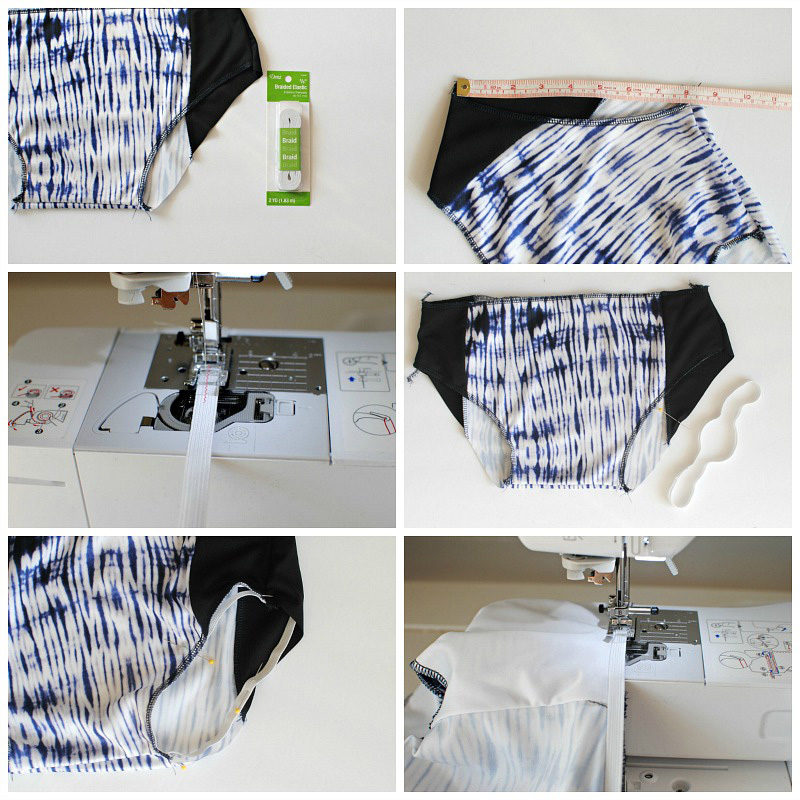 For the leg bands you will want to use elastic.
- Measure the opening and subtract 1". This will be the measurement you will want to cut the elastic to equal. Or refer to your pattern measurements.
- Sew the elastic in a loop with a 1/2" overlap using a zigzag stitch.
- Measure and mark off the quarters on both the leg opening and the elastic.
- Pin the elastic to the wrong side of the leg opening matching the quarter marks.
- Sew with elastic on top using a zigzag (2.5 length 2.0 wide) close to the outer edge of the elastic (about 1/16 from the edge). As you sew pull the elastic to meet each quarter mark.
 Now turn over the fold.
Top stitch the fold into place about 1/4" from the edge or a little less than your elastic width. (make sure your getting the edge of the elastic). As you sew, pull but also make sure the fabric is running perpendicular and flat or it will wave at the hem.
Now turn over the fold.
Top stitch the fold into place about 1/4" from the edge or a little less than your elastic width. (make sure your getting the edge of the elastic). As you sew, pull but also make sure the fabric is running perpendicular and flat or it will wave at the hem.
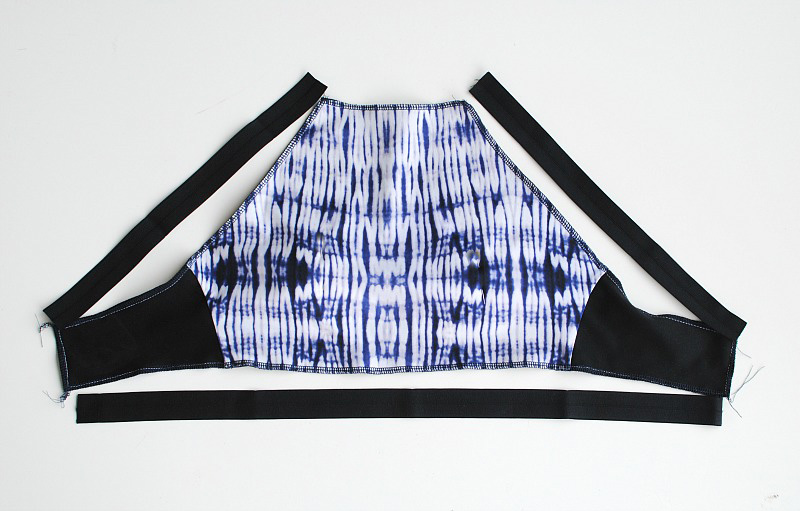
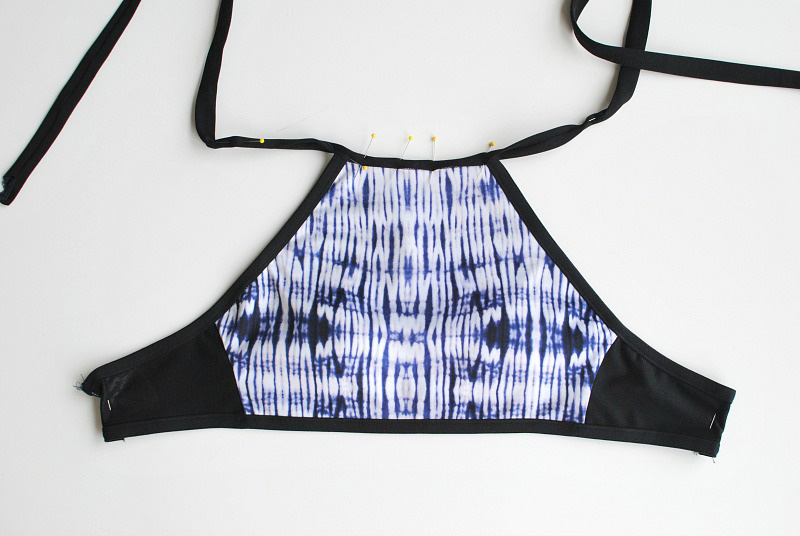 Other products to try: To give the suit more support I used Fold-Over Elastic (FOE) as binding around the sides and bottom edge. It’s also great for straps and band hems and comes in an array of colors and widths.
 I like to add cups for additional support and coverage in my swimsuits. I typically insert them in the bodice during construction. Then once I try the suit on for final fitting, I’ll pin them into proper placement and baste stitch them by hand on the back side (liner).
I hope this post inspires you to give swimwear a try. I think it should be a bucket list project for all sewists.
I like to add cups for additional support and coverage in my swimsuits. I typically insert them in the bodice during construction. Then once I try the suit on for final fitting, I’ll pin them into proper placement and baste stitch them by hand on the back side (liner).
I hope this post inspires you to give swimwear a try. I think it should be a bucket list project for all sewists.
Related Projects
Stay Connected
* Required fields