Quick Tip – Super Stitch for Knits
This overcasting stitch is ideal for sewing seams in light to medium weight knits. It sews the seam and overcasts all in one step, all while maintaining a bulk free seam. I’ve even used this for sewing bathing suit seams. You’ll find this style of overcasting stitch on many Brother machine models. The stitch is formed with two straight stitches along the seam line, followed by a slanted stitch from left to right. See Figure #1.
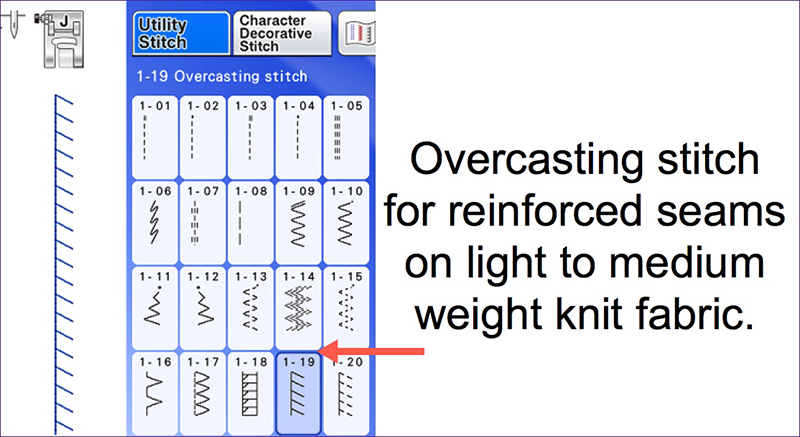 Figure #1
,the Brother seam guide accessory to guide the raw edge of the fabric and keep my seam allowance consistent.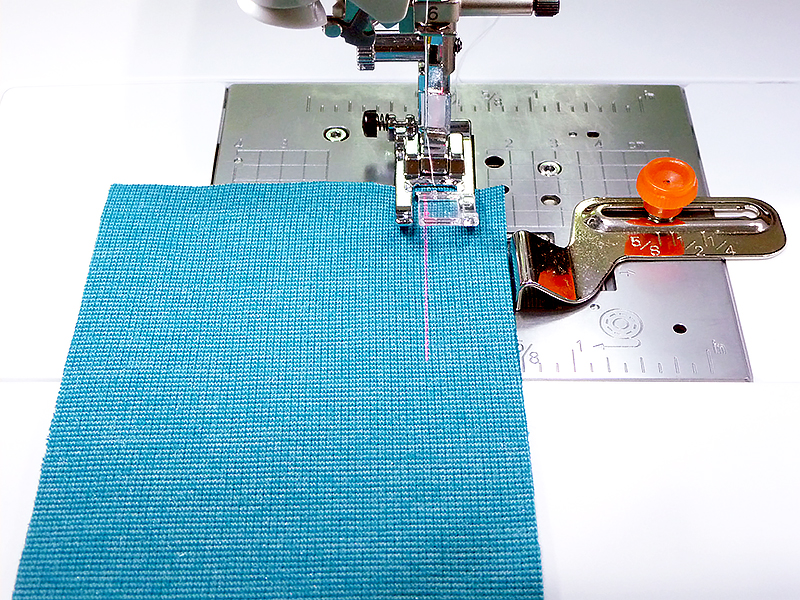 Figure #2
 Figure #3
 Figure #4
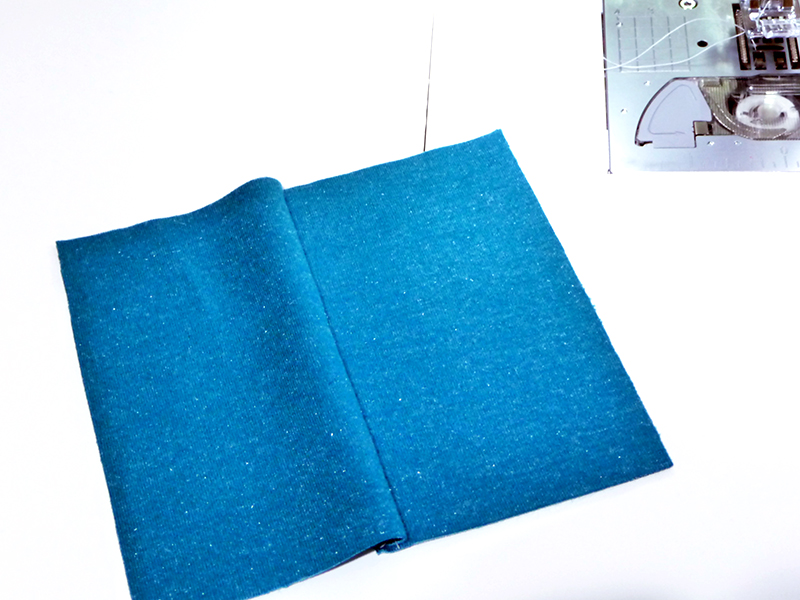 Figure #5
used here, you can set the laser along the outside edge of the stitch and use it as a guide so that the overcasting forms just off the raw edge. See Figure #6a and Figure #6b.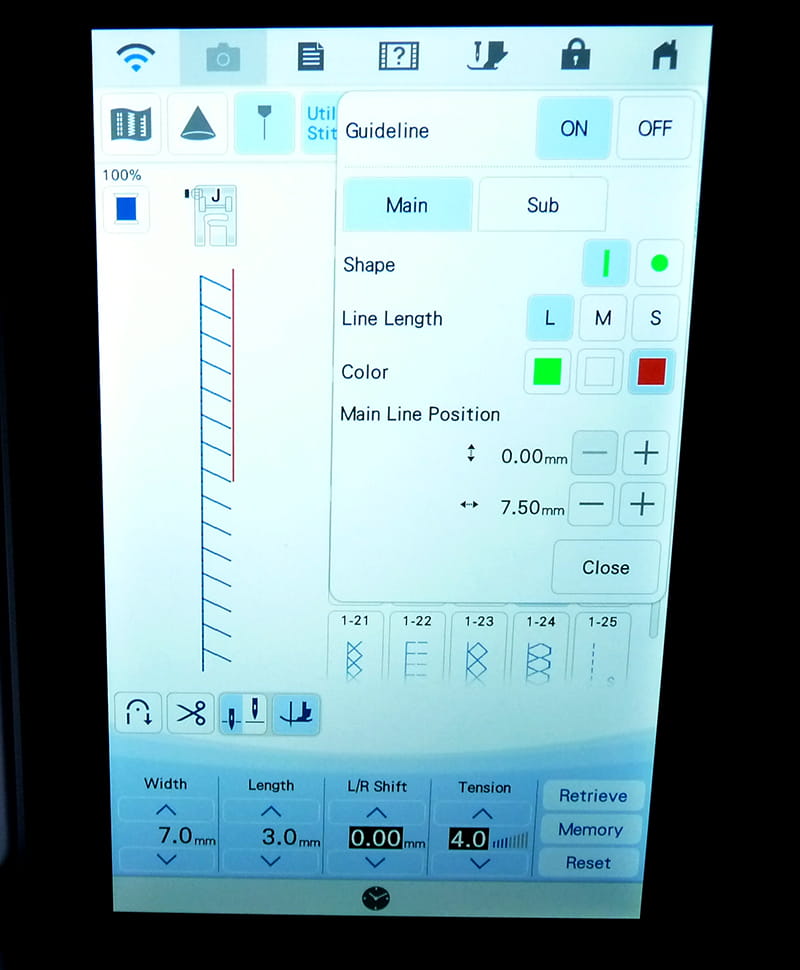 Figure #6a
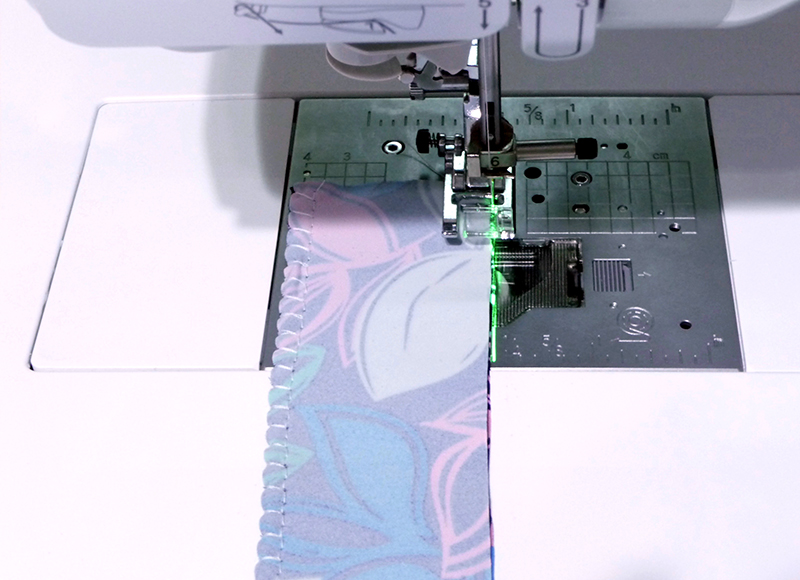 Figure #6b
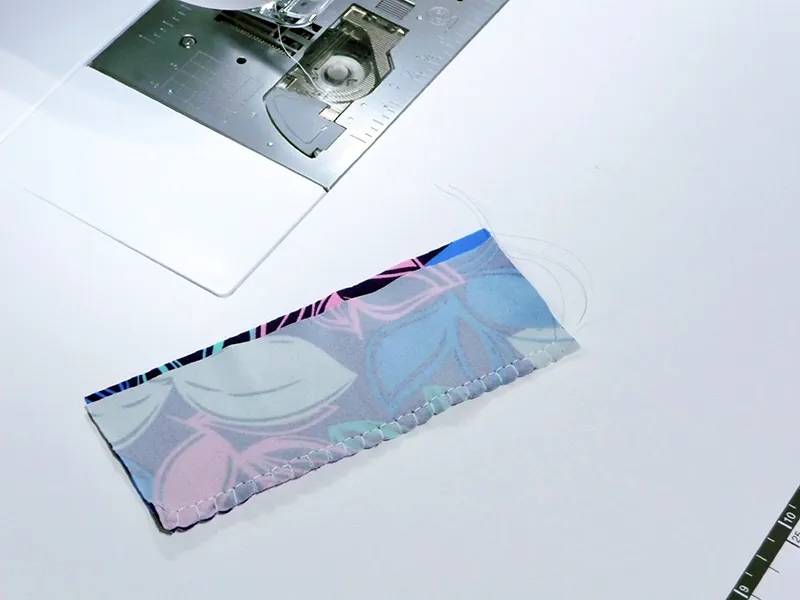 Figure #7a
 Figure #7b
CLICK HERE FOR PDF!
Figure #1,the Brother seam guide accessory to guide the raw edge of the fabric and keep my seam allowance consistent.
Figure #2 Figure #3 Figure #4 Figure #5used here, you can set the laser along the outside edge of the stitch and use it as a guide so that the overcasting forms just off the raw edge. See Figure #6a and Figure #6b.
Figure #6a Figure #6b Figure #7a Figure #7bCLICK HERE FOR PDF!
Related Projects
Stay Connected
* Required fields