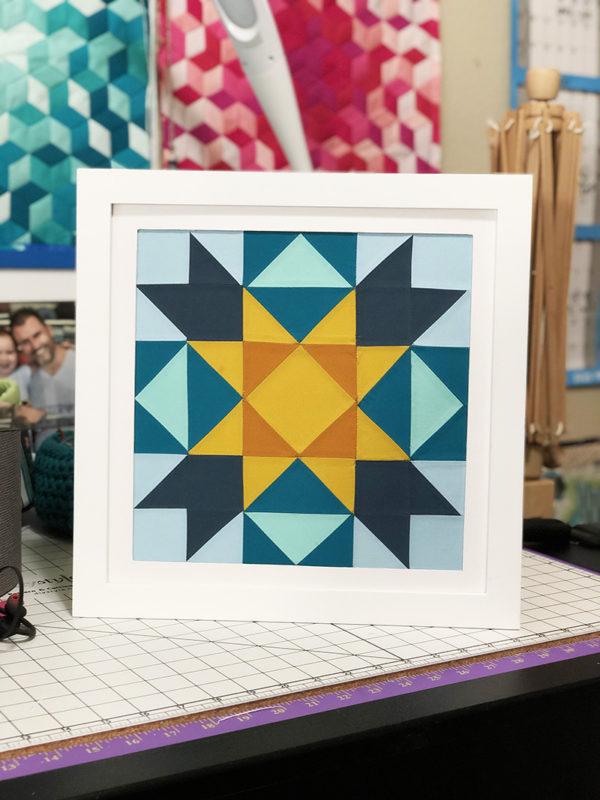
Super Cool National Quilting Month Barn Quilt
For National Quilting Month, I wanted to create a cool-quilty-keepsake that is both simple and totally fun. I know that a Barn Quilt is generally made out of wood and paint; and since this isn’t something I generally have around and I’m absolutely obsessed with fabric and sewing, I opted for this option as an approachable project that we can all get started on right away.
What You’ll Need:
- Fabric for quilt block
- Heavy duty fusible webbing
- Foam stabilizer
- Frame with mat
Product Used:
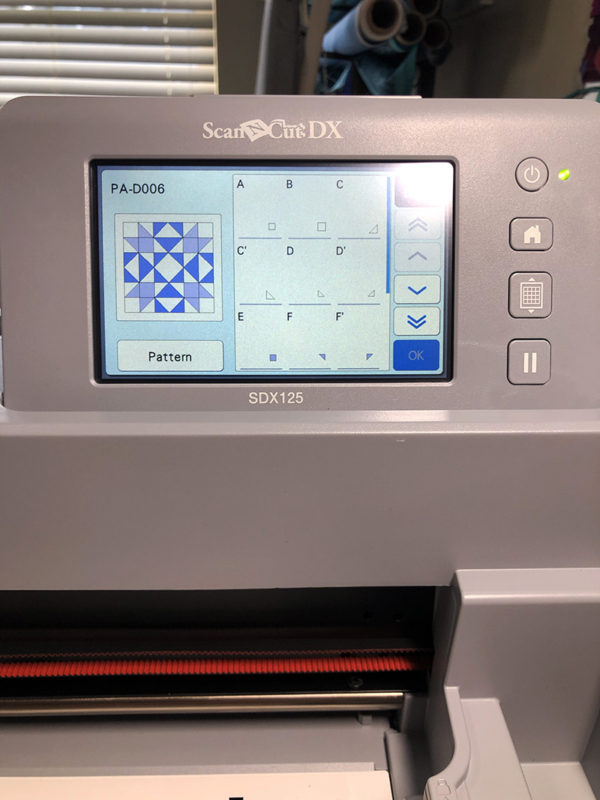
- Brother ScanNCut SDX125
- Quilt block design PADOO6 (included with ScanNCut)
- Brother SE1900
(aka Alphonso) - Standard tack adhesive mat
Cutting Out the Pieces
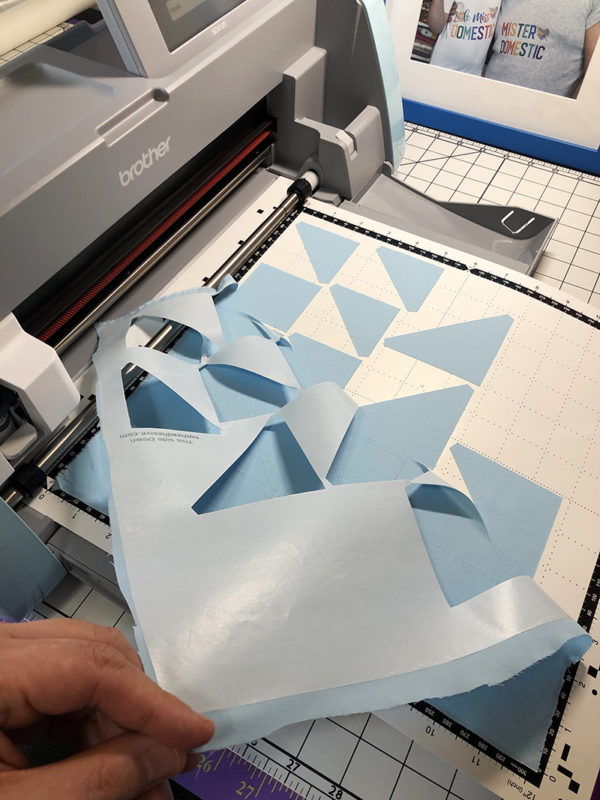
For the standard tack adhesive mat, you will need to fuse the webbing onto each piece of fabric and remove the paper before applying to the mat.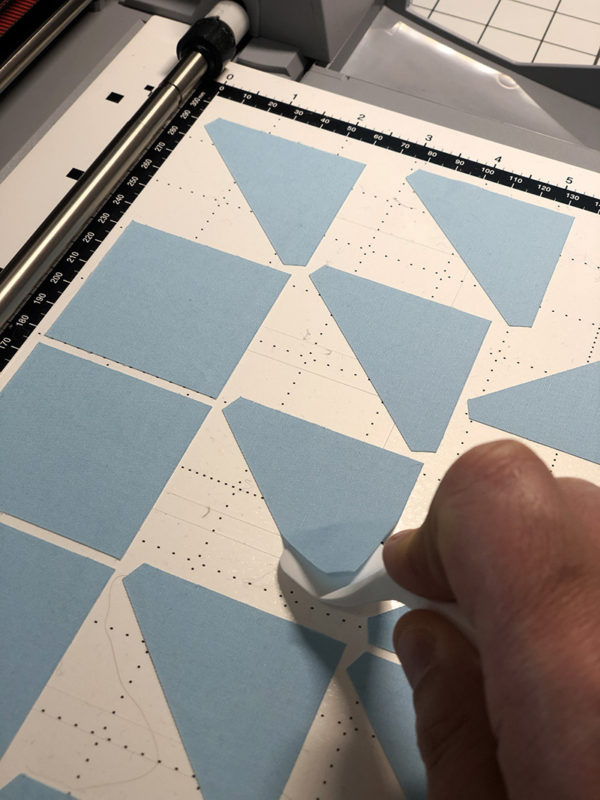
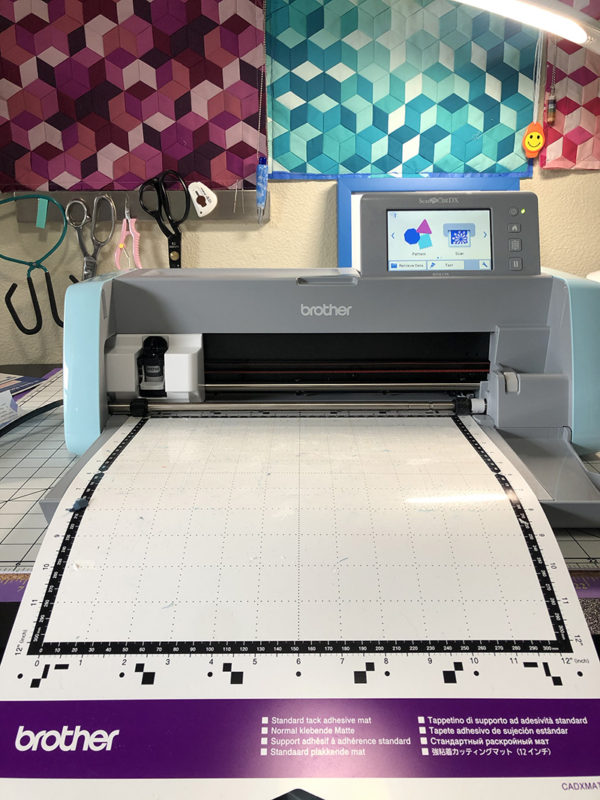
- Before cutting, measure the actual opening in the mat. In my instance, I had an actual 10” x 10” opening, but most matting is slightly smaller than the image size as to ensure full coverage. Use the opening dimensions as the dimensions of the quilt block.
- Determine which fabrics will be used with each section of the block. Mark all pieces in the same fabric on the machine.
- With mat inserted correctly and fused fabric adhered to the mat, press the button to cut the pieces out.
- Using the included tool, remove all pieces and continue this process with the other fabrics until all pieces are cut out.
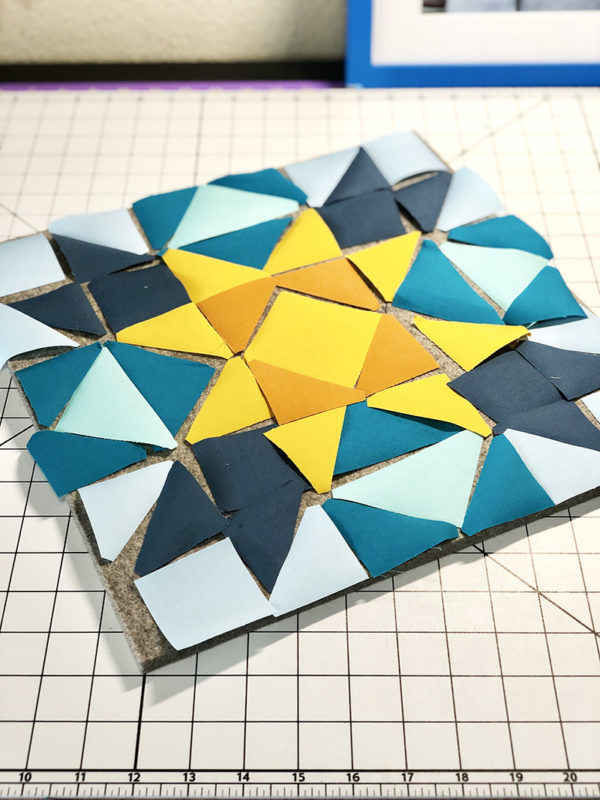 To maximize the fusible area of the wrong side of each piece, trim each seam allowance to 1/8” after sewing pieces together using 1/4” seam allowance. I found that pressing the seams open, wrong side of the block down, and using an appliqué mat underneath allowed for the seams to set without adhering the block to the material.
The Corner Pieces
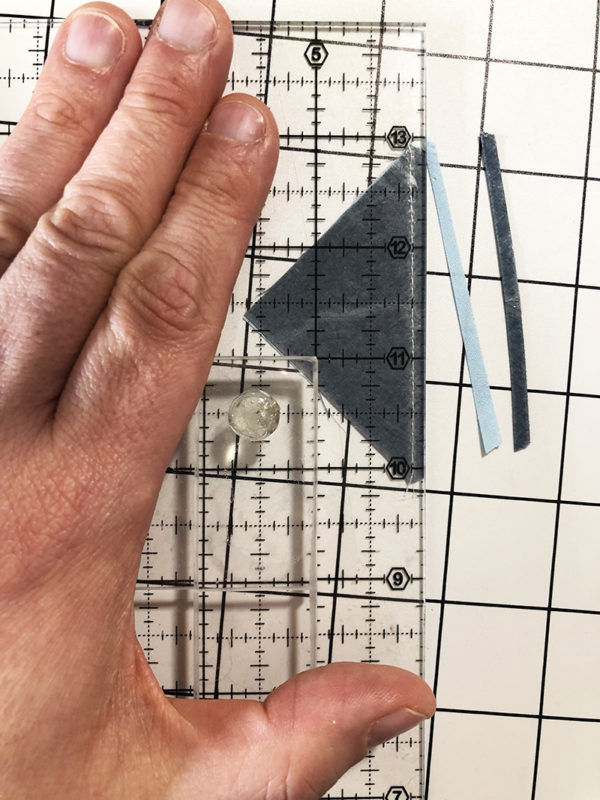
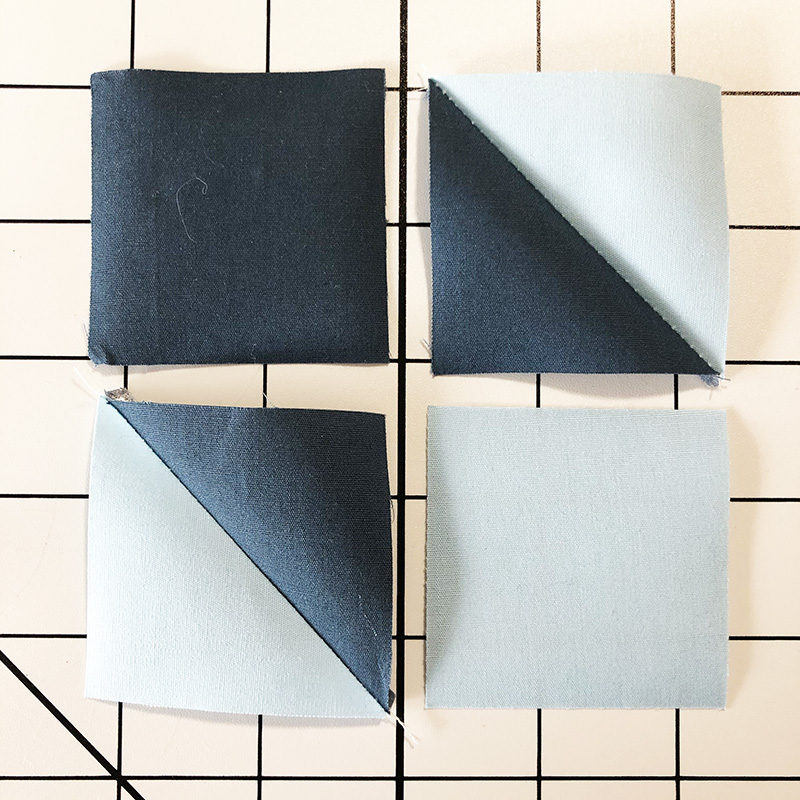
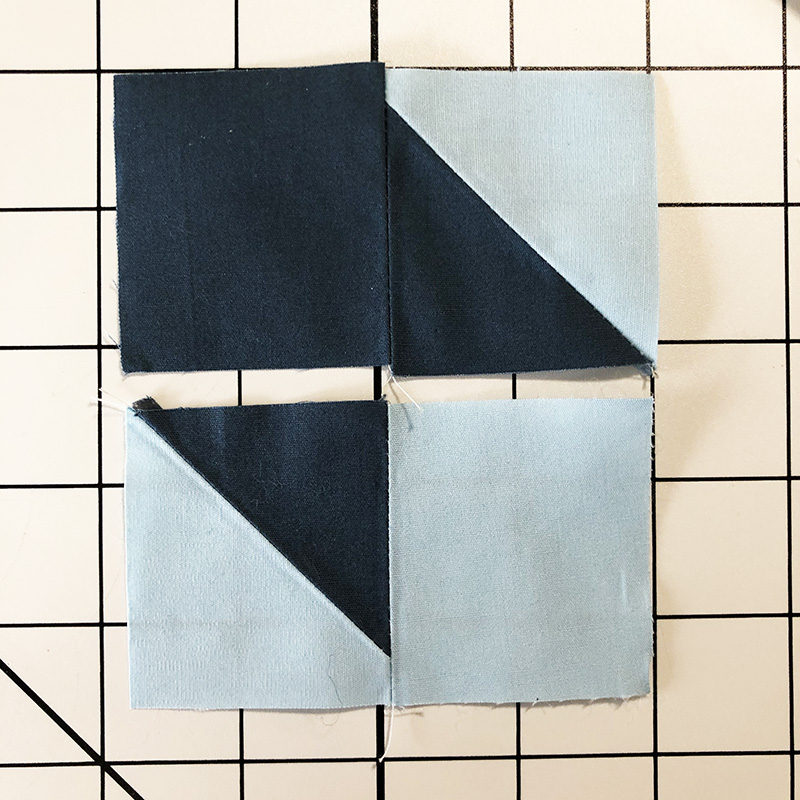
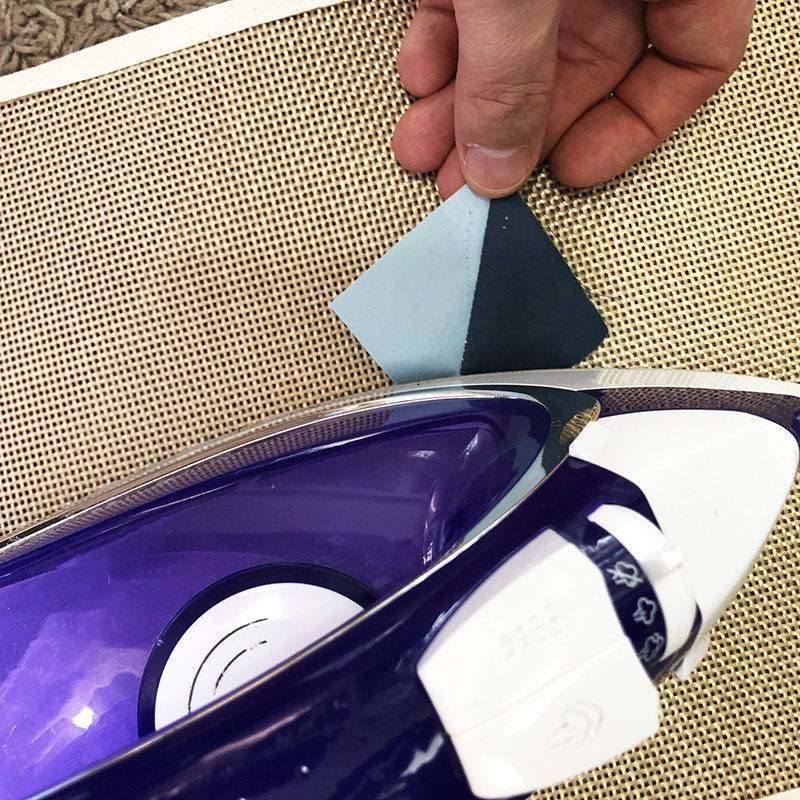 There are four of these sub-blocks in the larger block. Follow the process outlined in the photos above to construct.
The Center Piece
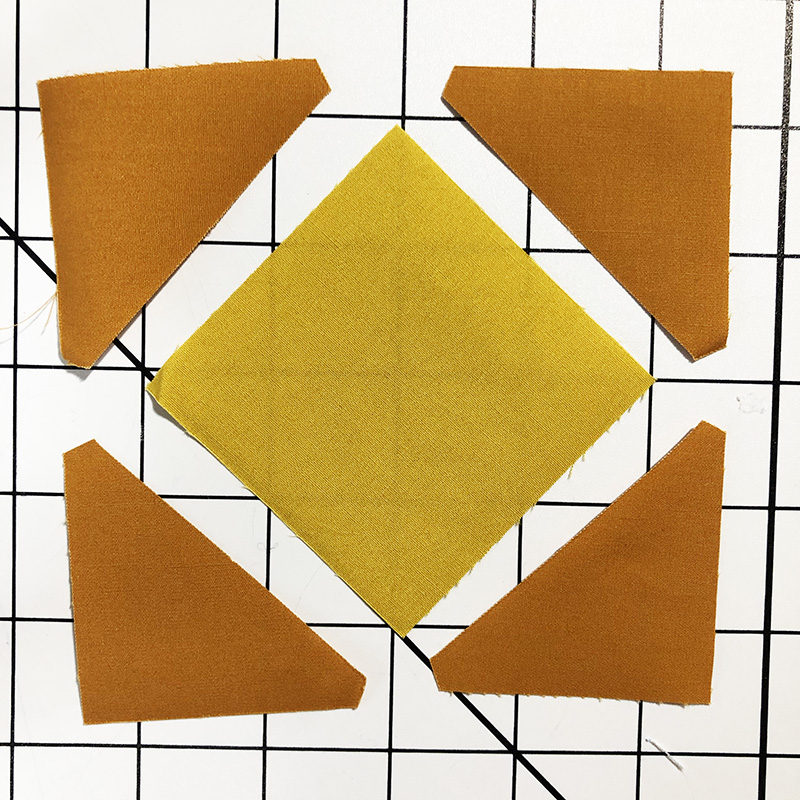
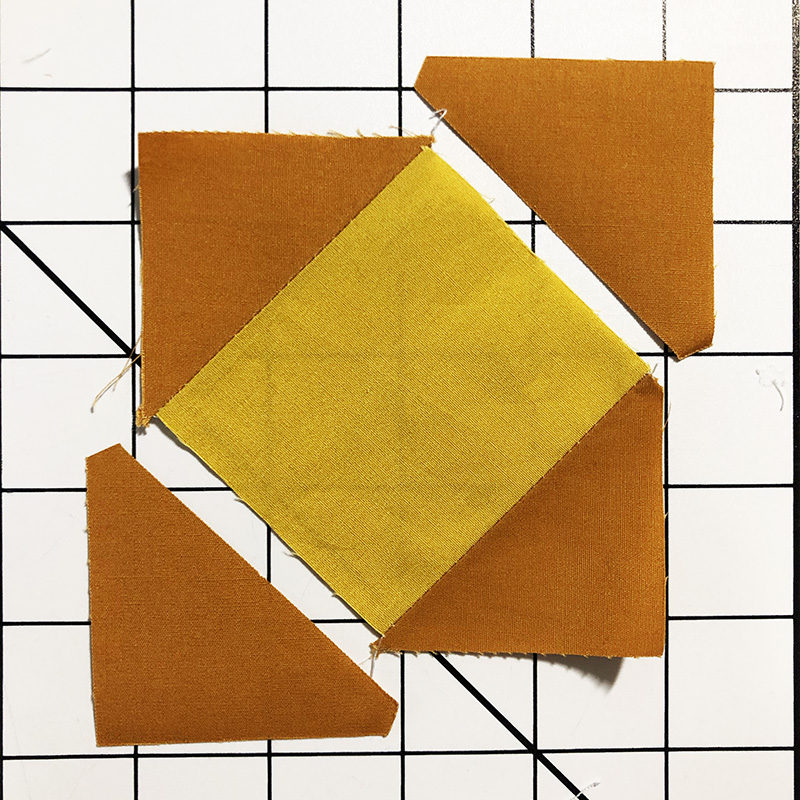
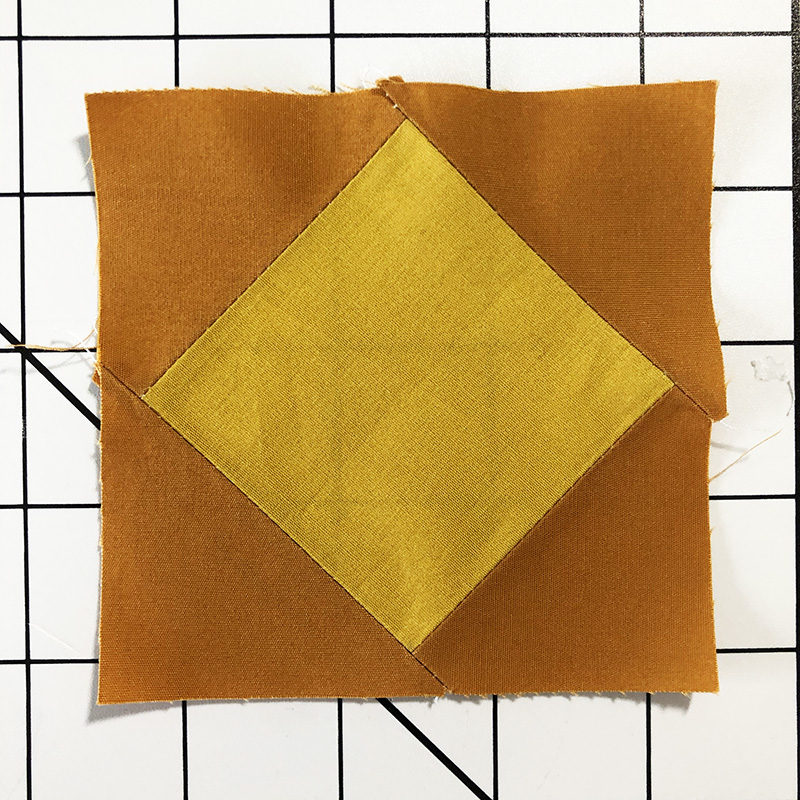 There are four of these sub-blocks in the larger block. Follow the process outlined in the photos above to construct.
The Outer Center Pieces
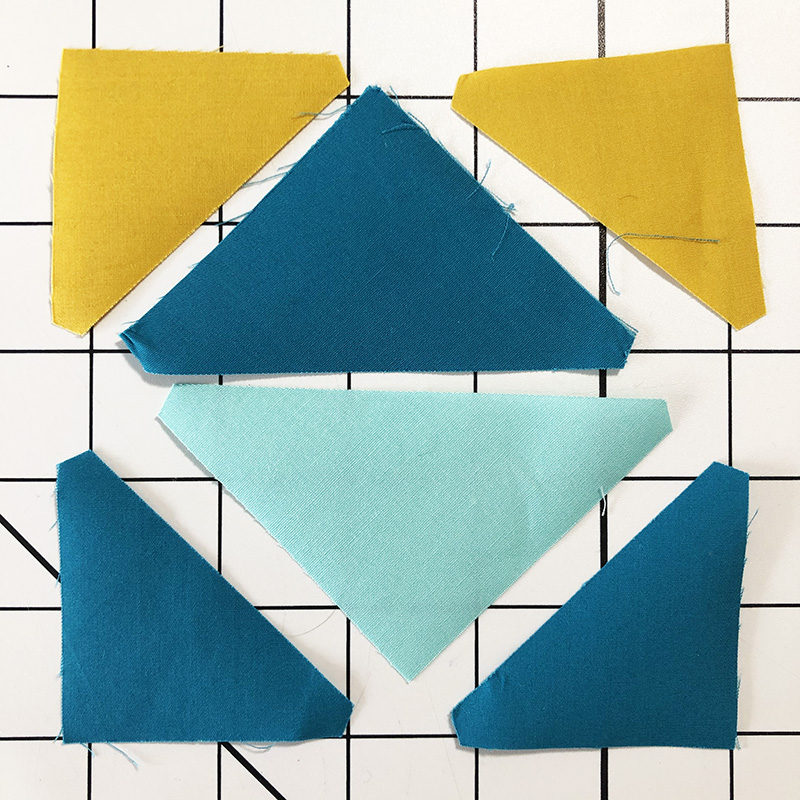
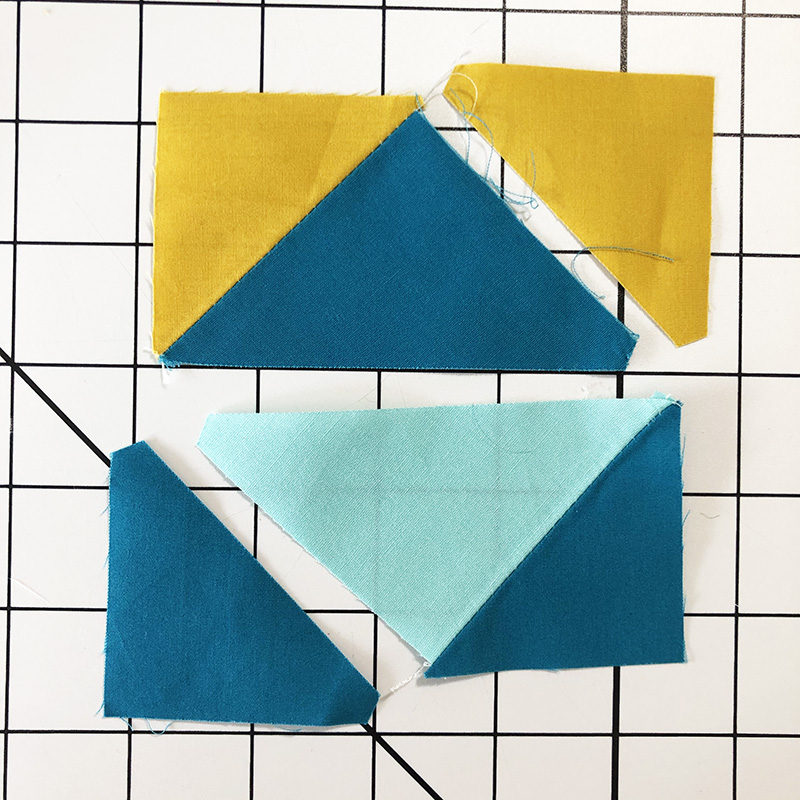
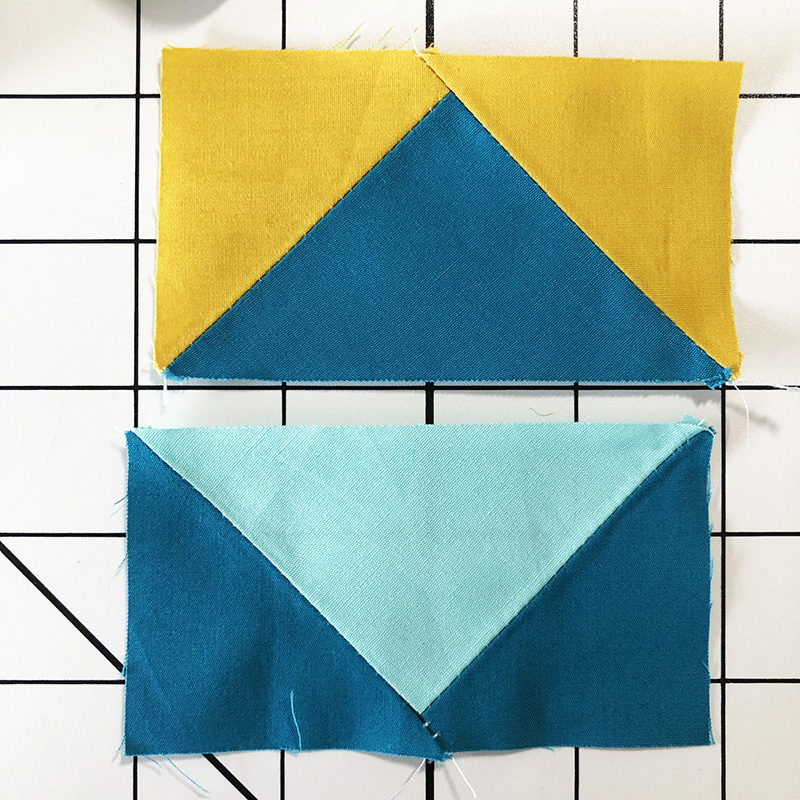
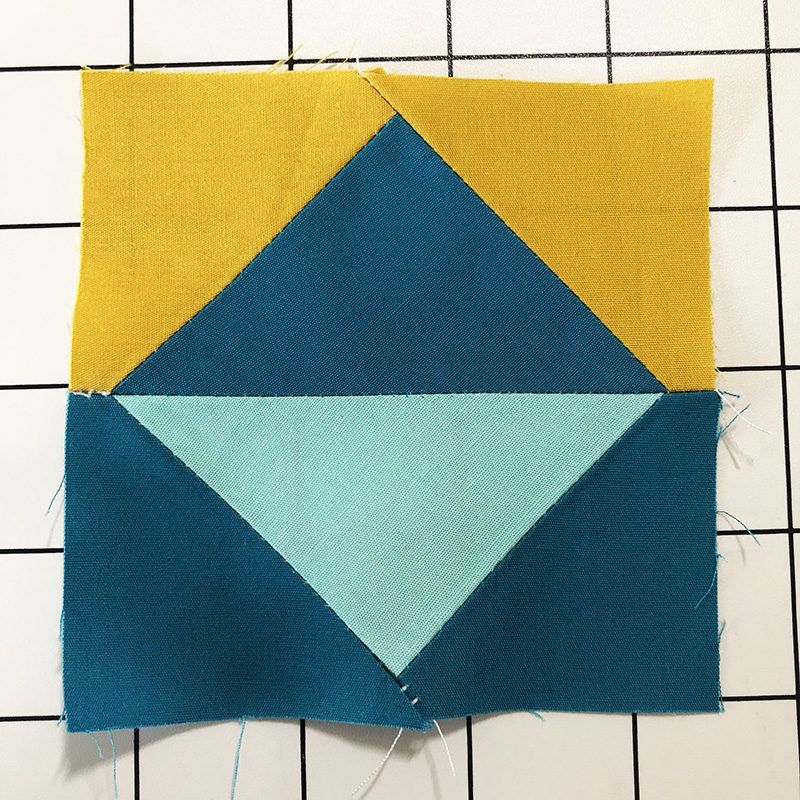
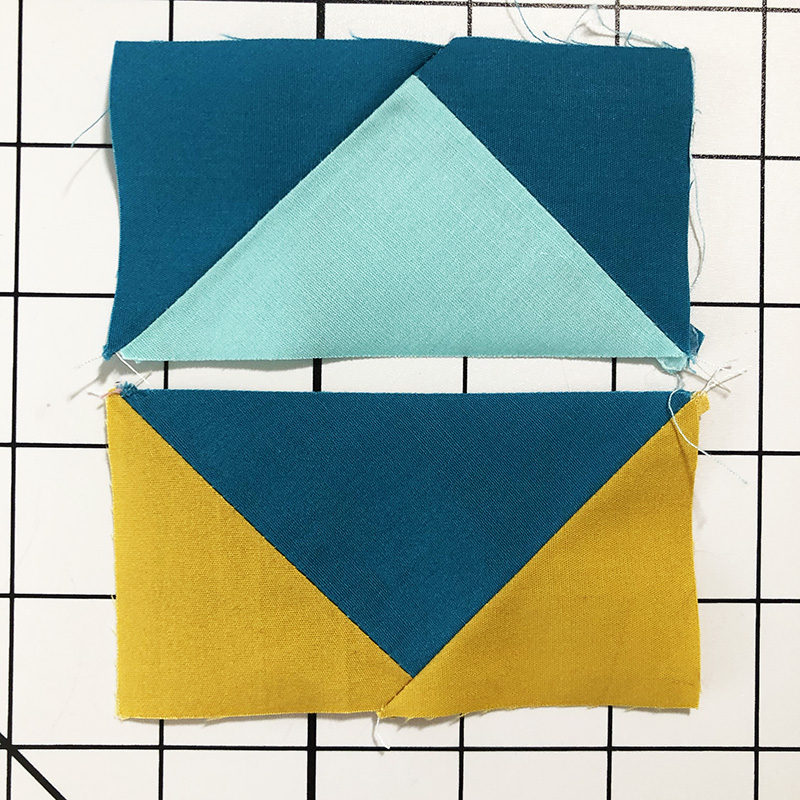 There are four of these sub-blocks in the larger block. Follow the process outlined in the photos above to construct.
Constructing the Block
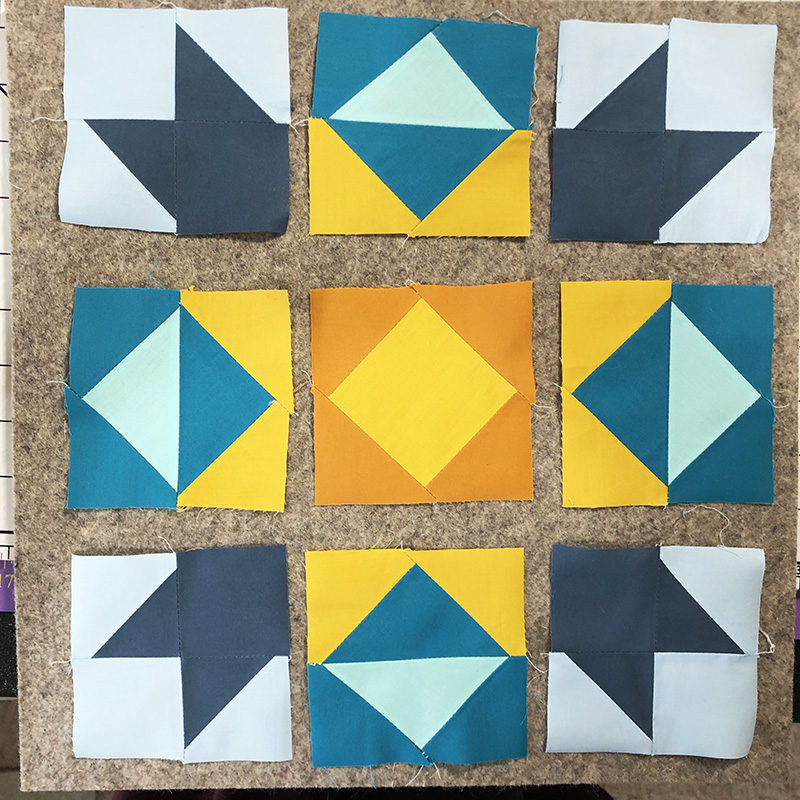
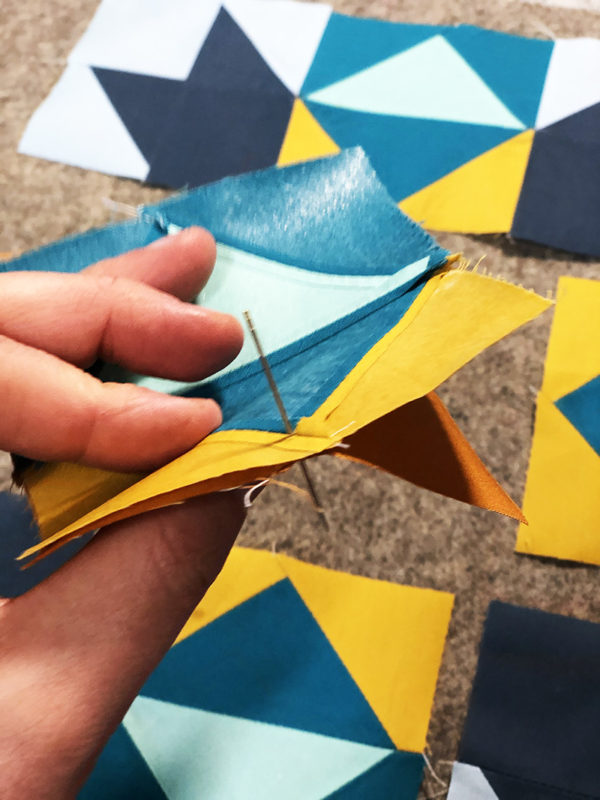
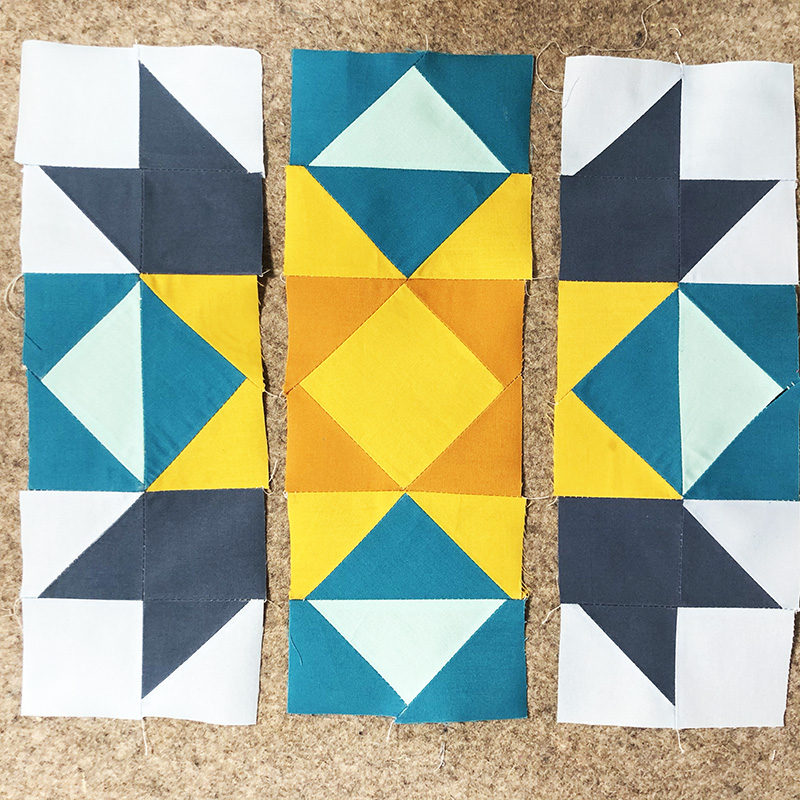
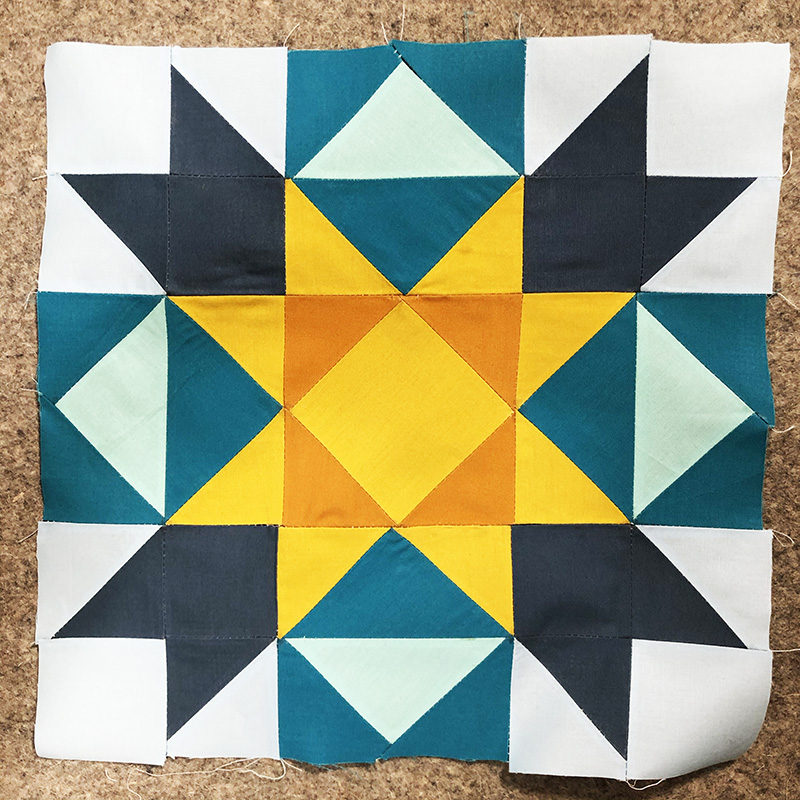 To match the points of two adjacent sections, insert a pin into each point, right sides together, and clip in place. Follow the process outlined in the photos above to construct.
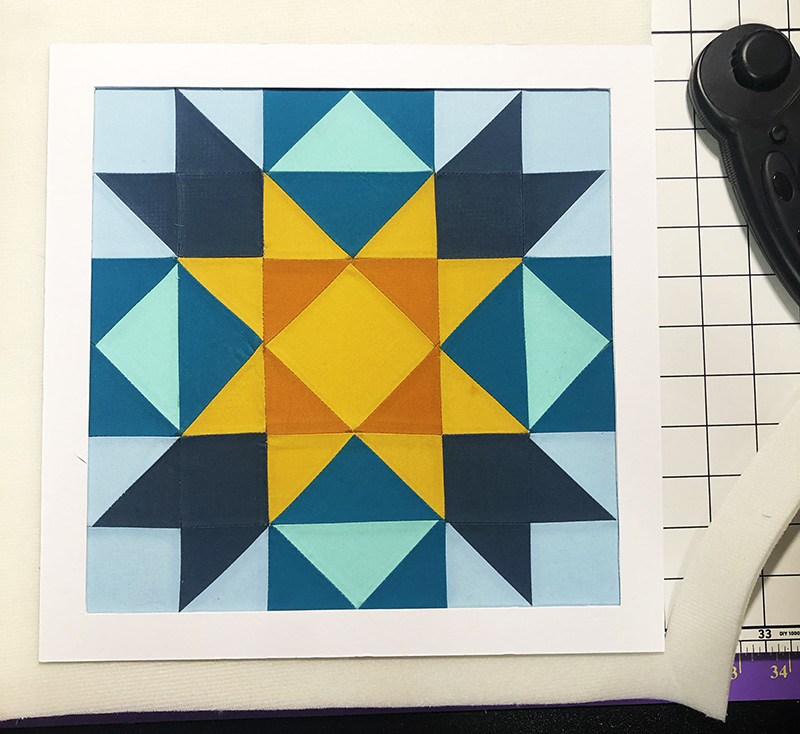 Center and fuse the block onto the foam stabilizer. Center the block in the frame mat and use as a guide to trim any excess. Frame and enjoy for year to come. Plus create a new block for an easy breezy change in decor.
Happy National Quilting Month!
