How To Turn A Quilt Into A Coat
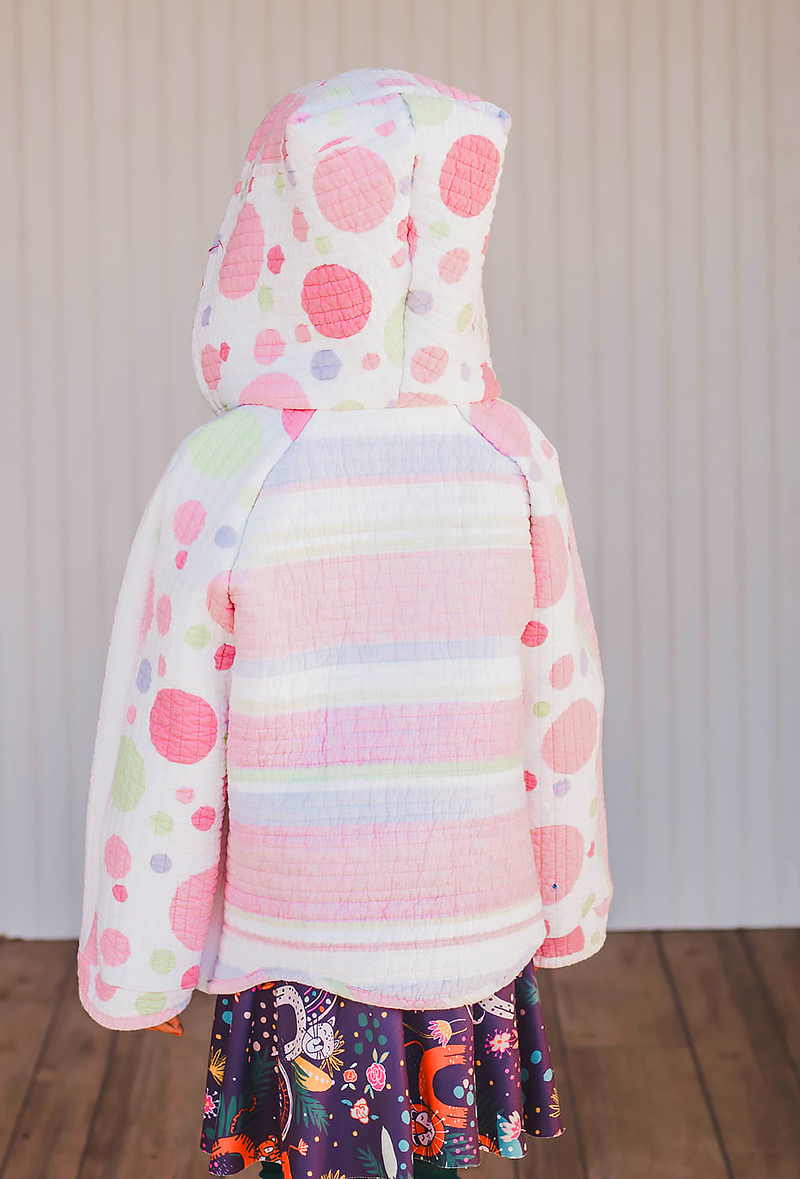
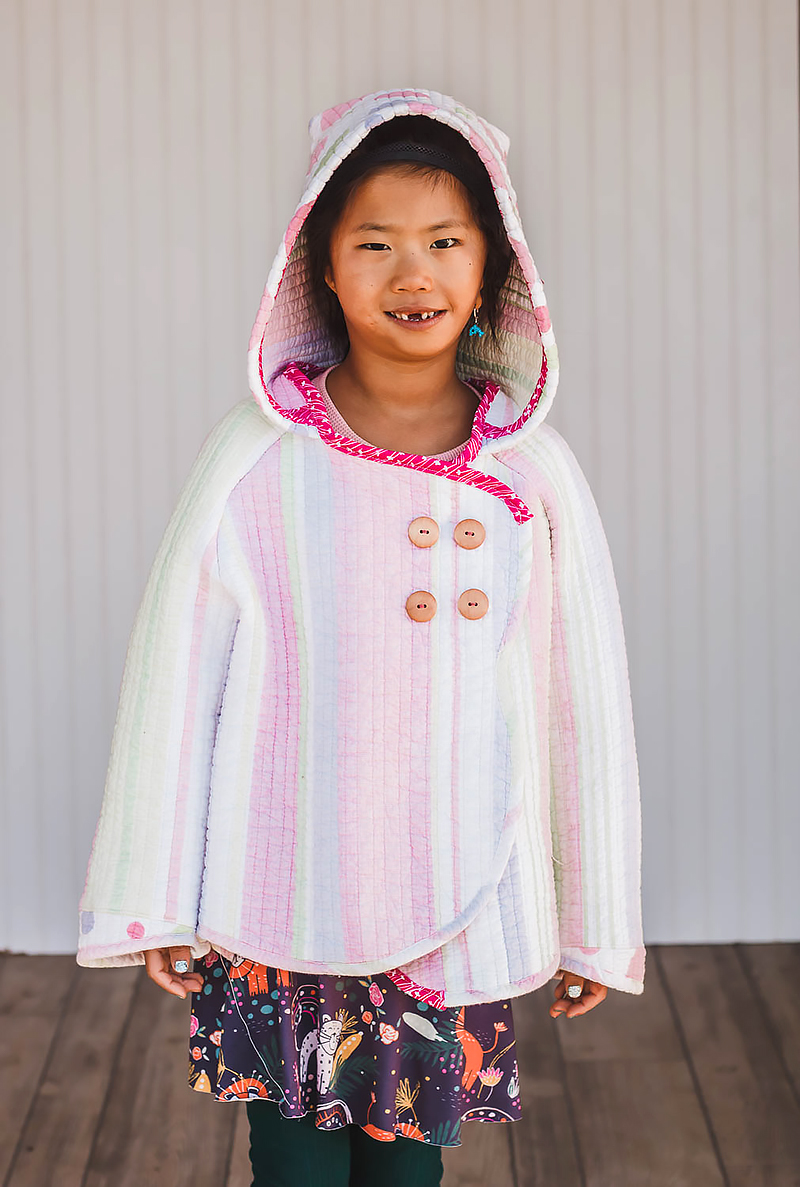
~Emily Thompson, Brother Sews Ambassador It’s February, and here on the Brother Sews blog we are all about keeping cozy! I’m so excited to share this fun upcycle project with you today. Turn a cozy quilt or blanket into a DIY coat to keep you warm all winter long. Years ago I made my daughter a coat from a blanket with a fuzzy edge, and it’s still one of my very favorite upcycle projects.You can see a photo of this project at the very end of this post. In this post I thought I would give you some tips for turning a quilt into your very own unique coat. Here is my new quilt coat. SO cute right? You can use any coat/jacket pattern that you already own. This is the PDF pattern Figgy's Nituna Jacket
if you are interested in trying the pattern for yourself. In addition to a jacket sewing pattern, you will also need to find a quilt.
Quilted Coat Supplies:
- Coat/Jacket sewing pattern of your choice
- A thin quilt
- Brother Serger
- Brother Sewing machine {LB5000
} used here.
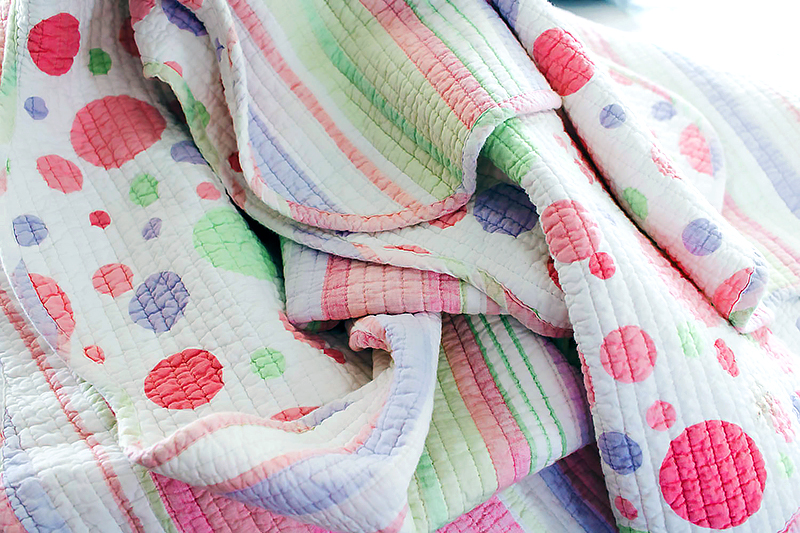
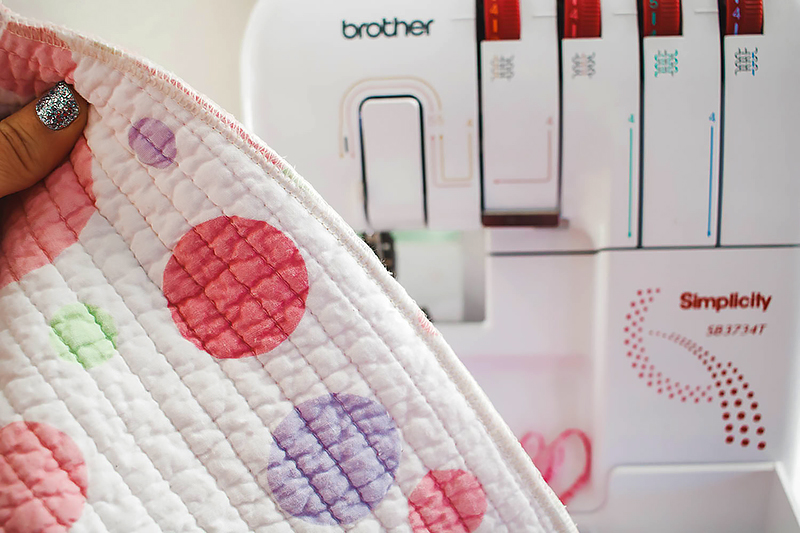
 Here is a close up of the quilt I bought and washed. I loved the scallop edges, they make a fun design feature on the coat.
 The key to making a great quilt coat is to reuse as many of the original quilt edges for the hems of the coat. Any raw edges will need to be finished with binding, so it’s easier to use the original edges and it looks great.
Lay the pattern pieces along the edges as you cut them out to keep the original binding.
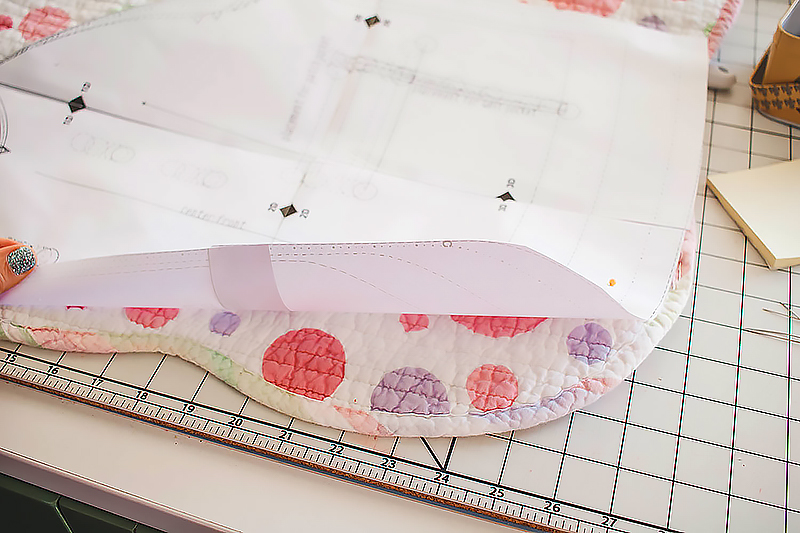
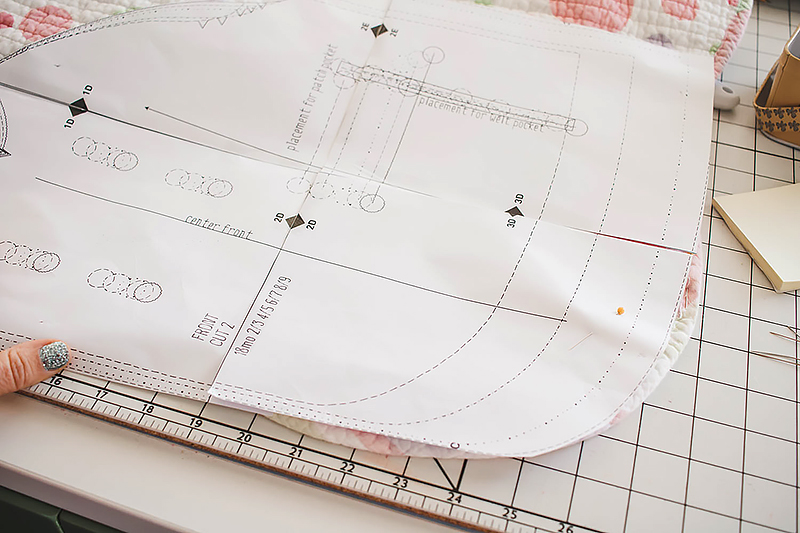 You will want to use long quilting pins when working with the quilt as a fabric, since it is quite thick.
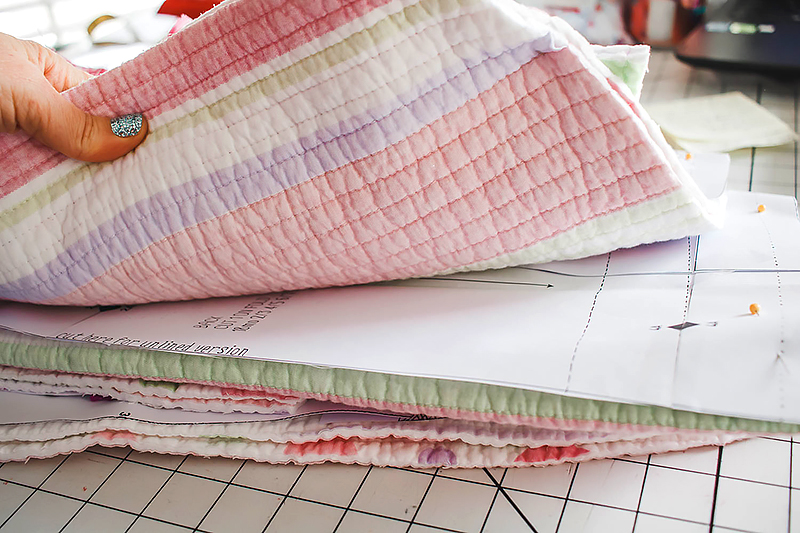
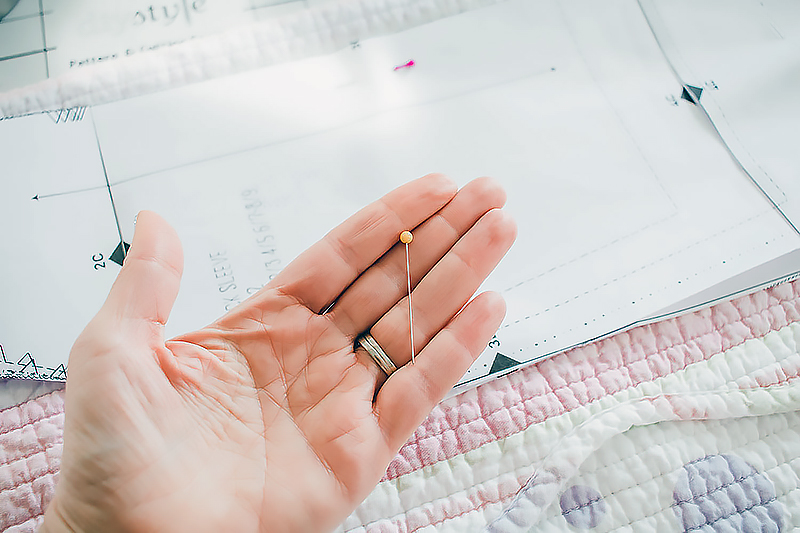 Continue cutting until you have all the coat pieces cut out.
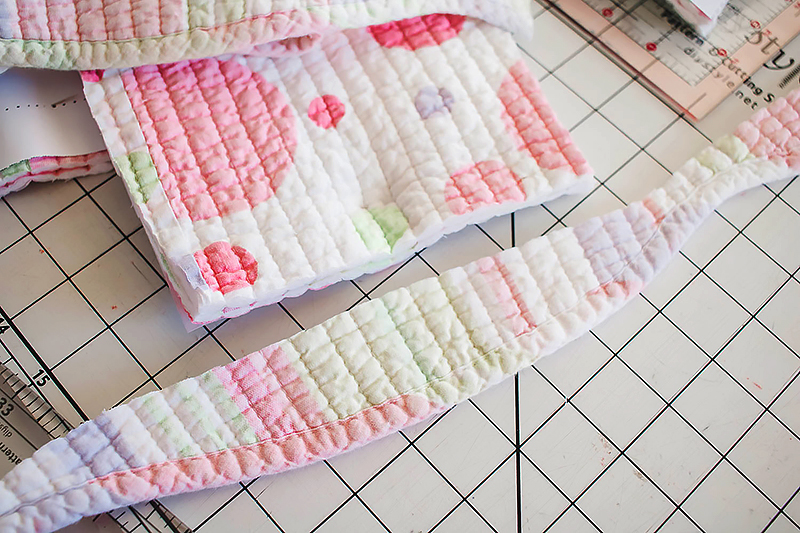
 If you can’t cut all the pieces with the quilt binding for hems, you can cut strips of the edge and then sew them to the pattern piece. Here's a sleeve and the edging that I will sew on it.
 I’m not going to walk you through sewing the whole coat, you can just follow your pattern directions. Instead, I am going to give you some tips for sewing with this kind of fabric.
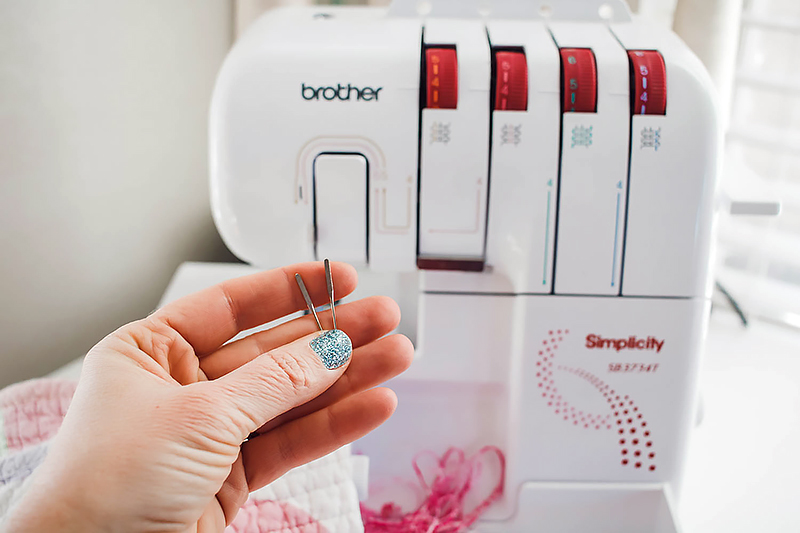
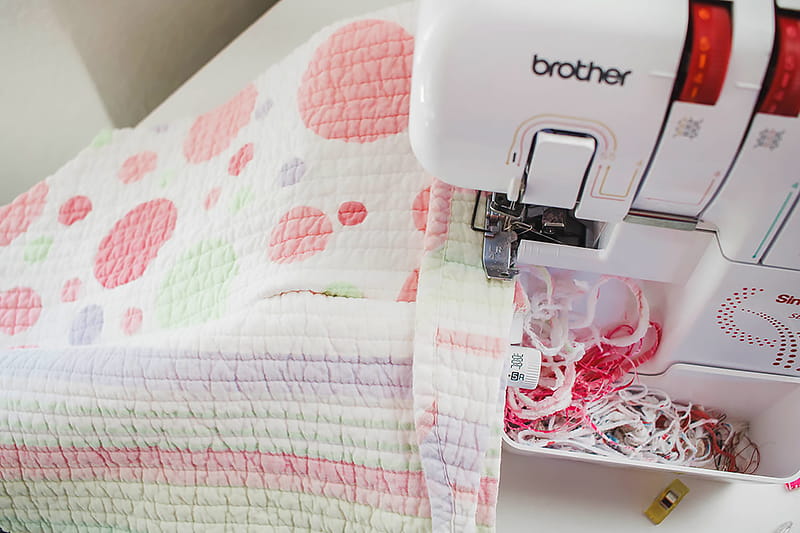
I put denim needles on my serger to sew more easily through the fabric.
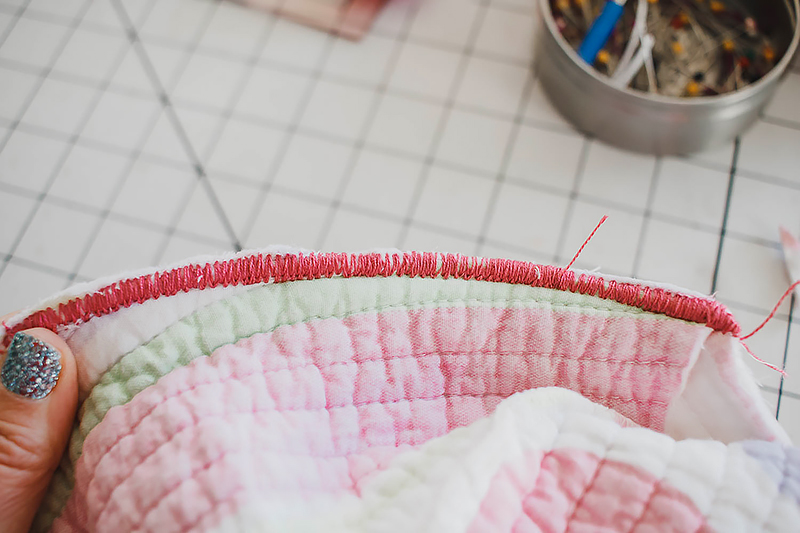
 You can make a lined coat or make sure to finish the inside seams. I finished some with just my serger and some with a wide zig-zag stitch.
 You could also finish all the edges with bias tape. I finished some edges with bias tape, but chose not to do that for the seams.
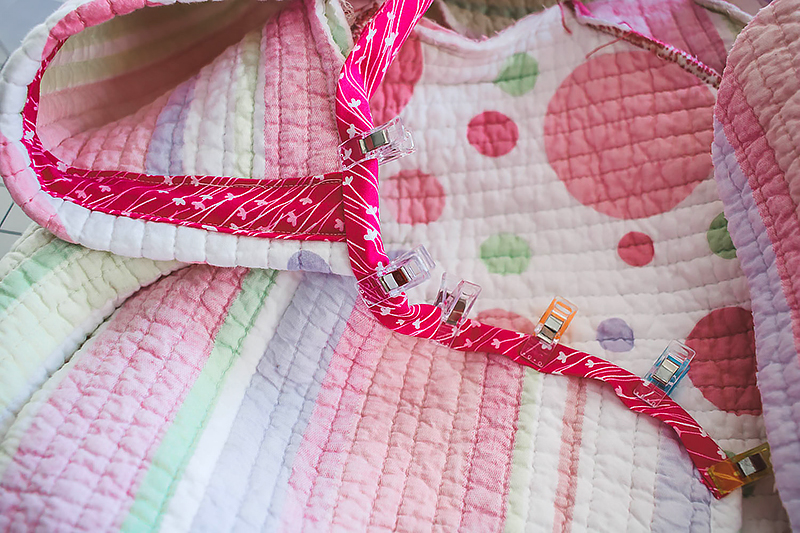
I made some bias tape to go on this coat project. You can make some that coordinates with the style, or use pre-made tape.
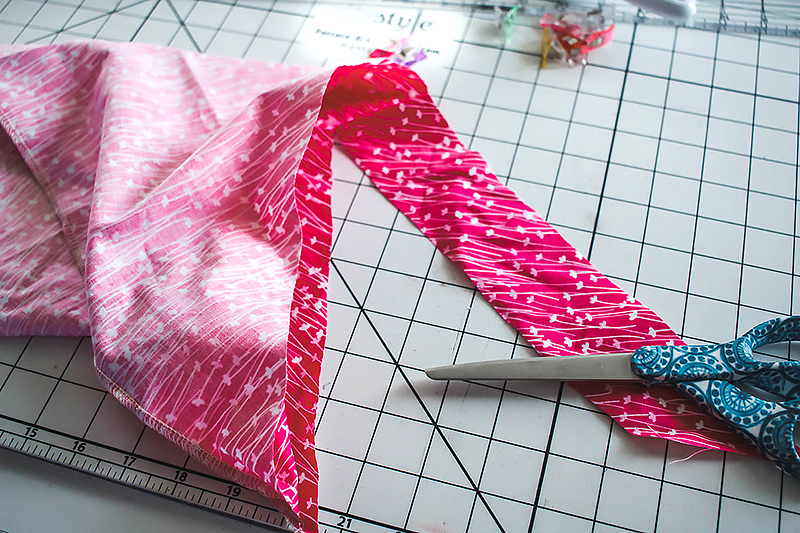 When I folded back my hood edge, I used the bias tape to cover the raw edge. I unfolded the tape for this hood edge.
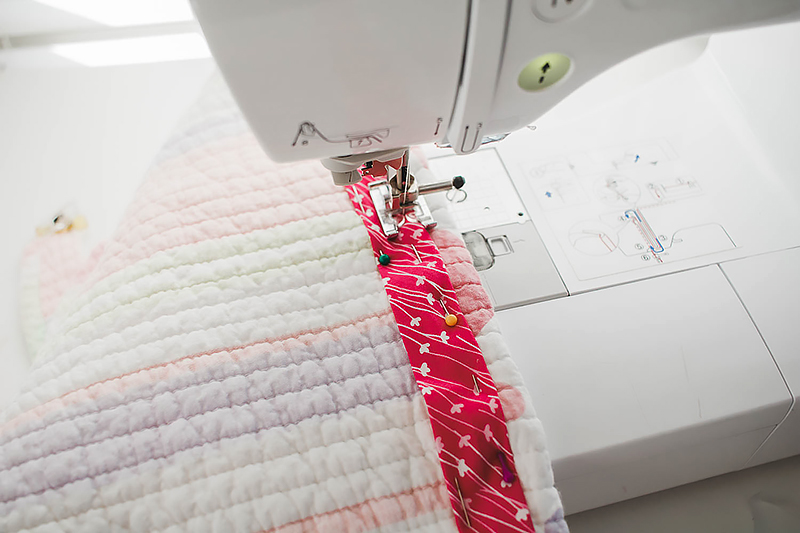
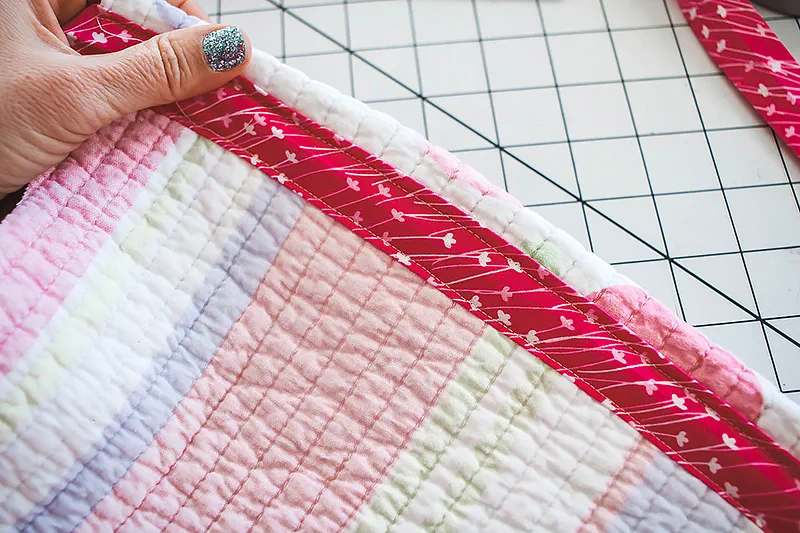 Use double fold bias tape to finish raw edges that will show. One of my coat fronts had to be finished like this.
 Back to the sleeve edge I talked about finishing at the beginning of this post. With right sides together you can sew the two layers of the quilt together, then fold back the seam allowance and top stitch.
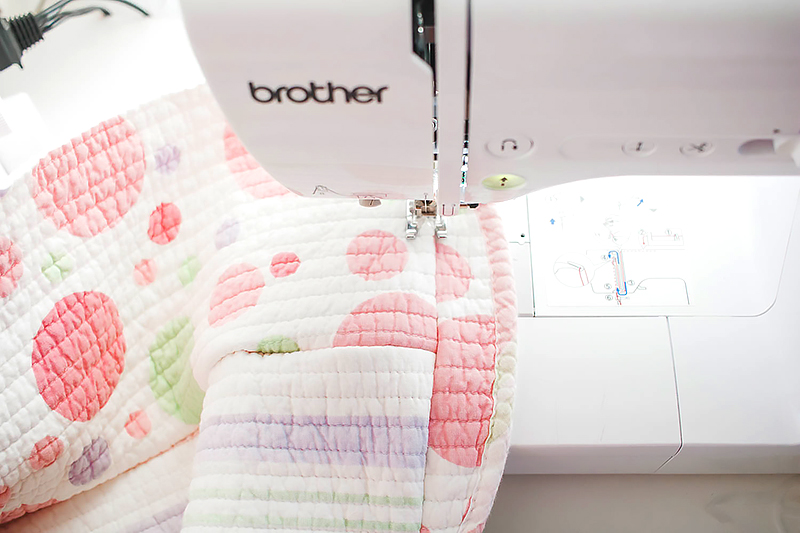 Hopefully these tips can help you to create a beautiful coat for you or a kids coat that will keep them cozy and stylish!
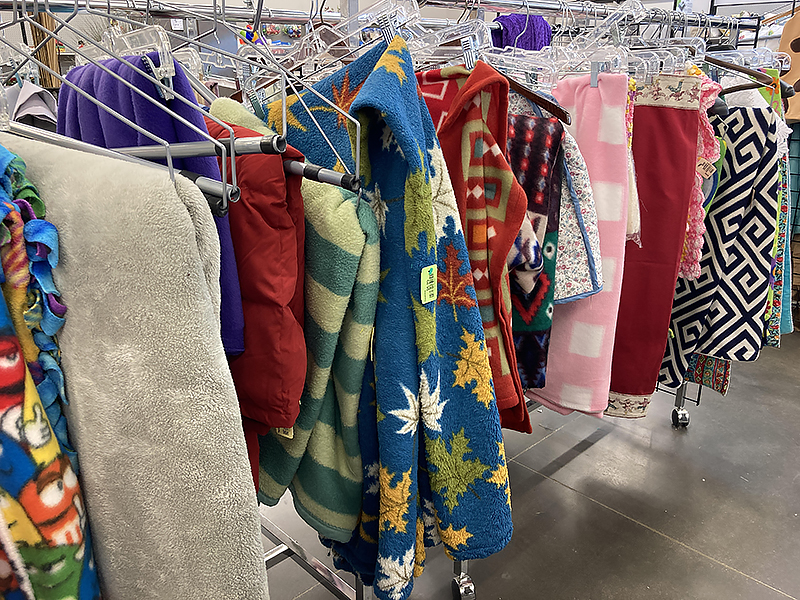
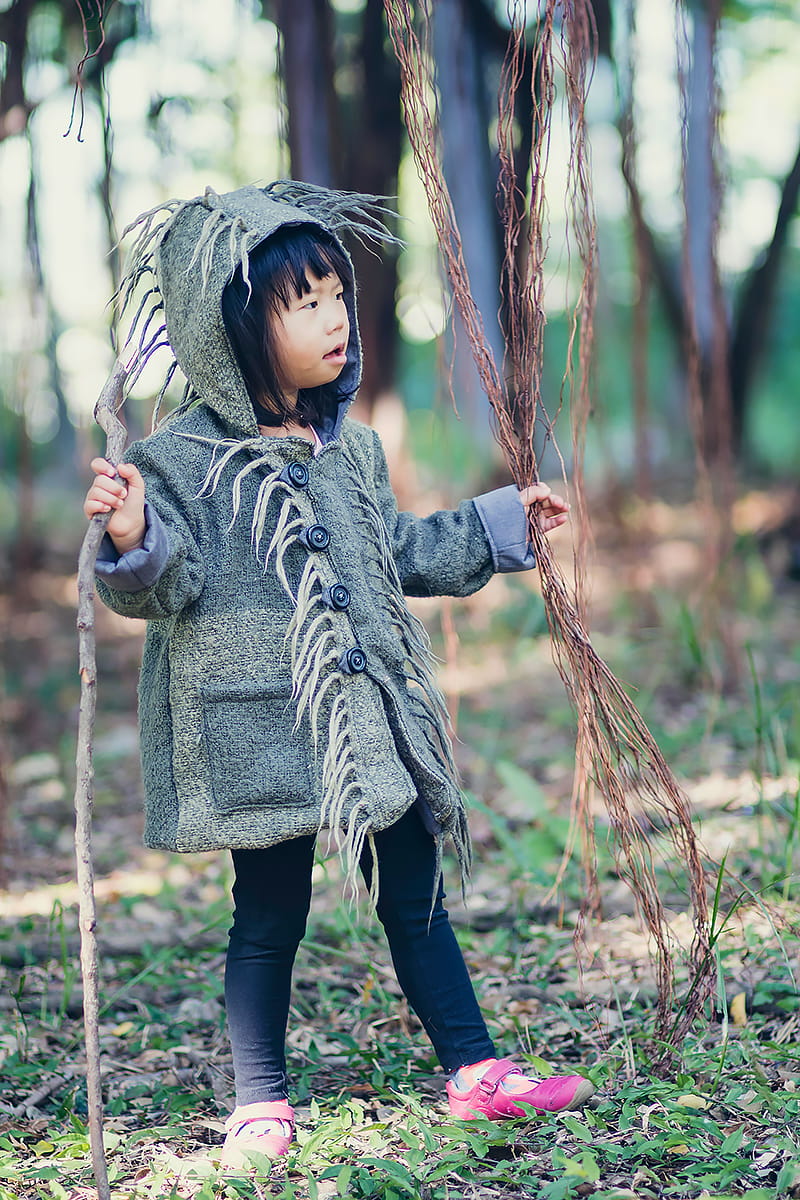
 And a quick look at the jacket I made a few years ago in my first attempt at turning a blanket into a coat. This version is more whimsical for sure. Which blanket coat do you like? Have you ever turned a quilt into a coat?
 CLICK HERE FOR PDF!

