Ultimate New Year's Eve Sew A Long: A Banner Year!
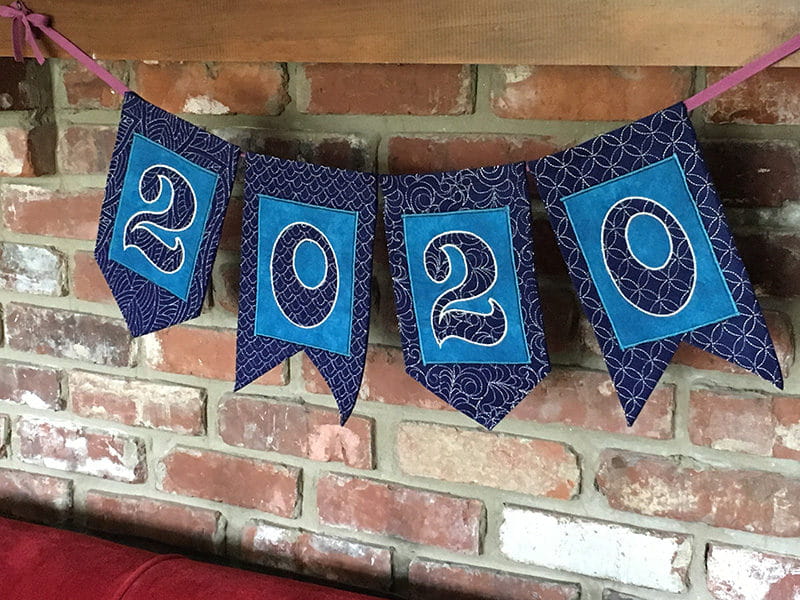
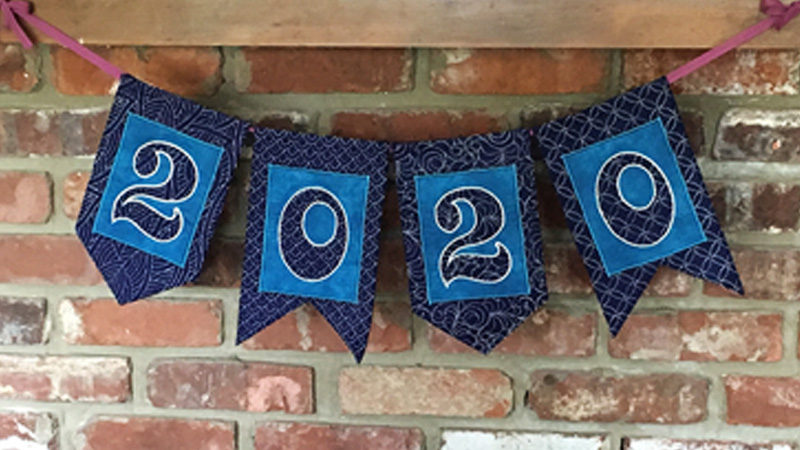 Welcome the new year with sophisticated sparkle courtesy of this glittering banner. Metallic thread accents will twinkle and shine in any light. You might want to string fairy lights along the top of the banner or position it to sway gently with air movement so the light bounces in all directions. This banner project can be made as shown or adapted to fit any occasion you'd like to celebrate. Use numbers, letters, or pictures. Dress it up or down with personal touches: fabric, trim, embroidered motifs, etc. If you make a set of numbered pennants, it can star in your parties for years to come!
Materials
- 1/2 yard of 72"-wide navy-blue felt
- 1 fat quarter of turquoise quilters' cotton
- Fusible web
- Tear-away stabilizer
- Silver metallic embroidery thread
- Turquoise embroidery thread
- Embroidery bobbin thread
- Navy all-purpose thread
- 2 yards of 1/2"-wide twill tape, ribbon, cord, or other stringing material
Equipment
- Luminaire Innov-ís XP1
- ScanNCut SDX225
- PE Design 11
- Rotary cutter, ruler, and mat
Make the Fancy Felt
1. Hoop the felt in your largest hoop, positioning the hoop near one end of the felt. If you're using a good quality felt, you don't have to add stabilizer to the hoop for this openwork embroidery. You can cut the felt into hoop-sized pieces if you prefer, but I just hooped and embroidered my 1/2-yard cut. 2. Use Luminaire's My Design Center to create a rectangle 10 1/2" x 13" (for two pennants) or 10 1/2" x 7" (for a single pennant). Fill it with one of the patterned fills available in My Design Center. You don't need to stitch an outline around the rectangle. I used a different fill for each pennant, and put two rectangles in the Luminaire's largest hoop. 3. With embroidery bobbin thread in the bobbin and metallic thread in the needle, stitch the rectangles. You'll need a total of four to make the banner as shown.
4. Repeat the process to create sparkly felt for the numerals: four rectangles, each 5 1/2" x 4 1/2" (but read "Lagniappe" first).
5. Following the manufacturer's instructions, apply the fusible web to the wrong side of each embroidered piece. I recommend using a pressing cloth to avoid ironing directly on the metallic threads. Test the iron temperature first on scraps; craft felt is typically synthetic and sensitive to heat, so choose an iron temperature that won't melt the fibers.
Lagniappe (just a little something extra)
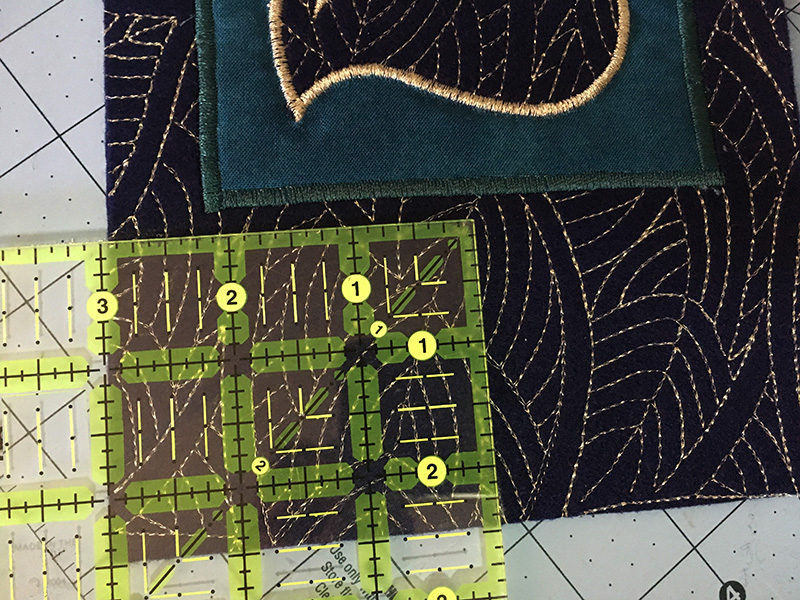
To conserve fabric, you can cut each numeral appliqué from the background pennant. Just be sure to cut it from the center of the pennant, where the missing fabric will be covered by the rectangle appliqué. For cutting, center the numeral about 2 1/4" down from the top of the pennant rectangle and it will lie under the appliquéd number, but as long as the hole is covered by the turquoise rectangle, it's fine. Don't worry about perfect alignment.
Design the numeral appliqués
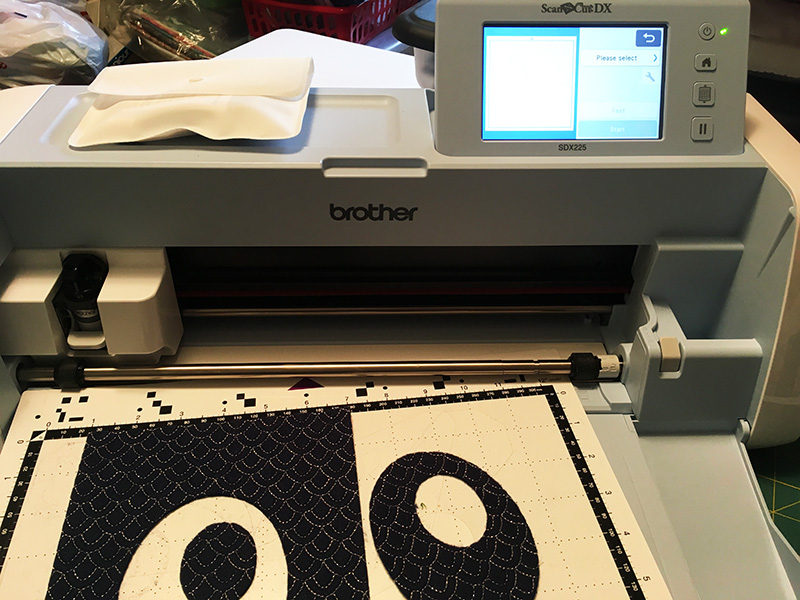
Note: I used PE Design 11 to create my appliqués. You can substitute many other methods, such as: • Cut out numbers with Scan N Cut and appliqué them with hand-guided machine stitches. • Use word-processing software to design letters and print them as outline-only characters to use as patterns. • Use BES lettering software to create the individual numerals. 1. Using the Appliqué Wizard in PE Design 11, select the font Ecuador, type "2", and set it to about 5" high (we'll refine that later). Make the finishing stitch a zigzag, 0.15" (3.8mm) wide. 2. Open the Size menu and uncheck the aspect ratio box. Set the size of your numeral to about 3 1/4" wide and 4 1/2" high; each numeral will vary a little bit due to its shape. Save your design as a .pes file. 3. Select just the first part of the embroidery design, the appliqué material, in the menu at the left edge of the workspace. For characters like the number 0 that have a discontinuous cutting line, group the sewing steps by color and select all of the appliqué material steps together. Export the cutting data to use with Scan N Cut. Save the .fcm file. 4. Repeat steps 1-3 to create the appliqué and cutting files for "0".Cut the pieces
From the fusible web, cut: • 4 rectangles, 11" x 7"* • 4 rectangles, 5 1/2" x 4 1/2"* • 4 rectangles, 5 1/2" x 6" *Apply these pieces of fusible web to the wrong side of the embroidered felt before cutting the pennants and numerals. You do not need the 5 1/2" x 4 1/2" pieces of fusible web if you cut the numerals from the pennant pieces. From the embroidered felt, cut: • 4 rectangles, 10" x 6" • 4 numerals From plain felt, cut: • 4 rectangles, 12" x 7"Assemble the pennants
1. Set your machine for embroidery. In My Design Center, select the vertical rectangle frame design and choose the single running stitch. Resize the design to 6.93" x 4.94" and leave it centered in the workspace. Add the first numeral appliqué file that you saved from PE Design. 2. Hoop a piece of tear-away stabilizer in a 5" x 7" hoop. Lay the turquoise fabric right side up on the stabilizer so that the fabric's upper right corner is at the upper right corner of the hoop. Stitch the rectangular frame to baste the fabric to the stabilizer.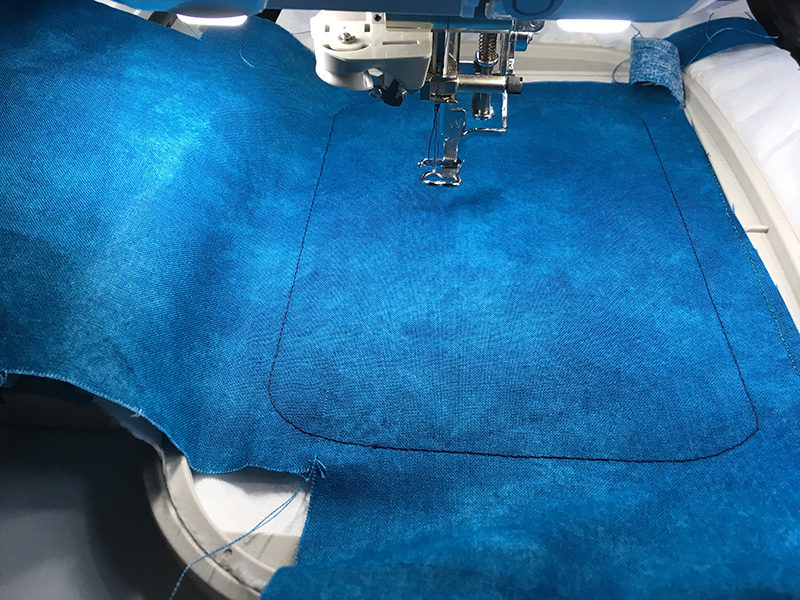 3. Proceed with the appliqué, using the numeral you cut out with the ScanNCut. You don't need to stitch the appliqué fabric step again when you have pre-cut the shape. Use the metallic thread to satin stitch the appliqué edges.
Tip: Rather than fusing the numeral to the background at this point, I use a bit of ordinary office tape to hold the shape in place. The tape tears away easily after the tack-down stitches.
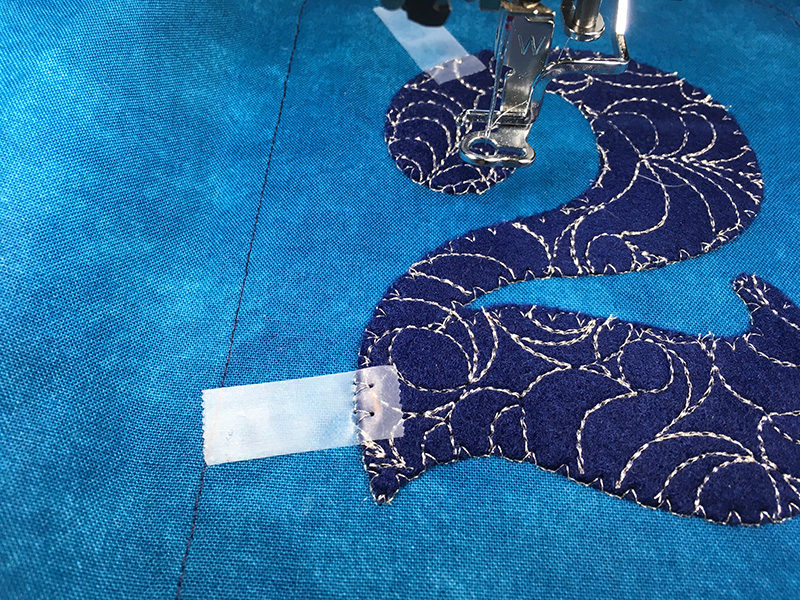 4. When the satin-stitched edging is complete, remove the fabrics from the hoop and tear away the excess stabilizer. Gently press the work from the wrong side and then apply a 5 1/2" x 6" rectangle of fusible web, centering it on the appliqué.
5. With the fabric right side up, use a rotary cutter, ruler, and mat to trim the turquoise fabric to 5 3/4" x 4 1/2". Keep the numeral centered; the cutting line will be 5/8" – 3/4" outside the edges of the appliqué and the frame will be cut away. Remove the paper backing from the fusible web.
Tip: Use the embroidered rectangle as a guide to keep the appliquéd numeral straight within the cutting lines.
6. Use the remaining turquoise fabric to prepare three more appliquéd rectangles by repeating steps 1-5.
7. Protect your ironing surface with a non-stick appliqué sheet. Position a pennant, right side up, on the non-stick sheet and center an appliquéd rectangle on the pennant, right side up, with the rectangle's top edge 1 1/2" below the top of the pennant. Cover with a pressing cloth and fuse the layers together.
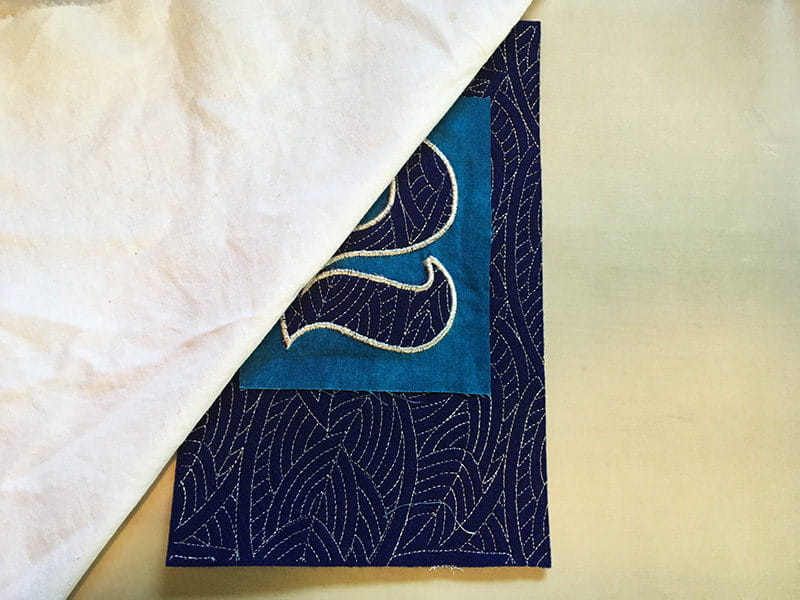
Note: You'll need to find an iron temperature that balances enough heat for fusing with a temperature that won't melt the felt and threads. For this project, the fusing is intended mainly for basting, so you don't need to have a rock-solid permanent bond. I find that misting a little water on the pressing cloth helps the heat penetrate the felt thickness at a lower temperature, with less risk of damage.
8. Set the machine for sewing, with the N foot in place. Use turquoise embroidery thread in the needle and embroidery bobbin thread. Set the machine for a zigzag stitch 5.0mm wide and 0.3mm long. Stitch around the rectangle, overcasting the raw edges. To pivot at each corner, stop with the needle down at the corner, just outside the turquoise fabric. Lift the presser foot, swing the fabric around, and lower the presser foot to continue sewing the next edge. Don't forget to tie off the threads when you complete the stitching.
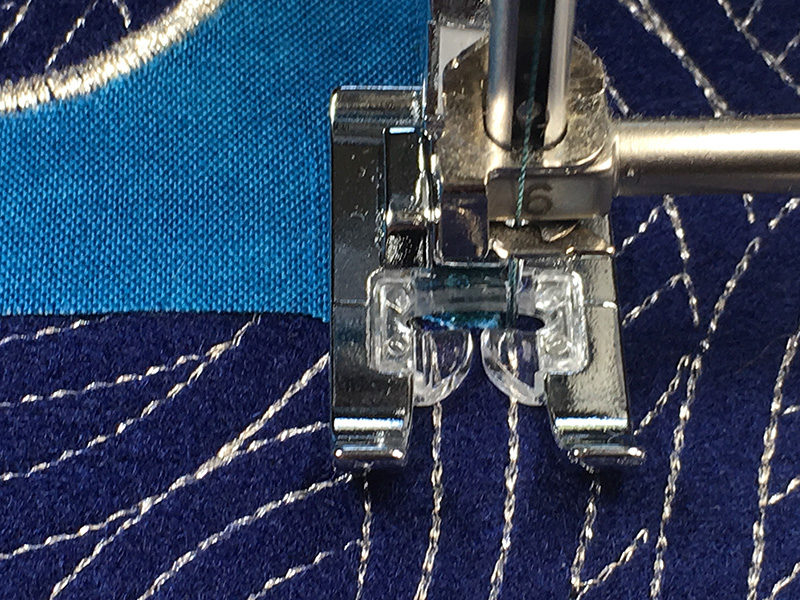
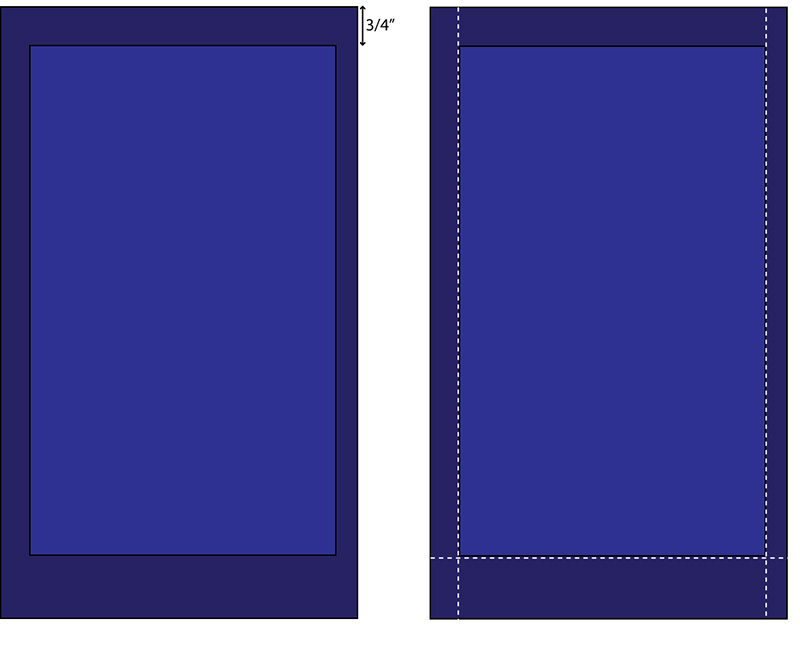
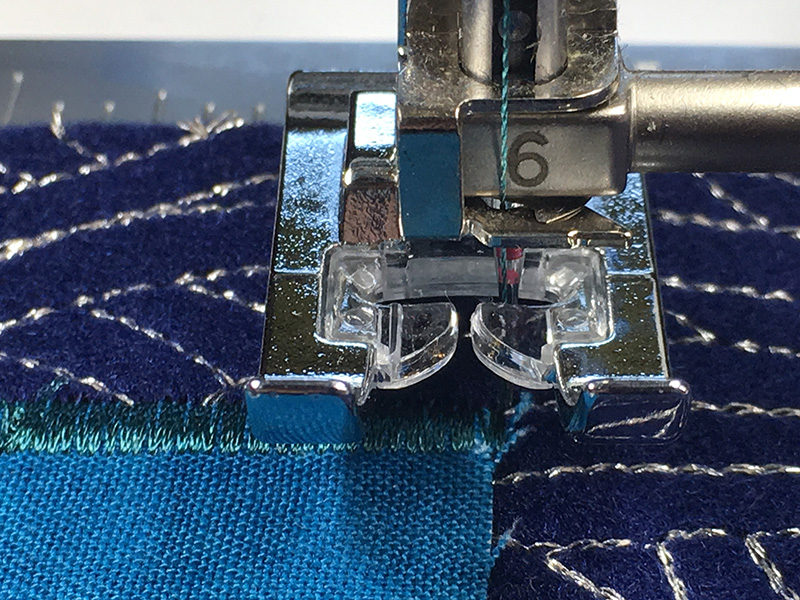 9. Fuse a rectangle of plain felt to the wrong side of the pennant. Place the top edge of the pennant 3/4" below the top edge of the backing. Trim the sides and lower edge of the backing to match the pennant fabric.
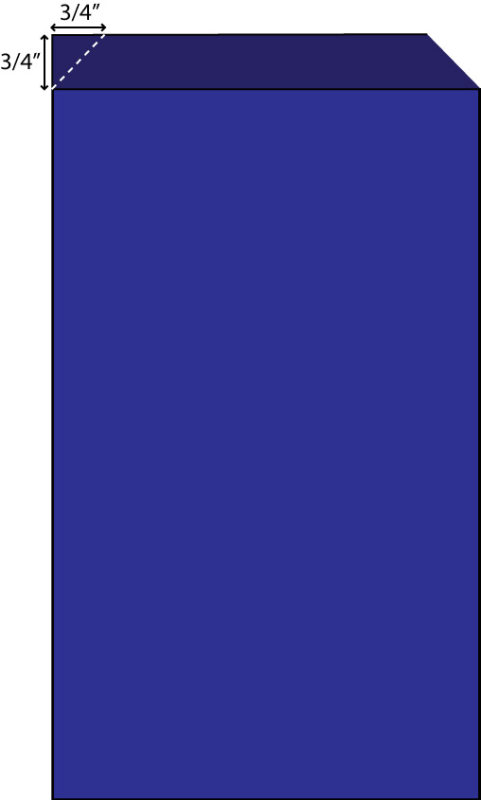
 10. Measure and cut a triangle from each upper corner of the backing as shown. Press the extended backing to the wrong side of the pennant to make the casing.
 11. Use a removable marking tool (I like white chalk on dark fabrics) to mark each side edge of the pennant 2 1/2" above the bottom. Also make a mark at the center of the bottom edge. Connect the side marks to the center bottom mark and cut off each corner to shape a point at the bottom of the pennant.
Alternatively, mark the pennant at its centerline and 2 1/2" above the bottom edge. Connect this mark to each bottom corner of the pennant and cut away a large triangle to leave two points at the bottom edge. I like to use both shapes when making multiple pennants.

 12. Thread the needle and bobbin with all-purpose navy-blue thread and switch to the J foot. Set the machine for a straight stitch 3.0mm long.
13. Stitch across the pennant, 1/2" below the top edge, catching the casing edge in the stitches. Be sure to backstitch at each end of the stitching.
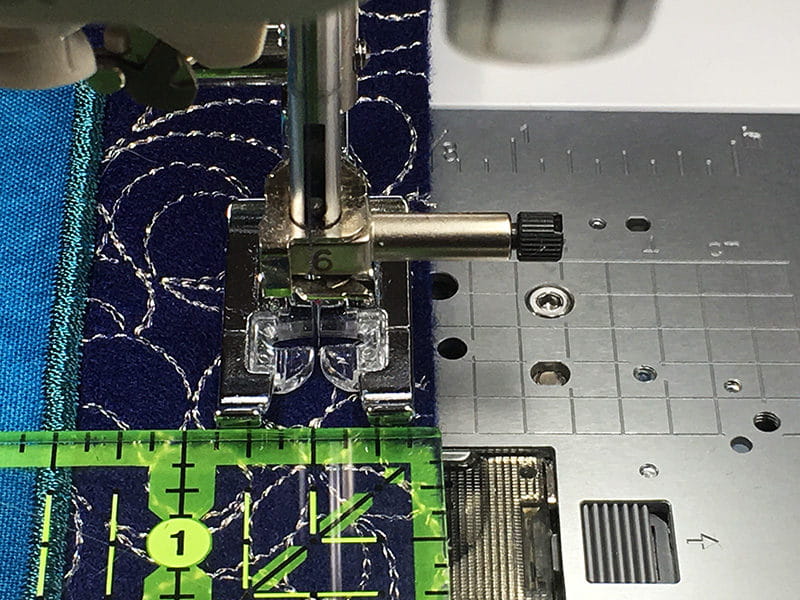
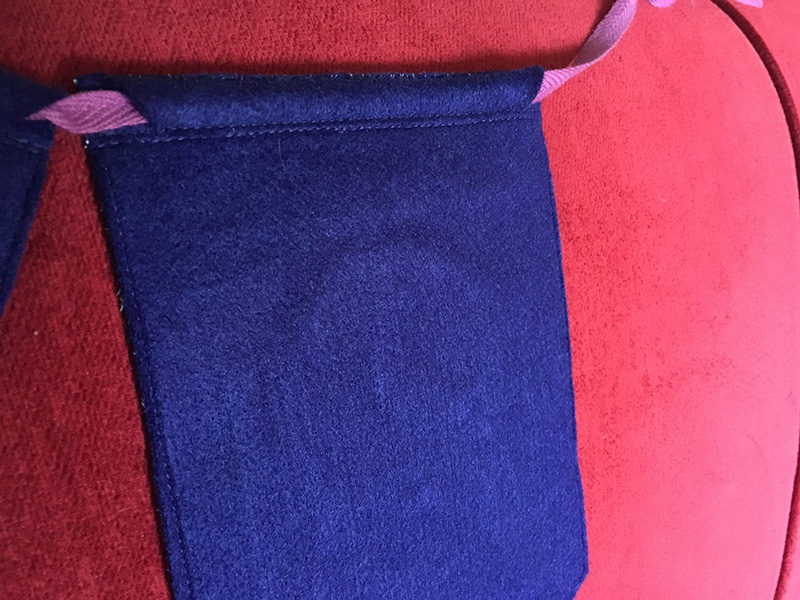 13. Edgestitch around the entire pennant to hold the backing securely in place. When you reach the top, sew across the pennant 1/8" below the previous stitching. Remember to secure the thread ends.
Tip: Use a scrap of tear-away stabilizer as a handle at narrow corners. It will make edgestitching the points much easier, and tears away afterward.
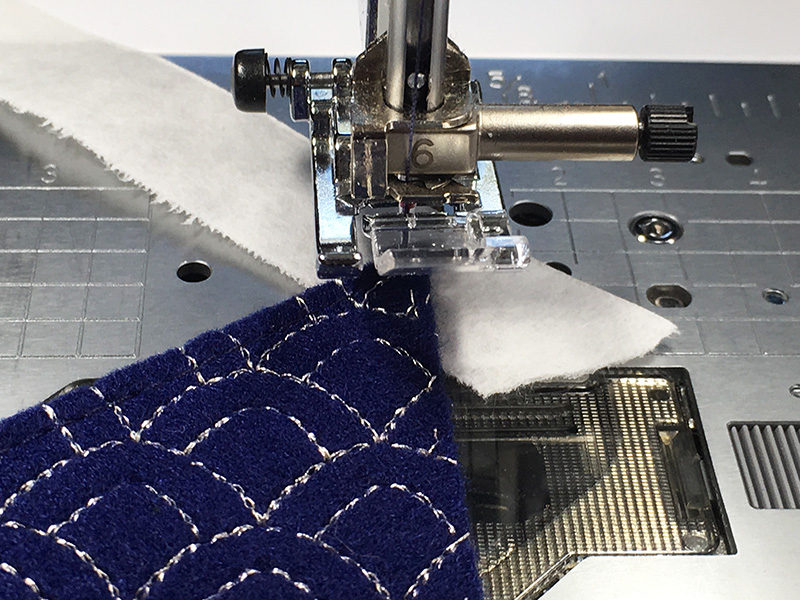 14. Cut a 45" length of twill tape or other cord and string it through the casings on the backs of the pennants. A bodkin or crochet hook is a big help when threading the ribbon through the casings. Tie a knot at each end of the ribbon or cord to create loops for hanging.
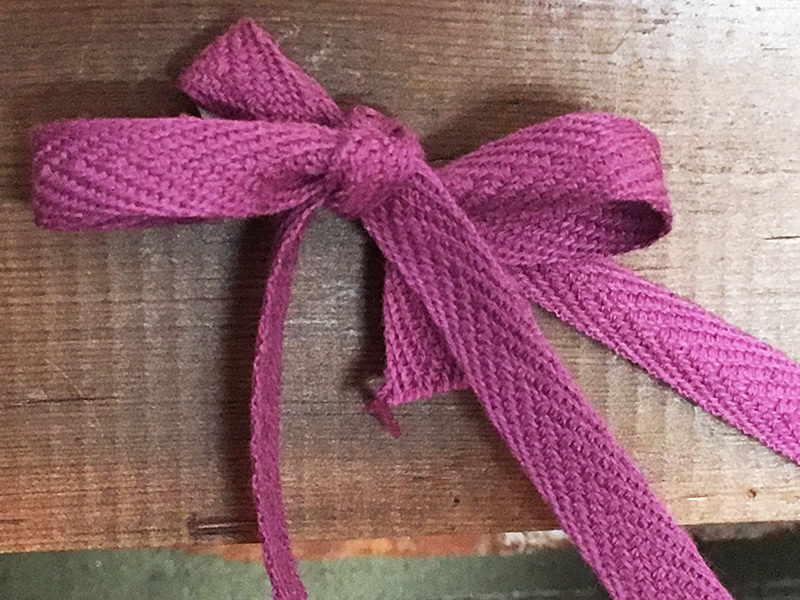
15. Cut the remaining twill tape in half. Tie one piece in a bow around the knot at one end of the hanging cord. Repeat to garnish the other end of the cord with the remaining twill tape.
