Cutting Machines
Shop cutting machines for DIY, crafting, and business needs.
Filter
Sort By
32 Results
32 Results
Sort By
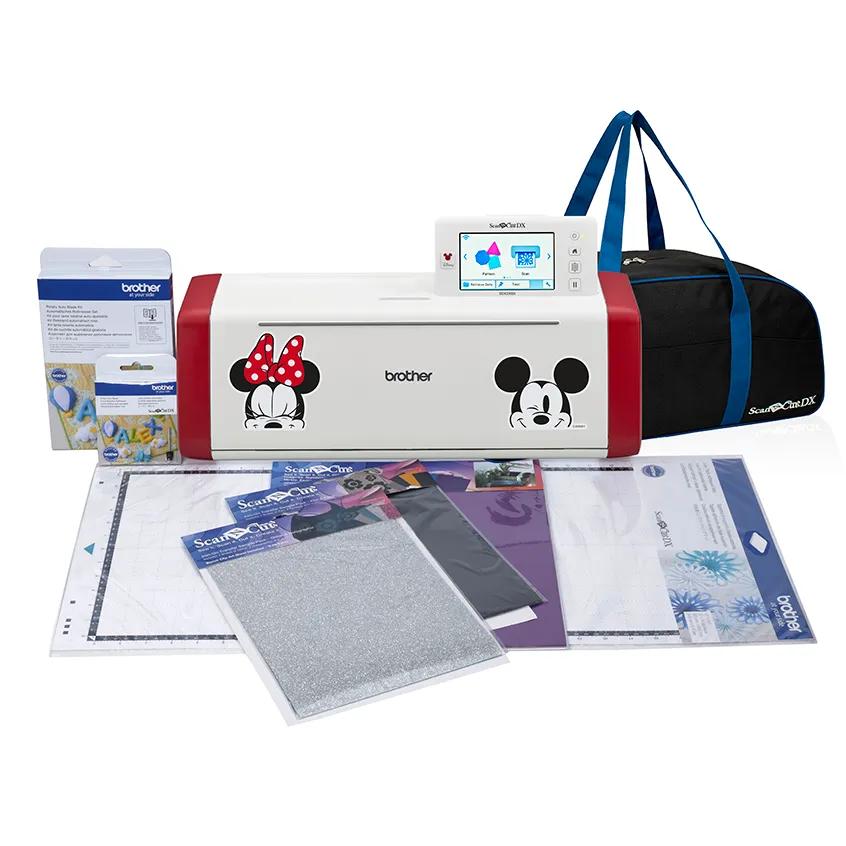
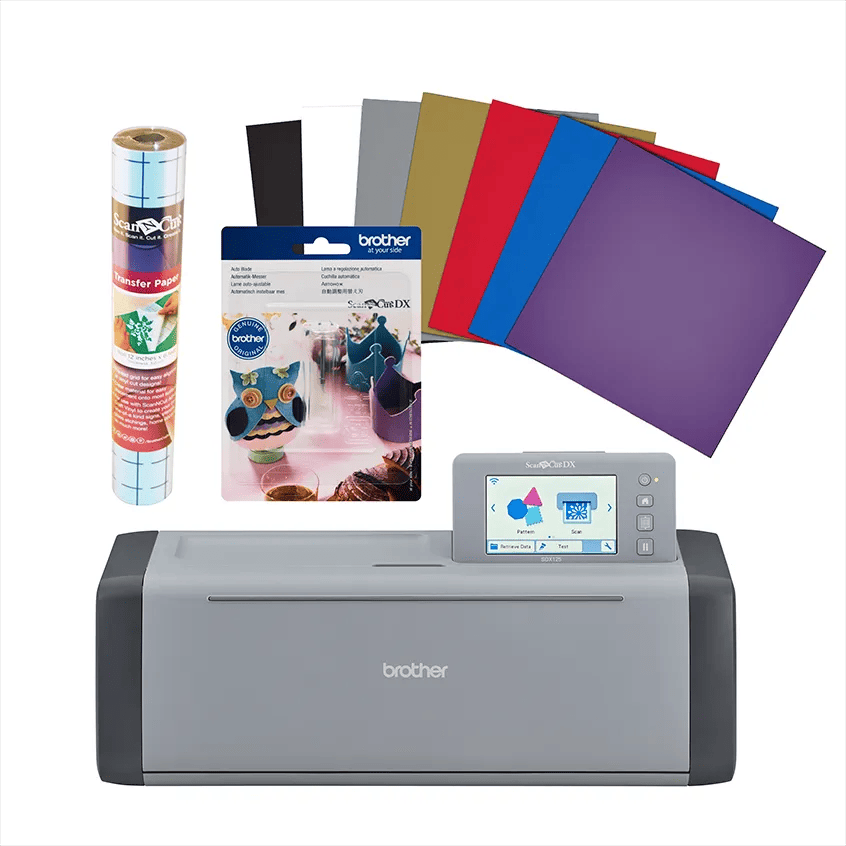
SDX230DIRBBNDL
bundles
SDX230DIRBBNDL
20
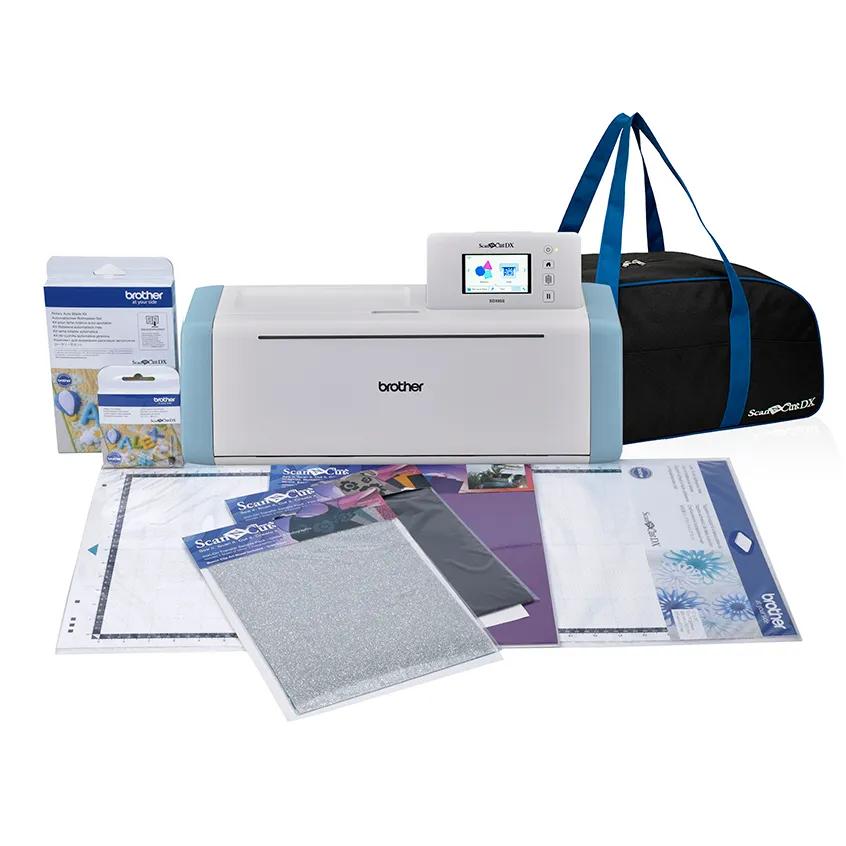
SDX85SRBBNDL
bundles
SDX85SRBBNDL
20
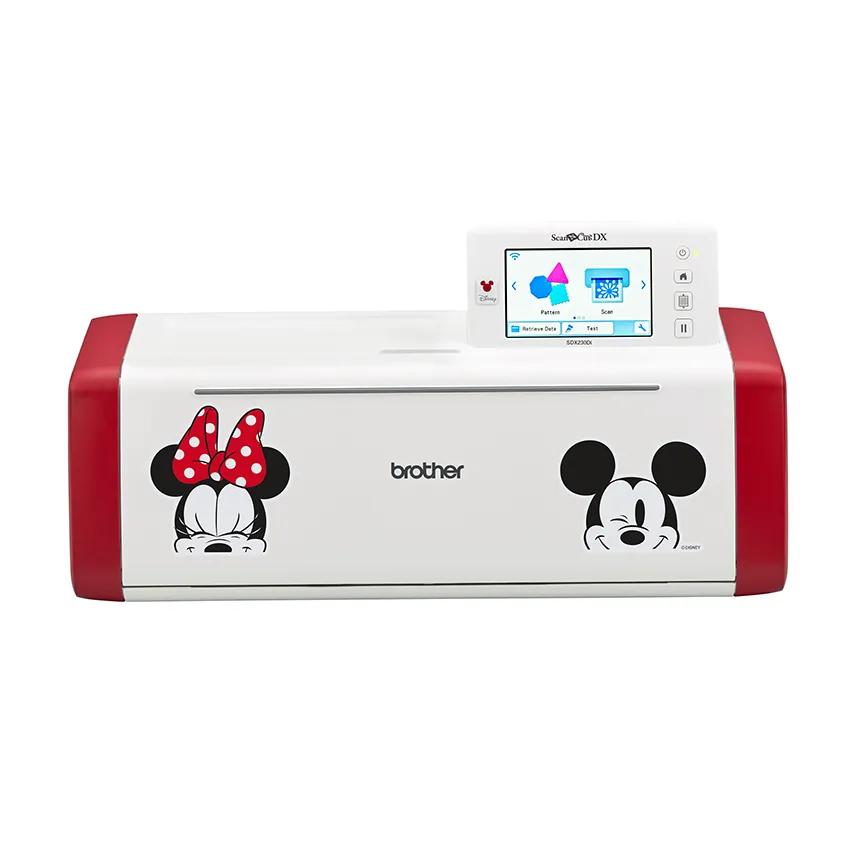
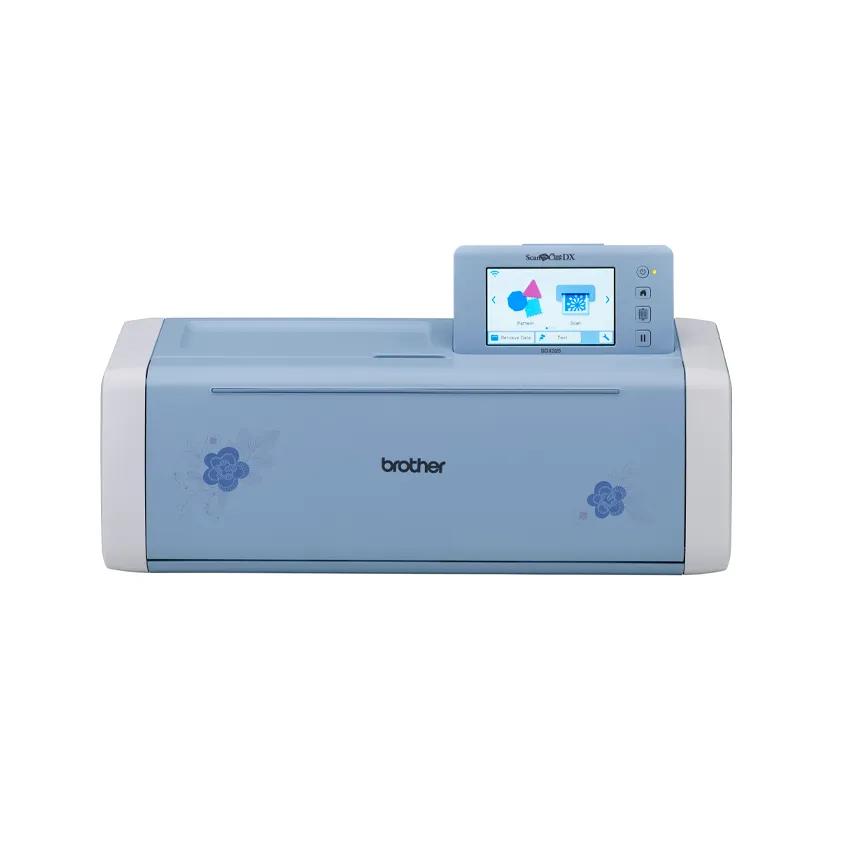
hf_sdx230dieus
SDX230DI
cutting-machines
SDX230DI
20
hf_sdx85eus
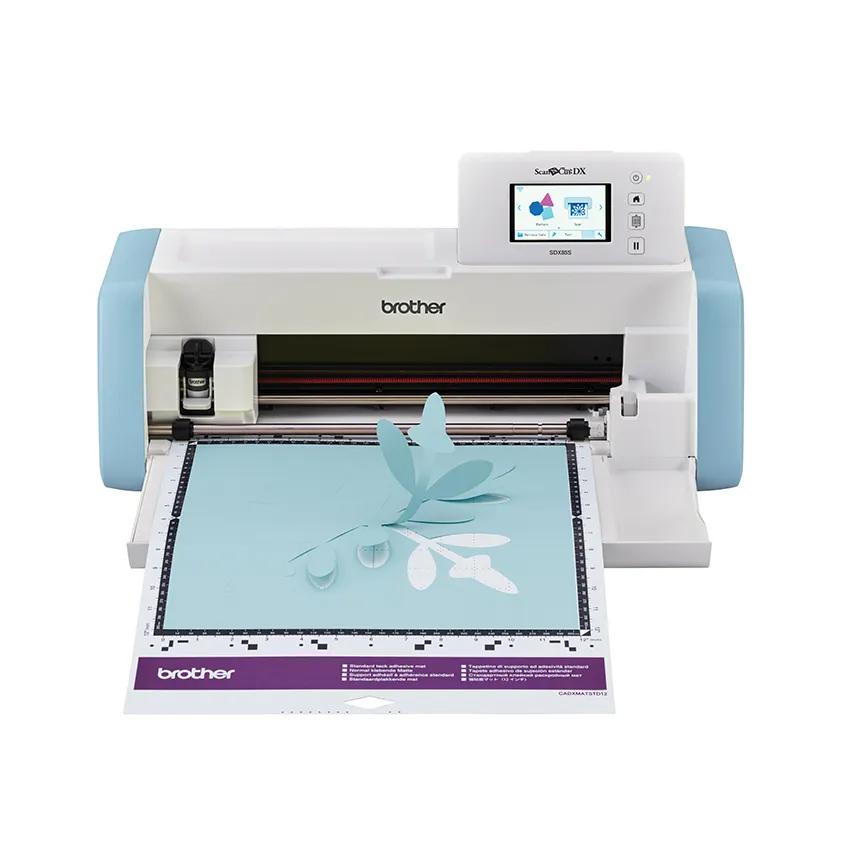
SDX85S
cutting-machines
SDX85S
20
hf_sdx85eus
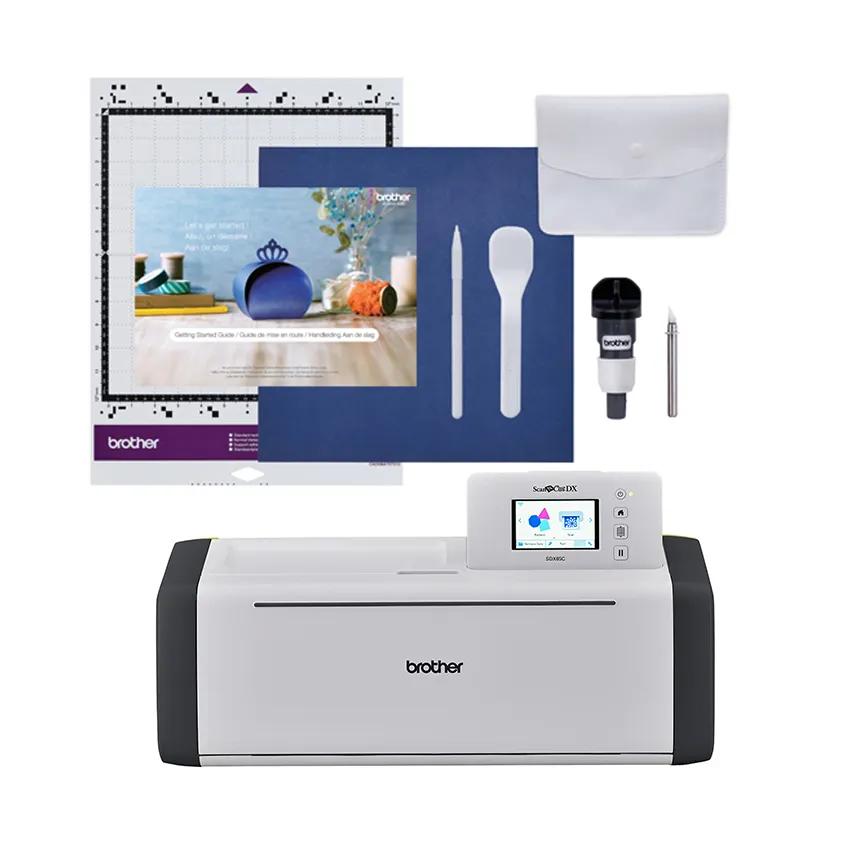
SDX85C
cutting-machines
SDX85C
20
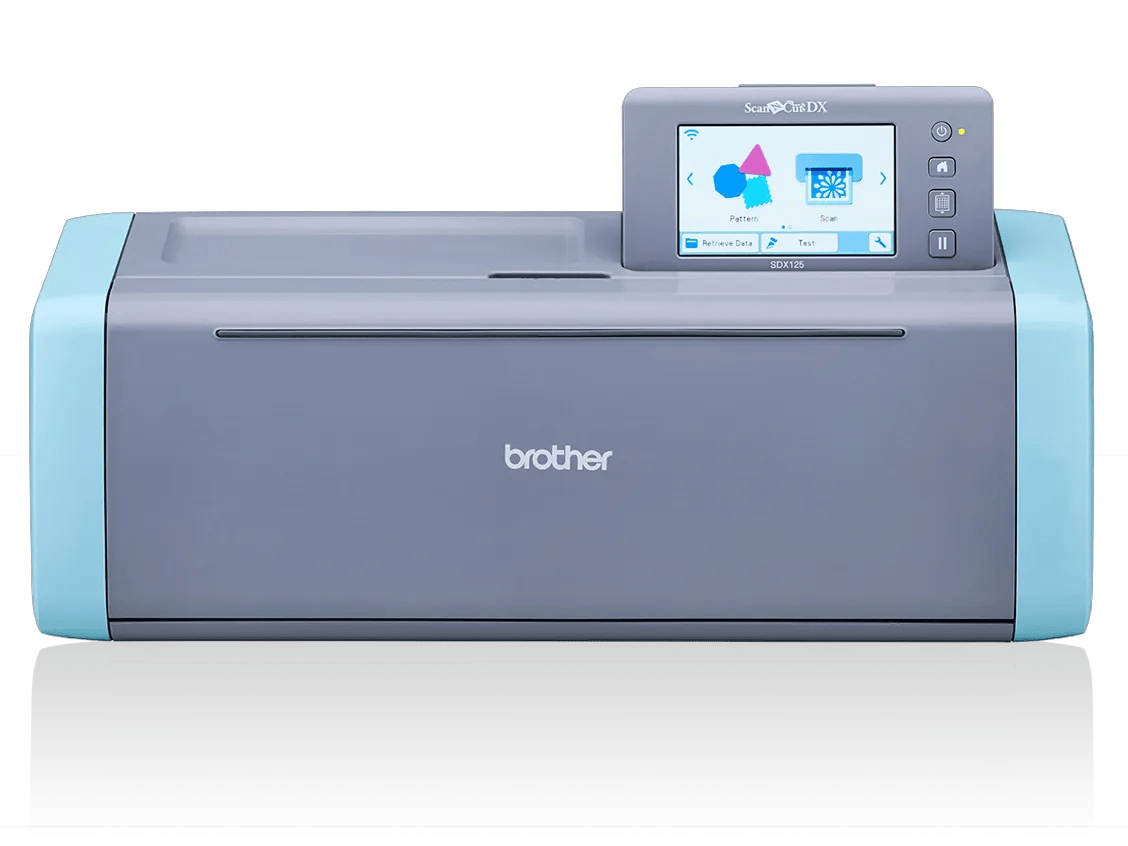
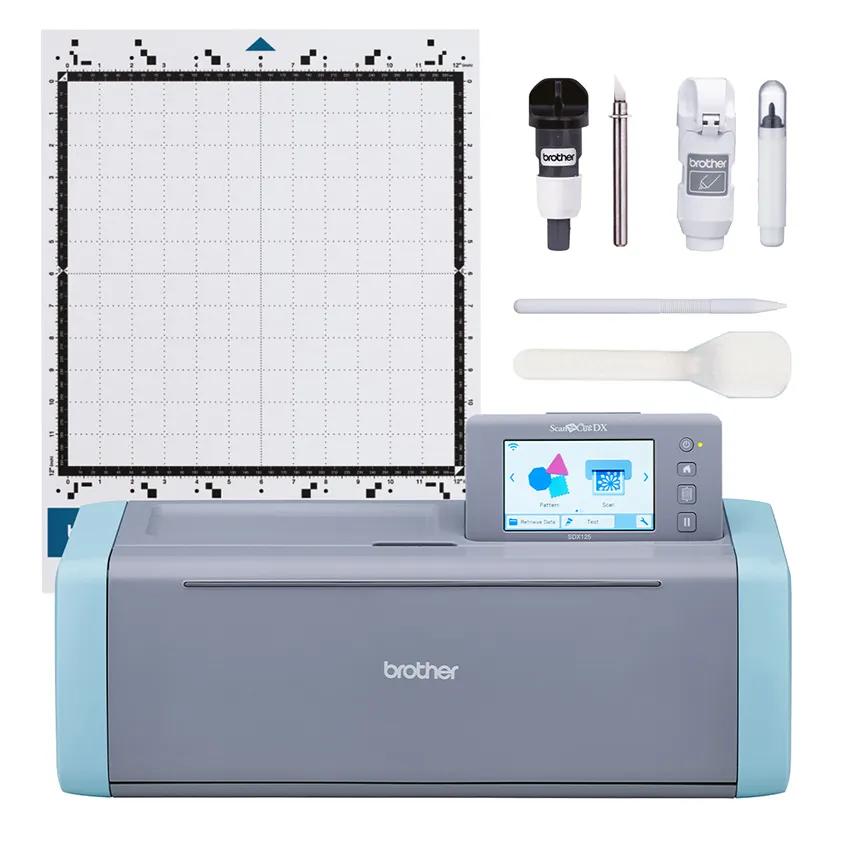
hf_sdx125eeus
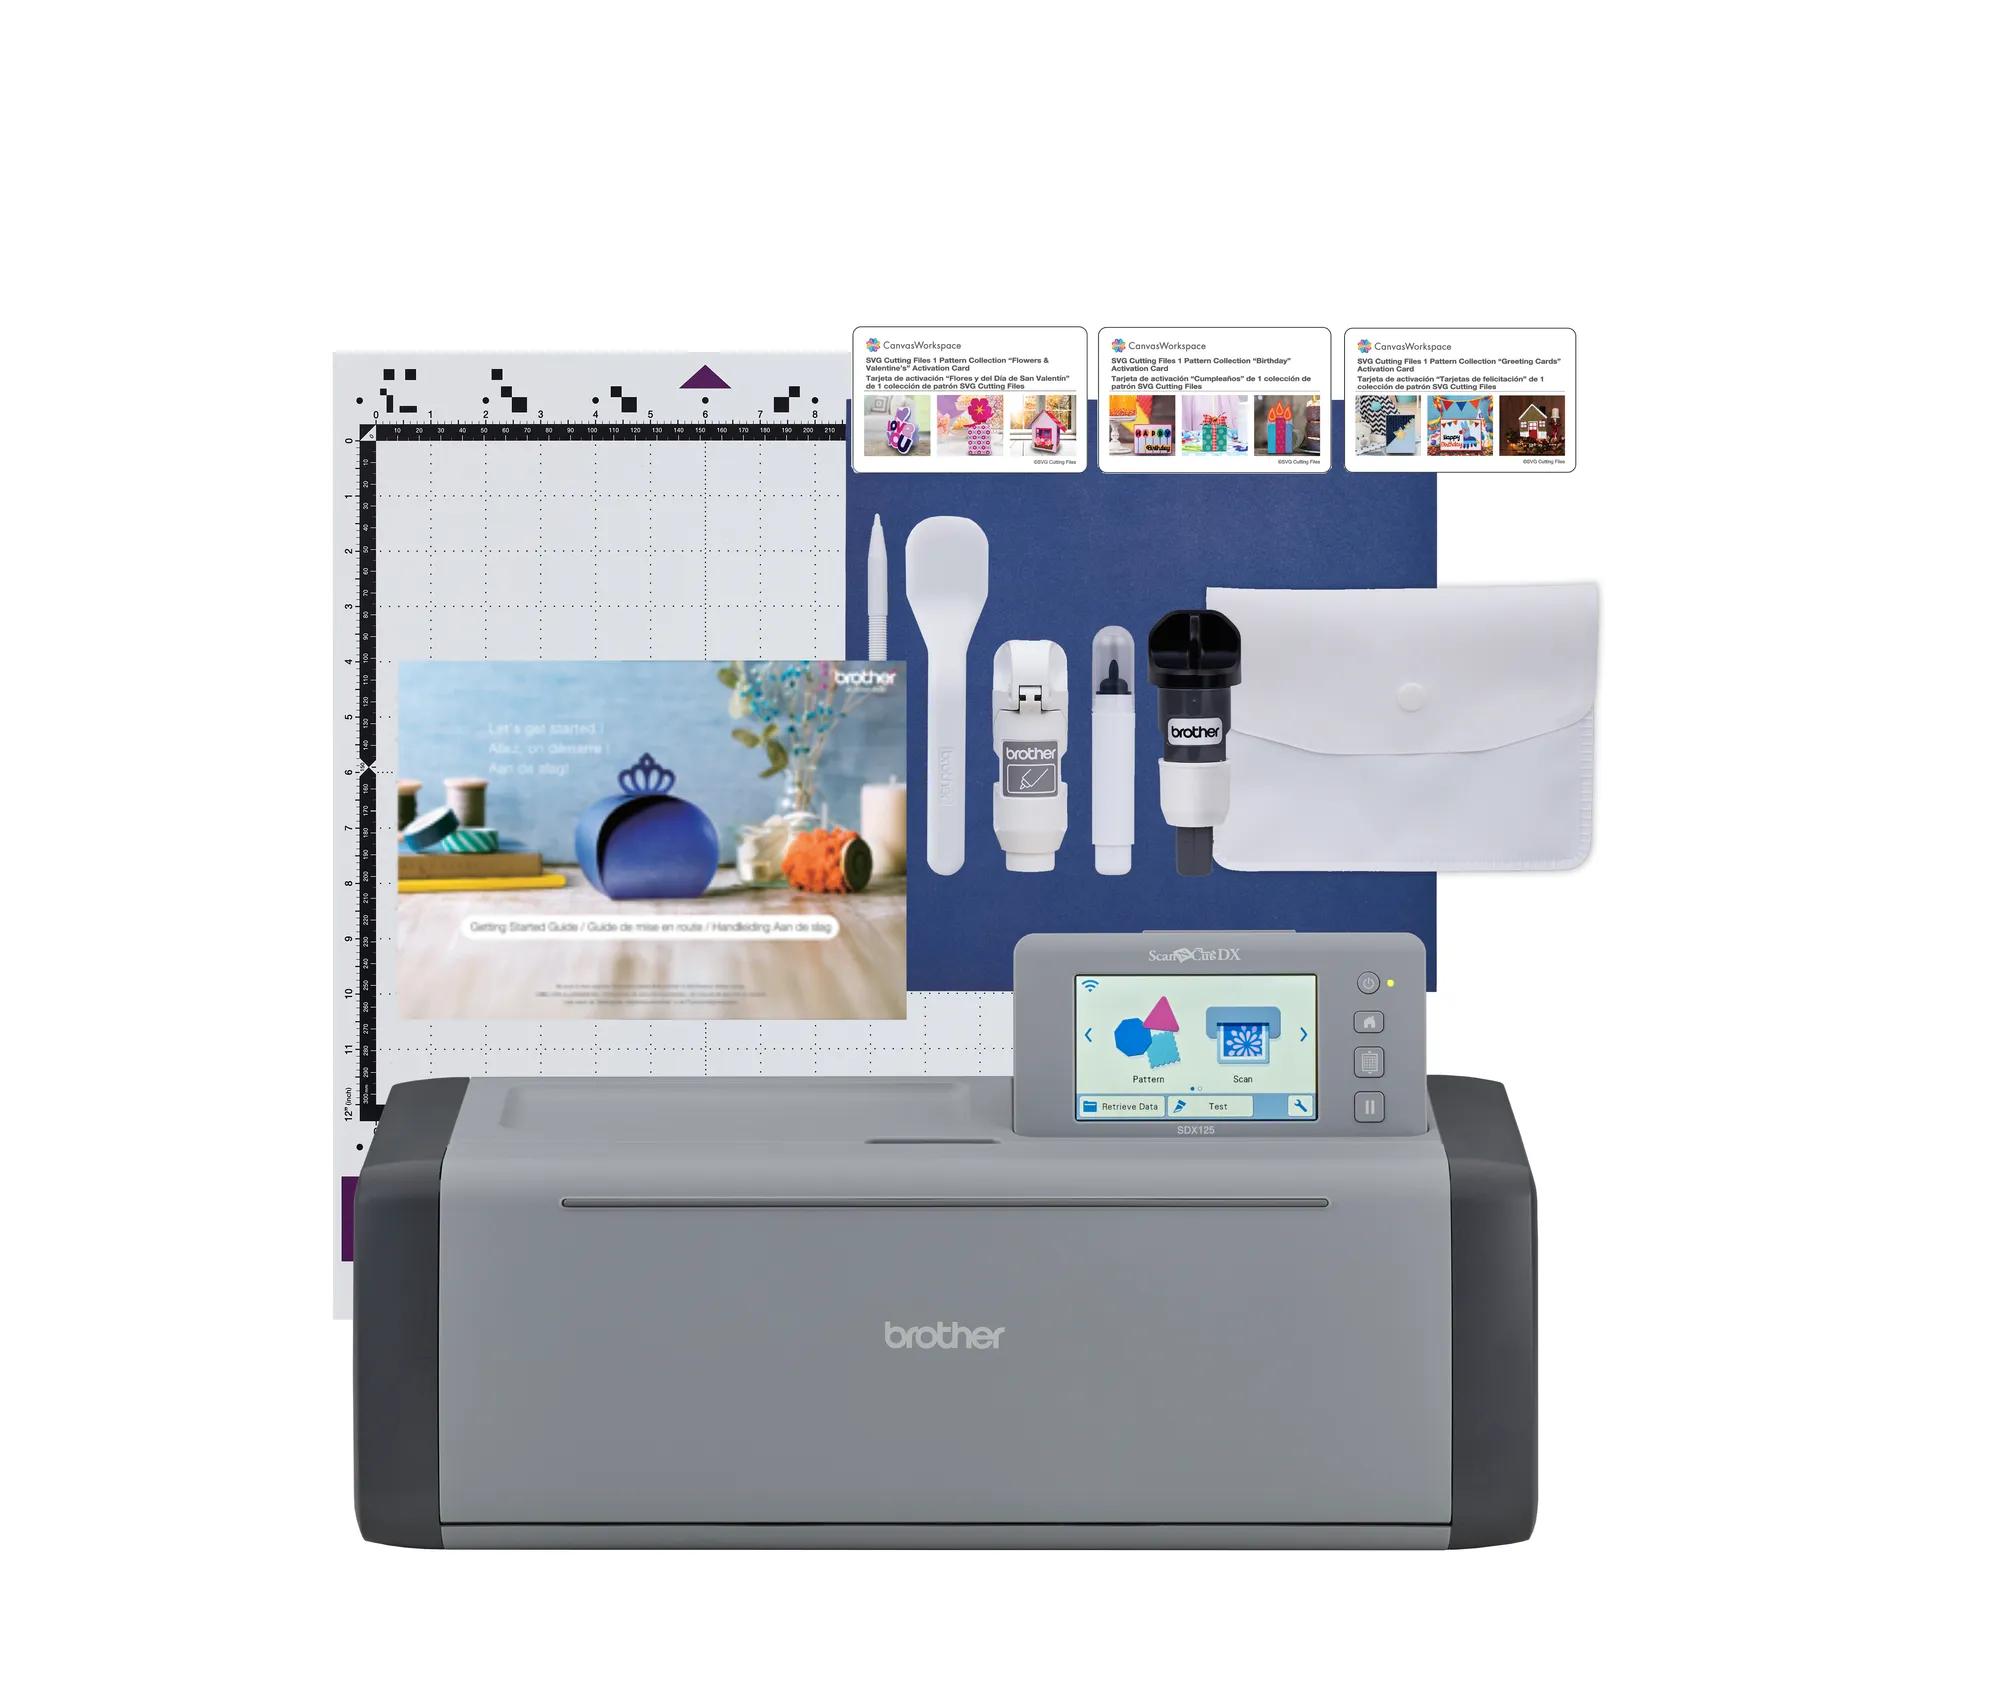
SDX125EGY
cutting-machines
SDX125EGY
20
hf_sdx330deus
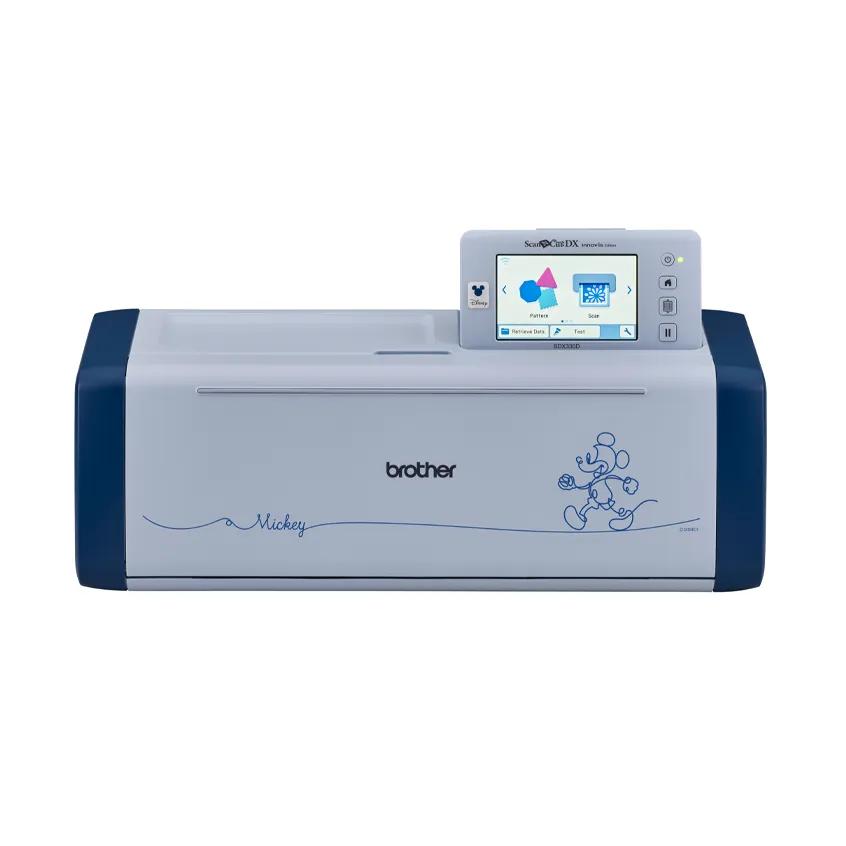
SDX330D
cutting-machines
SDX330D
20
hf_sdx325eus
SDX325
cutting-machines
SDX325
20
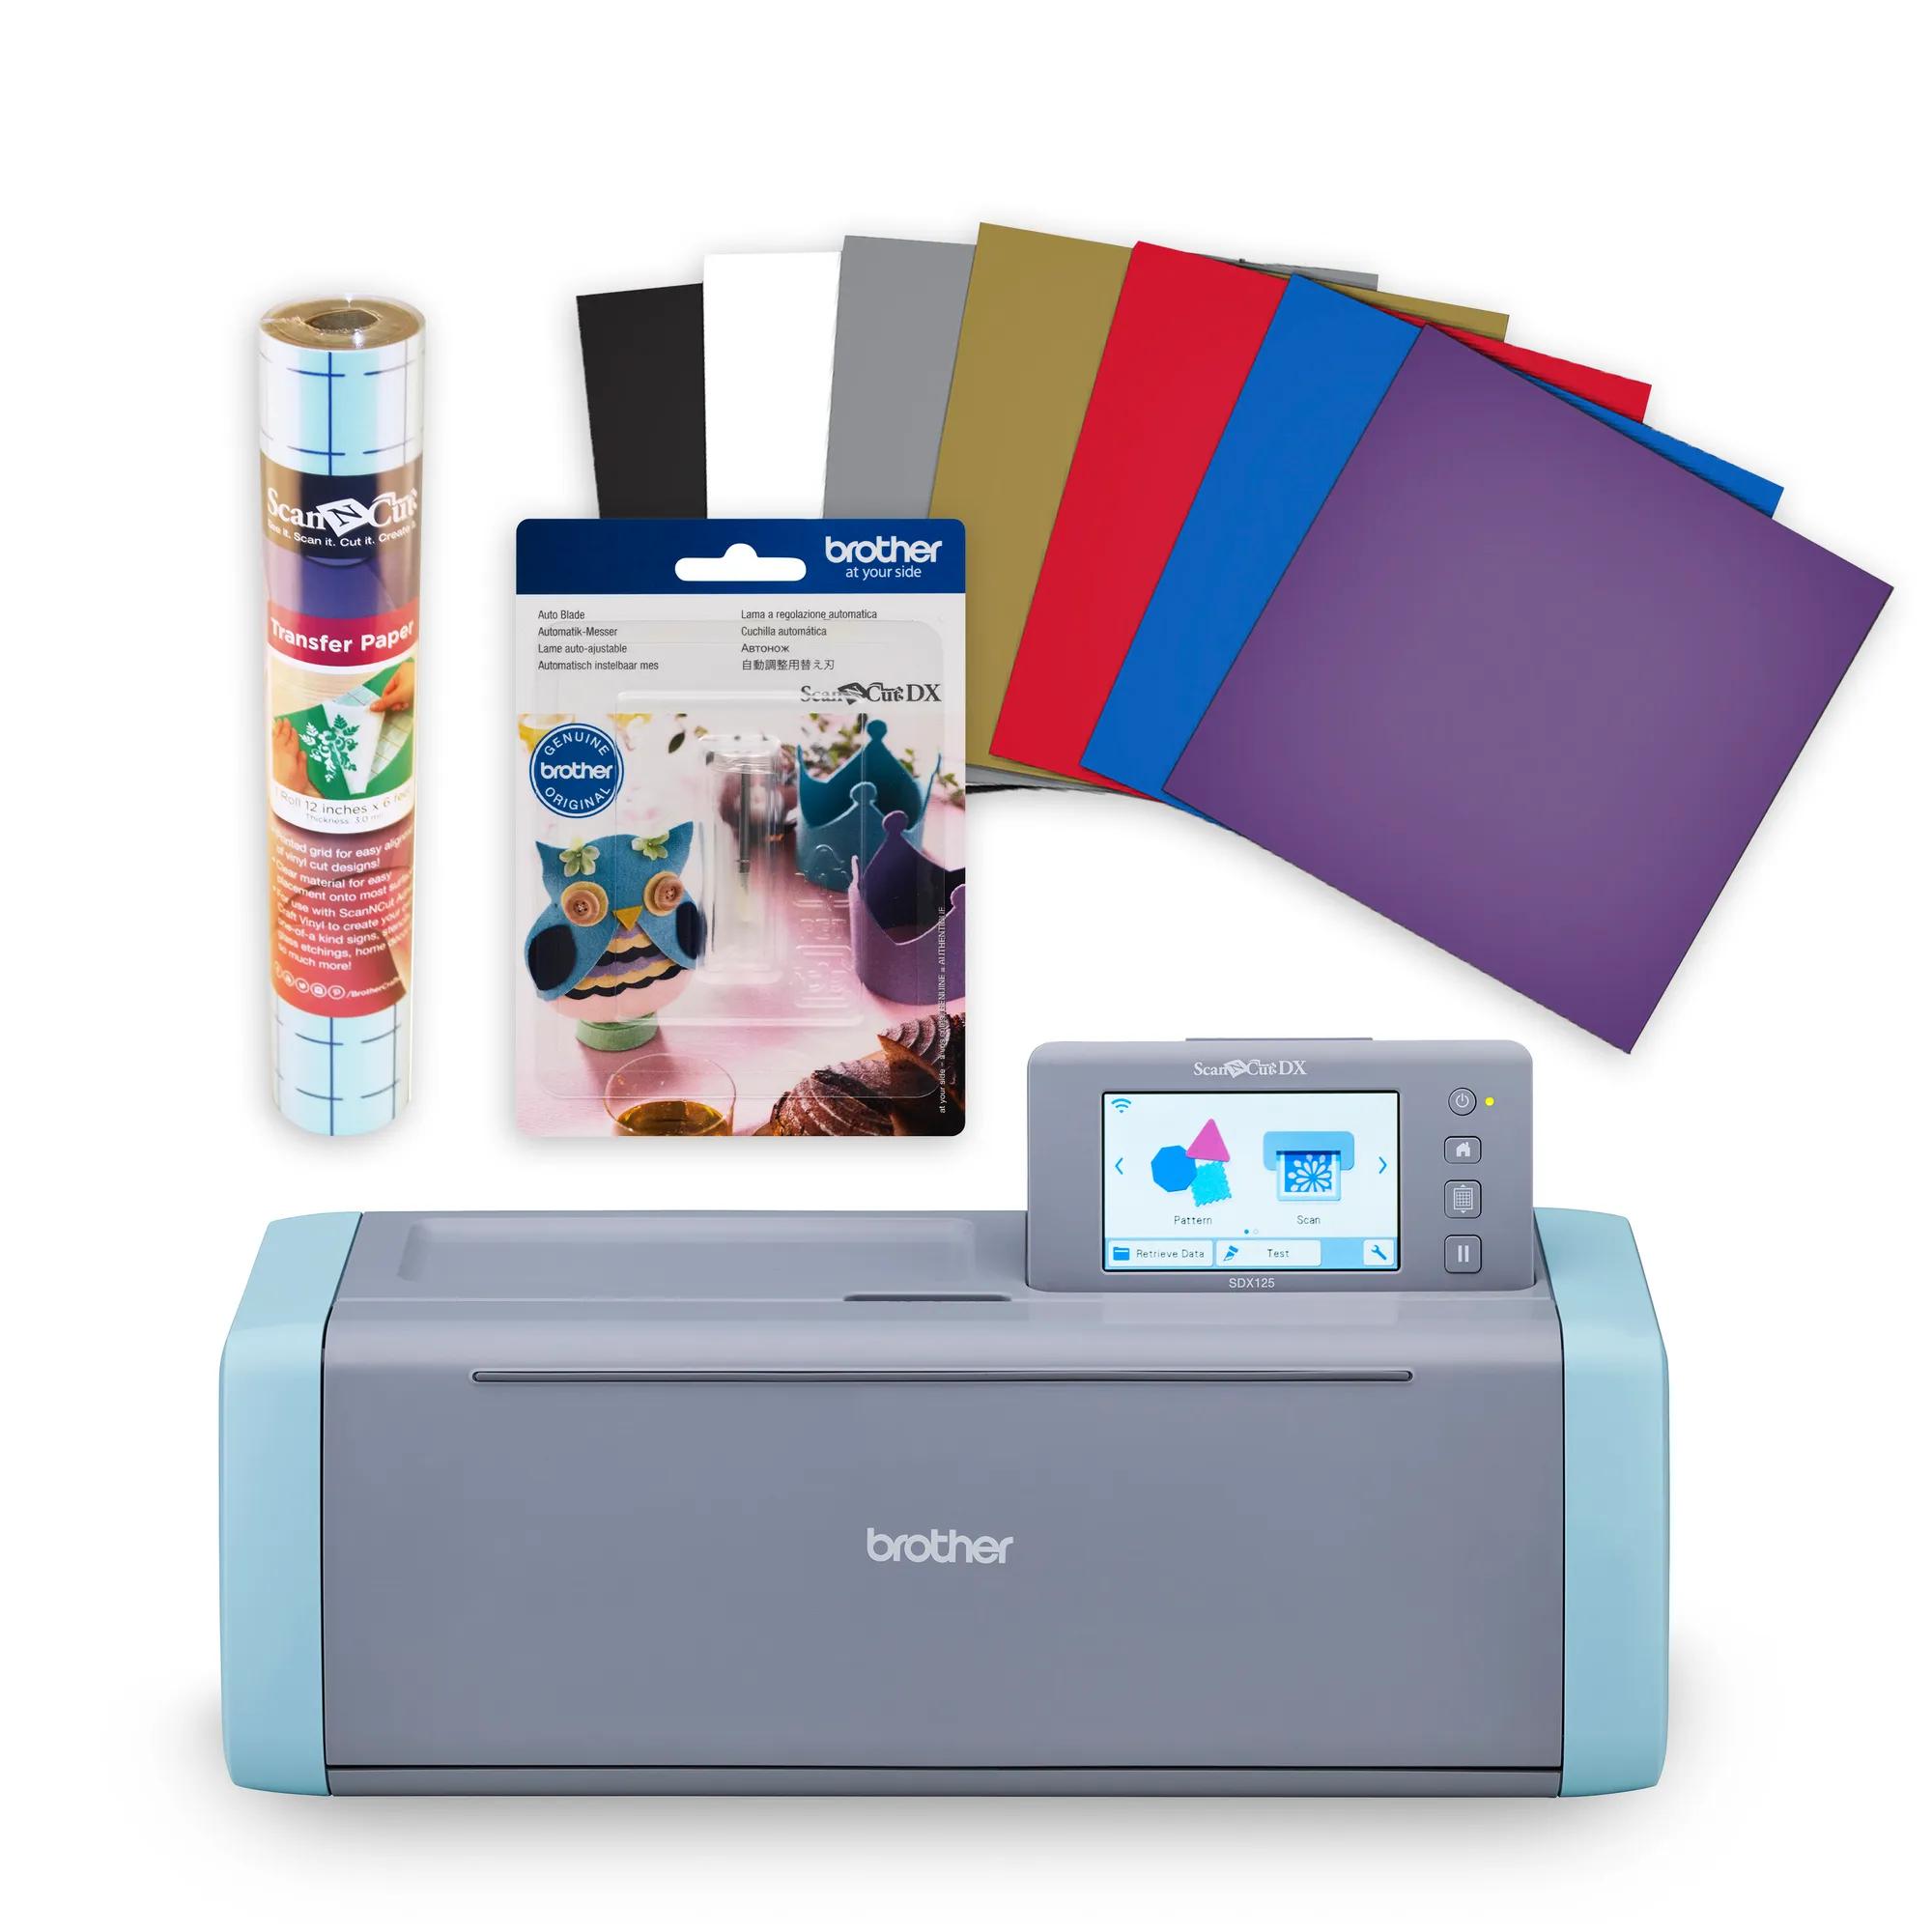
SDX125EGYBNDL1
cutting-machines
SDX125EGYBNDL1
20
hf_sdx125eeus
SDX125E
cutting-machines
SDX125E
20
SDXBNDLVINYL
bundles
SDXBNDLVINYL
20
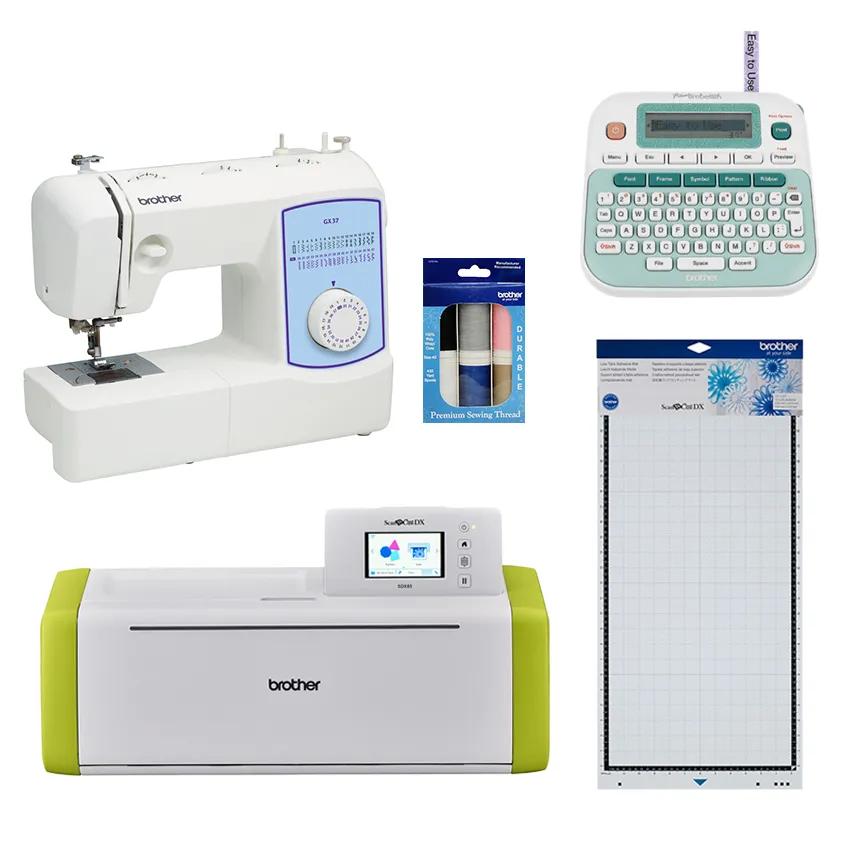
CRFTBNDL
cutting-machines
CRFTBNDL
20
hf_sdx125eus
SDX125
cutting-machines
SDX125
20
SEPTSEW
cutting-machines
SEPTSEW
20

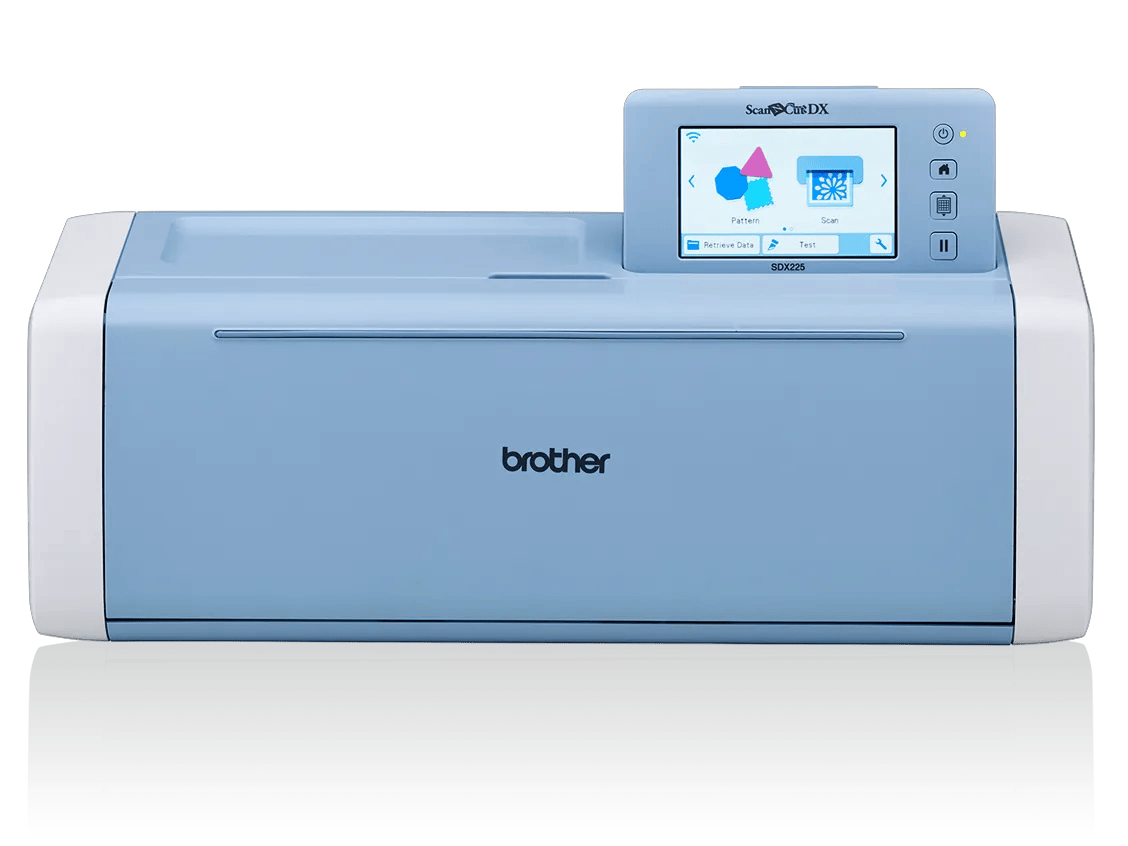
hf_sdx225eus
SDX225
cutting-machines
SDX225
20