Close-up of a Brother ScanNCut's display

ScanNCut Tips: Take Your Designs to the Next Level

Discover creative ways to make the most of your Brother ScanNCut machine. [1]

Best Practices
  1. Register your machine to be automatically notified when there are free software updates.
  2. Turn off the sound on your machine when working late at night so you don’t disturb anyone in your home.
  3. Save most of your cut files to a USB drive instead of your machine to improve the performance of your scans.
  4. When cutting fabrics and quilting pieces, prepare and organize all of your fabrics prior to placing the adhesive support sheet onto your standard mat.
  5. Make sure your fabric support sheet is flat with no creases. For best results, use a clean or brand new standard mat to ensure there is full contact between the mat and the sheet. Then, position the sheet, glossy side down, on the top of the standard mat. Slowly place the sheet onto the mat working from top to bottom, smoothing out any air bubbles along the way.
  6. Keep a file journal. If you have scanned in patterns or cutouts that are similar, but hard to differentiate on the ScanNCut screen, always write down the file name and description.
Design Tips
  1. There's no need to buy designs because every machine comes with them built in, and the built-in scanner means that you can scan in any design you’d like to cut (or draw).
  2. Use Direct-Cut mode to cut out printables, scrapbooking projects and designs that you've created yourself.
  3. Use the onscreen grid to help you plan where to place elements within your design.
  4. When cutting a very intricate design, slow your speed to a 1 for a smooth cut.
  5. To create a mirror image, click on Editing and choose the Resizing menu. Then you can find the Mirror Image button, which looks like two triangles separated by a dashed line.
  6. Use the Shape feature in Direct-Cut mode to scan in your background, and cut special elements from your surface in your favorite shapes.
Time Savers
  1. Be sure to save your file after you’ve edited it so you have the finished file ready when you return.
  2. Save the negatives from your cuts for use on future projects.
  3. When placing multiple different scraps onto your mat for cutting, be sure that they are all the same weight and can be cut using the same blade settings.
  4. Whenever you’re somewhere you don’t want to be on the ScanNCut machine, simply hit the Home button to get back to a clean slate. If a cut isn’t going well, hit the Start/Stop button.
Cutting
  1. Always use the test feature to try out different fabrics, mats, and blade variables. Keep track of your results in a cut journal.
  2. Start with a lower blade depth than suggested and work up from there.
  3. When cutting fabrics without iron-on support or a stablizer, make sure to starch and iron your fabric to a smooth surface to ensure that your fabric is even.
  4. Connect the letters of cursive writing to make it easier to cut out as just one piece in Direct-Cut mode.     
  5. When cutting out corrugated paper place it on the mat, bumpy side down, and tape down the edges with blue painters tape or washi tape.
  6. When you try to cut through thicker materials and it doesn't cut out all the way, just insert your mat back into the machine and cut it out again. It should pop right out.
  7. After inserting a new blade, screw in the holder so that the blade is all the way extended (past 12) and then turn back to your desired setting to ensure proper seating.
  8. If you're having trouble cutting through something, don't automatically increase the blade depth. Consider adjusting the pressure (how hard the blade is pushing into the material) for a clean and accurate cut.
  9. Smooth down the wonky edges you get with a lot of cutouts by placing your design down on your sticky cutting mat. Then place the mat’s dust cover on top. Smooth everything down with the dust cover in place and then remove the dust cover just before cutting.
  10. Use a standard blade depth of 2 for tissue paper and cellophane. Always perform a test cut first.
  11. When a blade becomes too dull to cut fabric, it may still cut paper.
  12. If you are cutting a lot of paper and/or fabrics at time, you may want to clean out the blade chamber to make sure no paper pieces, threads, or fibers are near the blade. To do this, unscrew the blade holder and take a dry cloth to the inside of the holder, and blade area using caution as the blade is sharp.
Mats
  1. Don't cover the small dots at the ends of your mat. They are used by ScanNCut as registration marks.
  2. Always use two hands to feed in your mats, making sure both corners are touching the rollers. Click the Feed button and return your hand to the mat. Feeding the mat evenly will keep jams to a minimum and prevent your mat from bending at the corners.
  3. Use the standard mat for thick, painted, and altered papers.
  4. Use the high-tack fabric support sheet to hold onto thicker papers that tend to curl, like painted watercolor paper.
  5. Make sure the outside edges of your fabric are completely within the sticky area of the mat. If you leave any fabric hanging on the outside edge of the sticky mat grid, the fabric may lift off.
  6. Use our blue low-tack mat for cutting super thin papers like tissue paper, deli paper, and book pages.
  7. When removing paper from a mat, gently bend it to help the paper’s edge lift right off and make it easy to grab.
  8. Your mat needs to be sticky enough to hold what you’re cutting, but not so sticky that you can’t easily pull the item off.
  9. If you cut through a cutting mat by accident, simply flip it over, piece it back together, and use duct tape to hold it together.
  10. Use the spatula to help smooth paper down to your mat. You can also use a credit card or hotel room card.
  11. Use the adhesive fabric support sheet with your standard mat when cutting materials that are porous.     
  12. When working with fibrous paper such as mulberry paper, coat the back side lightly with a clear-drying adhesive and let dry before using in the machine, so the fibers don't get stuck onto your mat and the cuts are clean.
  13. Use a brayer to firmly adhere paper or fabric to the mat.
Tools, Inks & More
  1. Use the round hole behind your screen to hold your stylus.
  2. Store your spatula tool in the well behind the screen.
  3. Use the square Test Cut shape to help you see whether the corners will cut cleanly at your current settings.
  4. The universal pen holder fits in both the original ScanNCut and ScanNCut2.
  5. Stamps cut with the ScanNCut Stamp Starter Kit are completely reversible.
  6. Use your ScanNCut and universal pen holder to draw on top of surfaces that won’t fit through your printer, such as rigid plastic and wood veneer.
  7. Pigment inks work better than dye-based inks when stamping with the silicone material included in the Stamp Starter Kit.
  8. Personalize store-bought greeting cards by adding a written sentiment or the recipient’s name, using the pen tool.
  9. Be sure to remove one side of the protective plastic covering before cutting when using the ScanNCut stamp material. Leave the other side on to limit the amount of stretching. Place it on the mat, uncovered side down.
  10. Use the darkest and blackest ink you have on a white background for best results in Direct-Cut mode.
  11. Set your machine to only cut through the stencil material and not the backing paper so you can use the backing material again.
  12. If you can’t find your stylus, you can use the back of the spatula tool to operate the ScanNCut LCD display. In a pinch, you can even use the cap of a ballpoint pen.
CanvasWorkspace
  1. You can choose to view your image multiple different ways in Canvas. Before saving it to USB, choose Show Only Cutting Line under the View menu to see exactly what will be cut.
  2. If you have .fcm files on your computer, upload them to CanvasWorkspace for easy editing, quick viewing, and safekeeping.
  3. Before beginning the wireless activation process make sure you have the following: your activation code, the name of your wireless network, the password for your wireless network, and access to CanvasWorkspace online.
  4. After creating a file in CanvasWorkspace, group the cut files into a single file for ease of handling. To group your items in CanvasWorkspace, select All and then choose Group.
  5. CanvasWorkspace contains several alphabets not found on your machine. Go online to check them out.     
  6. You can preview how your design will cut in CanvasWorkspace. Simply choose Show Only Cutting Line from the View menu.
  7. Use the Image Trace button to transform a .jpg into a cutting file.
Storage
  1. Keep all your attachments together in the included pouch.
  2. Store your custom designs on a memory stick and keep it handy in your craft room.
  3. Keep a file journal. If you have scanned-in patterns or cutouts that are similar, but hard to differentiate on the ScanNCut screen, always write down the file name and description.
  4. It's easy to store the ScanNCut machine because it's so light. You can store it plugged in on a low shelf right above your desk, and be instantly ready to go.
  5. Mat storage can be tricky, especially for the larger ones, so store them in your ScanNCut rolling tote. The 12" x 12" mats fit perfectly flat on their sides and the 12" x 24" mats curl inside with ease.
Maintenance
  1. You can clean fingerprint marks off of your screen with a cleaning cloth meant for glasses. It’s much better than a tissue because it leaves no lint behind.
  2. Keep your mats in good condition by always placing the dust cover on top of them when they’re not in use. Clean them of any stray cuts as soon as possible.
Brother ScanNCut machine surrounded by supplies

Before You Buy

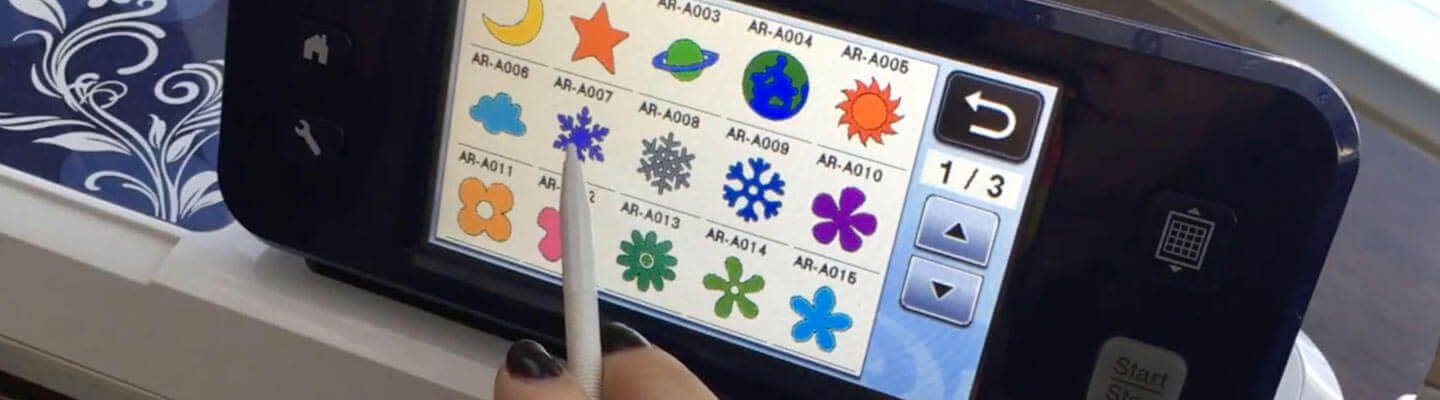
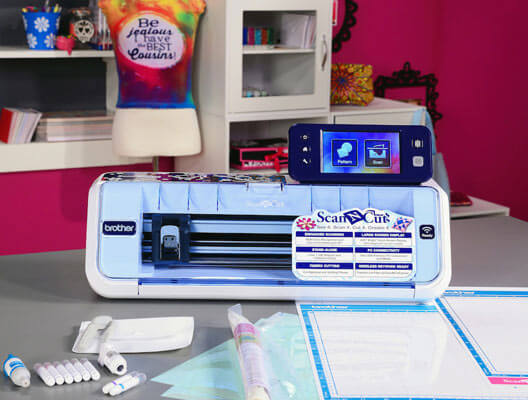
There are a number of different ScanNCut models, each with its own personality and special set of features.

Free ScanNCut Projects

Our collection of fun, step-by-step projects are created especially for you, so you can make mix media magic with ScanNCut.

Electronic Cutting Machines Starter Kits

Our Starter Kits come with virtually all the materials you need to create one-of-a-kind projects.

CanvasWorkspace

Convert files and create new designs with our free, cloud-based web app.

  1. Opinions expressed here and in any corresponding comments are the personal opinions of the original authors, not of Brother International Corporation. Brother International Corporation is not responsible for, and does not validate, any information, opinions, assertions or statements expressed. Information available on the site does not, and should not be relied upon to, replace the advice of your own professional legal, tax and financial advisers.