Your session has timed out. Please log in again
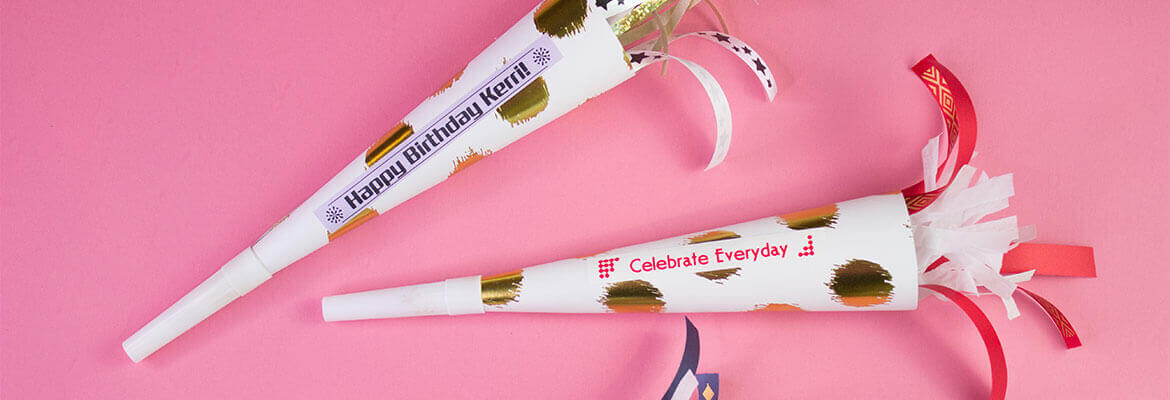
Ready to be loud and proud with this DIY party horn? Stand out and personalize any occasion with the P-touch Embellish. Just follow these easy steps and get ready to toot your horn.
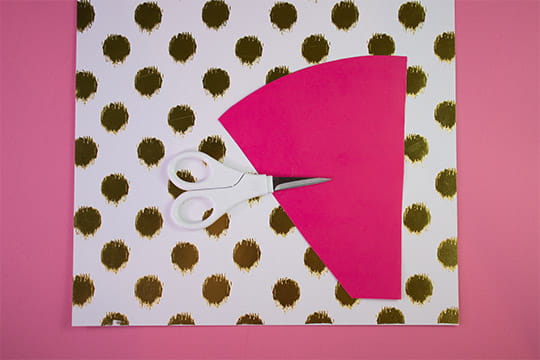
Take a piece of thick cardstock and cut into the shape of long triangle with a rounded bottom. Use a fun, shiny piece of cardstock for a more fun, party look.
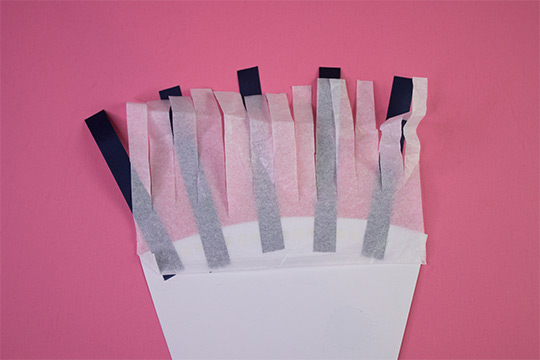
Cut a piece of tissue paper to fit the length of the rounded edge of your long triangle. Leave 1.5-3 inches hanging off the edge of the rounded edge. Tape the tissue paper to the inside of the triangle to secure. Using your scissors, cut strips up towards the rounded edge to create more dimension for your party horn. Using your P-touch Embellish, create strips of ribbon with different patterns to add to this bottom edge. For this project, we used navy ribbon with gold text and pattern # 21. Tape these pieces of ribbon to the inside of the triangle, underneath the tissue paper.
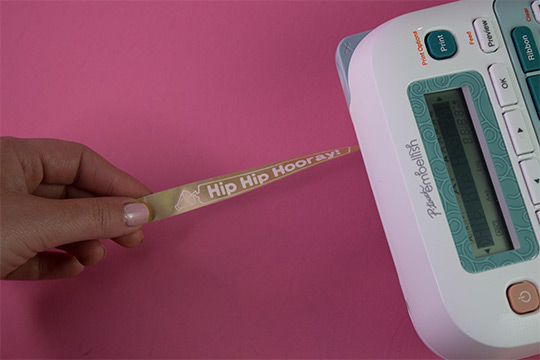
Now, use the P-touch Embellish with tape to print out the message for your party horn. For this project, we used the mint chevron tape with black text to write “Hip Hip Hooray!” Set this aside for later. You will put this piece of tape on the party horn at the end.
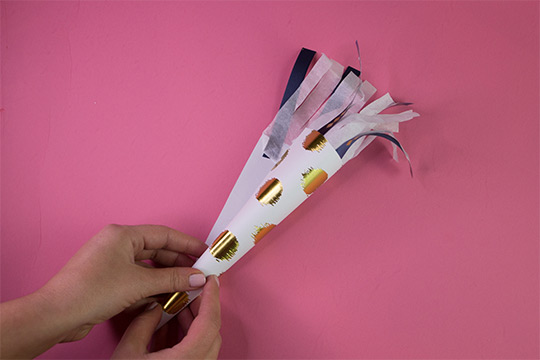
Next, begin to roll the triangle into a cone shape, making sure the rounded bottom of the horn is even all the way around. With the horn rolled, attach the noise maker mouthpiece on the top of the horn to hold in place. Glue the edge of the horn to the other side, to secure the cardstock as a cone shape.
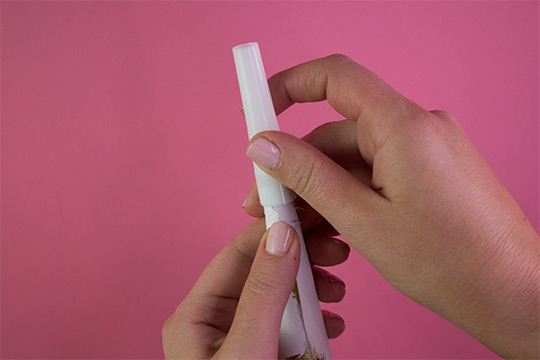
Next, remove the mouthpiece and put a little glue at the top of the party horn. Slide the mouthpiece back on to the horn to secure in place. Finally, place your embellished tape to the outside of the horn, and you are finished!