20
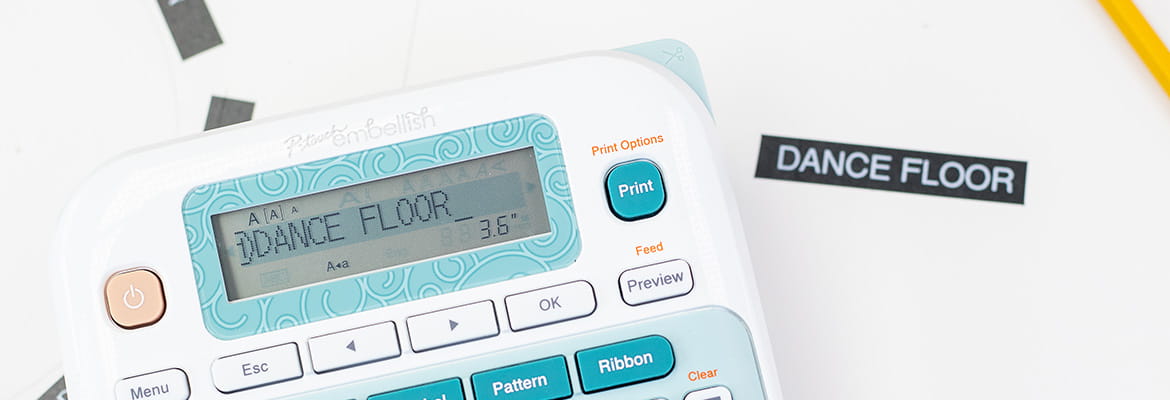
P-touch Embellish printing a label

Wedding Seating Chart with the Brother P-touch Embellish

Wedding planning can be stressful, especially when it comes to deciding where guests will sit at the reception. Thankfully this task can be made a little easier with the Brother P-touch Embellish Ribbon and Tape Printer. Because this chart uses Brother P-touch Embellish washi tape, you can arrange and rearrange the seating chart with ease, no matter how many times you have to change it!

Level of Difficulty: Easy
Time to Complete Project: Under 1 hour (depending on how many guests are attending)
  • Supplies
  • Tips & Tricks

Supplies


P-touch Embellish Tips & Tricks:

  • To reduce waste on the end of your label tape choose Menu → Scroll to Margin → Scroll to Narrow and hit OK.
  • Always clear your machine before you start a new project or it will use the setting that you set with your last one.
  • Make the project personal and scroll through your P-touch Embellish machine until you find the perfect Font, Frame, Pattern or Symbols you would like to use.
  • All of the symbols and frames are shown in the included product guide.
  • Special Characters: hold down "Shift" key and select the keyboard numbers for a special character to appear in the field.


Directions

P-touch Embellish Craft Step 1 person drawing circles on paper

Step 1

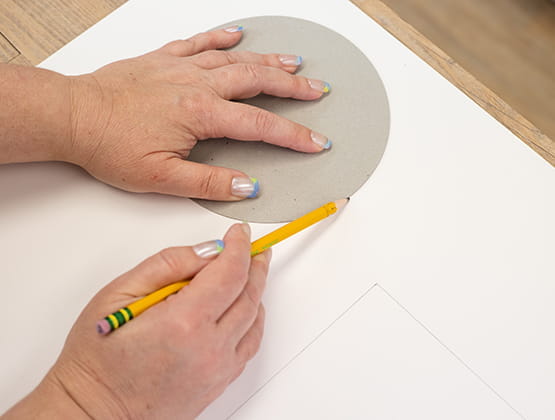
Draw or trace a 6” circle onto the chipboard/thin cardboard/cardstock and cut out. This template will represent each table and draw in any distinguishing features of the venue (such as a dance floor or stage) on the poster board with a pencil and ruler.
P-touch Embellish Craft Step 2 person using a ruler to draw lines on the paper

Step 2

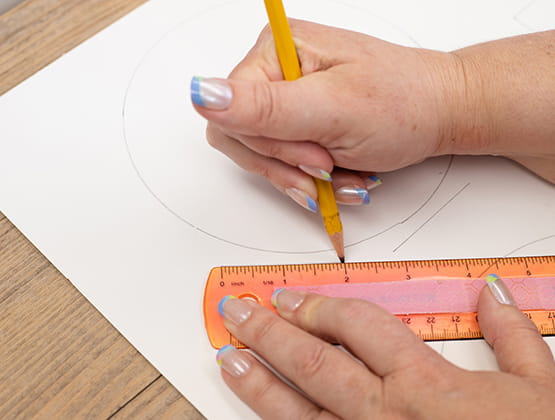
Draw a 2” line using a ruler to represent chairs at the tables. (Smaller line if you require more chairs)
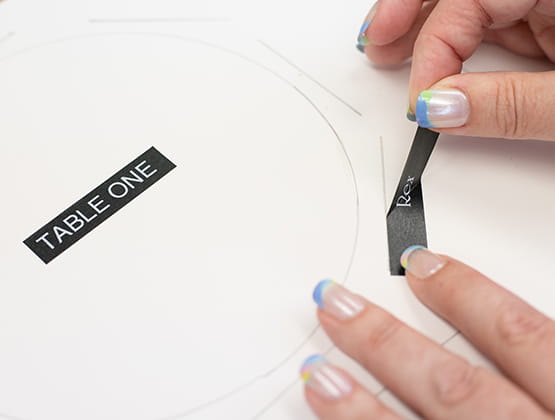
P-touch Embellish Craft Step 3 person putting label stickers around seating chart table.

Step 3

Insert Brother P-touch Embellish ~½” White on Black Washi Tape into the Brother P-touch Embellish Ribbon and Tape Printer.
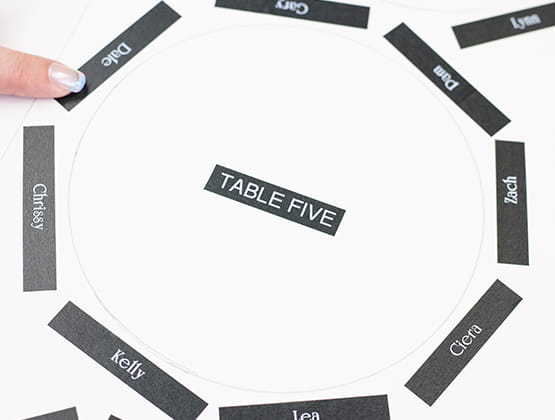
  • Print a label for each table denoting the table number.
  • Print a label with each guest’s name.

P-touch Embellish Craft Step 4 completed seating chart with P-touch embellish labels

Step 4

Place the name labels on the “chair” lines to show where each guest will be sitting. The washi tape is easy to peel and re-stick if you want to rearrange your seating chart!

This seating chart will be a big help with the wedding planning process. You’ll be one step closer to a perfect wedding day!

X