Your session has timed out. Please log in again
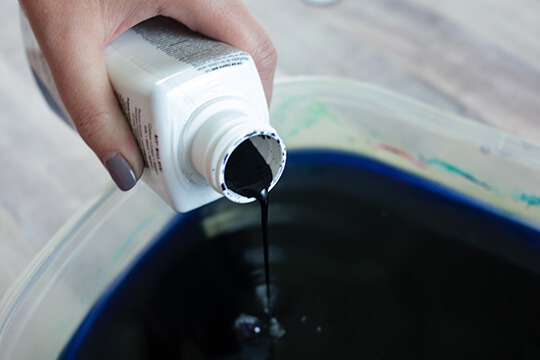
Cover a flat surface with parchment paper, fill the tub with warm water and mix dye by following the directions on the container.
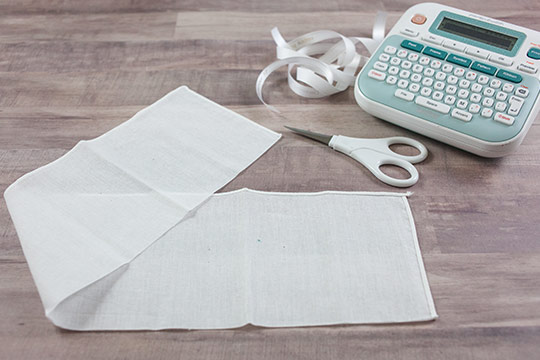
Unfold the bandanna and fold in half once matching the natural folds that are already pressed in the fabric. Cut into 4 strips along the fold lines. Unfold each piece and lay flat.
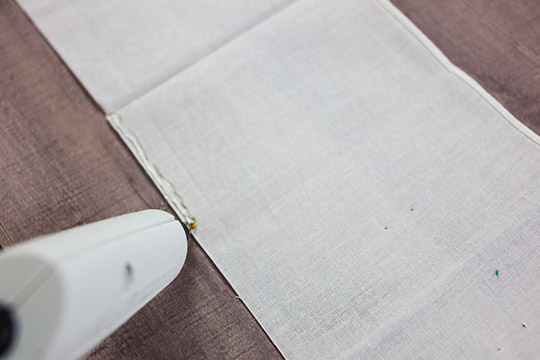
Using the hot glue gun (or fabric glue), apply glue along the sides of the bandanna and fold in half to seal the sides and create a pouch.

Using scissors, trim about two inches from the open end of the bag. Glue, fold and trim the seven additional bags.
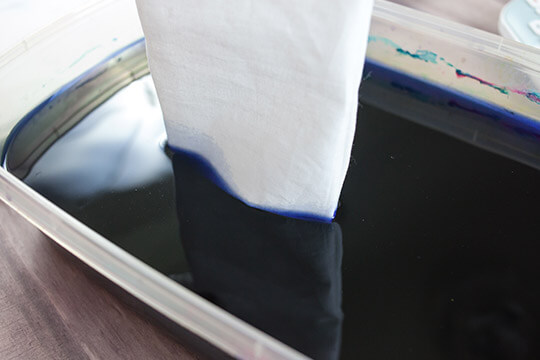
Lay all eight bags on the parchment paper next to the tub of dye. Put on gloves to protect your hands from the dye. One by one, dip each bag halfway down in the dye one time and lay flat on the parchment paper.
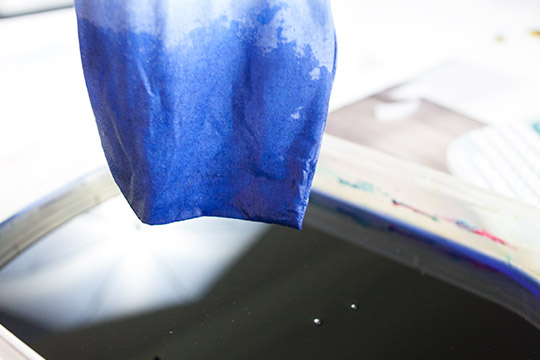
Next, dip seven bags half way in the dye and lay flat. Repeat this step with six bags, five bags, four bags, three bags, two and finally one. Each bag will be one shade darker than the next to create an Ombre effect. Let the bags dry overnight. Once dry, iron to heat set the dye. If you used hot glue do not iron on the edges.
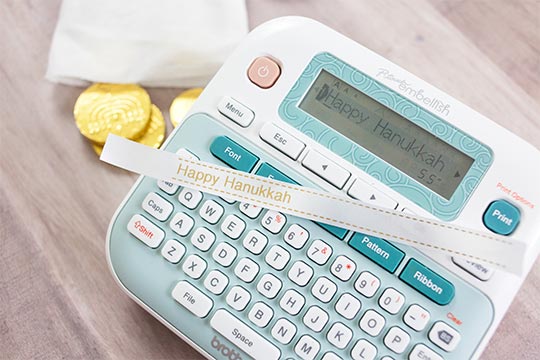
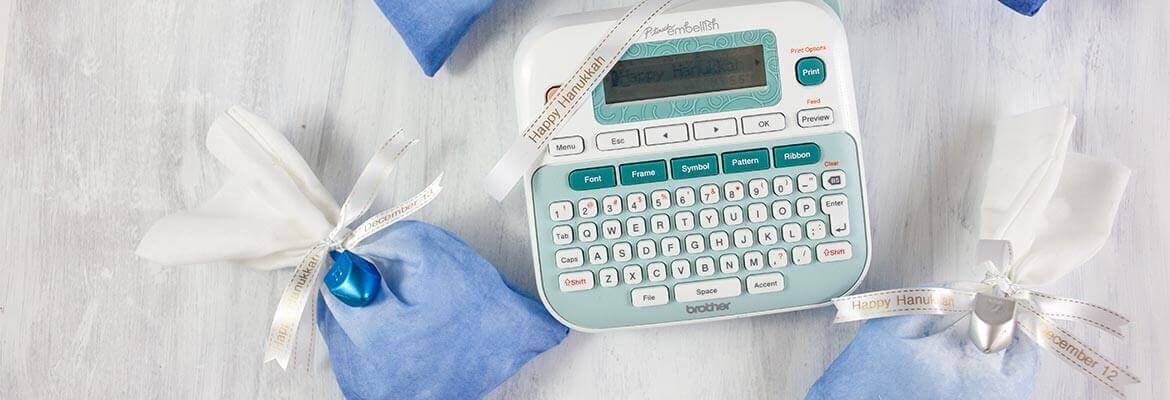
Use your P-touch Embellish to create a personalized message. We created a repeating pattern with the Star of David pattern on a 12-inch piece of ribbon. We added “Happy Hanukkah” to one end of the ribbon and then the date of each night of Hanukkah to the other end of the ribbon.
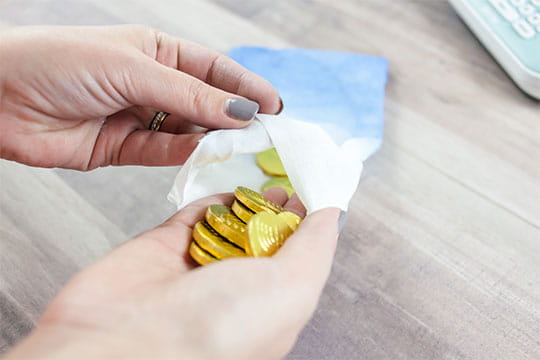
Fill the bags with treats.
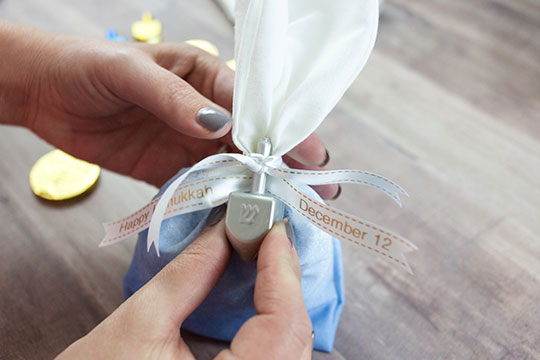
Tie the bags shut by tying the pattern ribbon around bag in one knot. Place the personalized ribbon in the center of the knot and tie the patterned ribbon in a second knot securing the personalized ribbon. This will give you a four-point tie. Trim the ends of the ribbon.
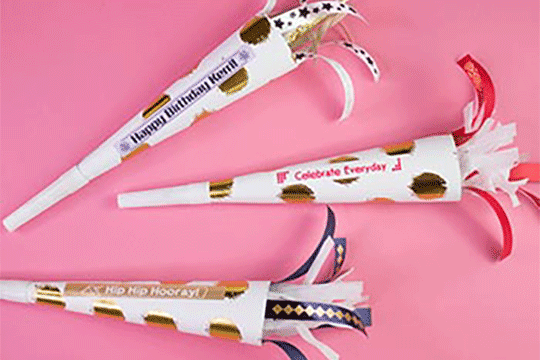
Ready to be loud and proud with this DIY party horn? Stand out and personalize any occasion with the P-touch Embellish.
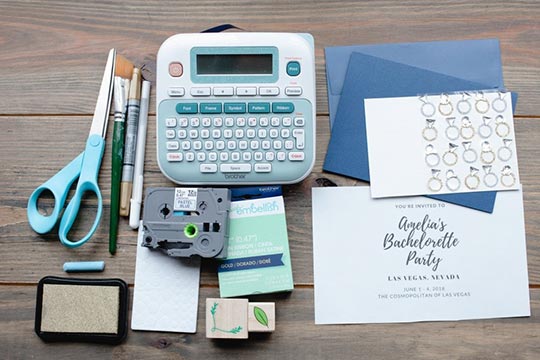
When it's time to send out the invitations, set the tone for an extravagant weekend with a classy DIY invitation. This decorative invitation can be made using some basic crafting supplies and the Brother P-touch Embellish ribbon and tape printer.
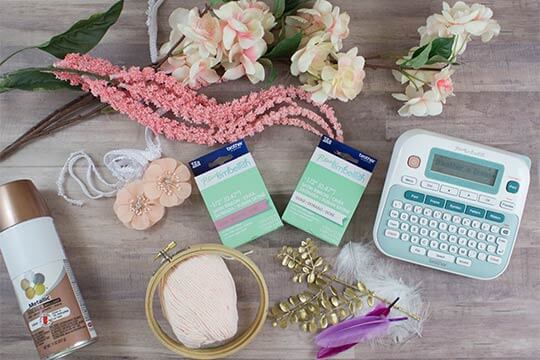
Dream Catchers are the perfect addition to any room and will hopefully bring sweet dreams! Add a personalized touch to your dream catcher with a few easy steps using the P-touch Embellish.