
Your session has timed out. Please log in again
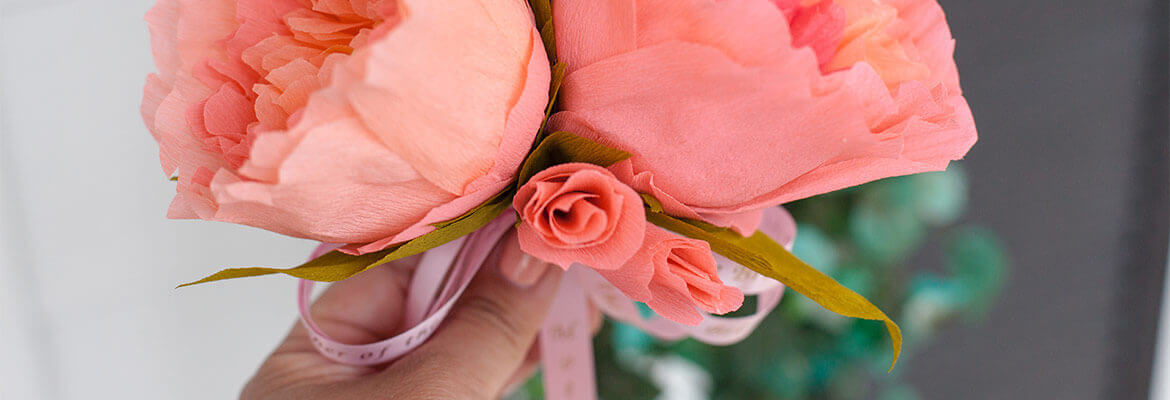
Planning a wedding is huge. As a planner, you want to make sure all the details are perfect and everyone looks great. While it's important to take care of the bride, you also want the Mother of the Bride looking her best as well. After all, it's her daughter's biggest day. The Mother of the Bride should look polished and proud when she wears her corsage. The corsage tells a story of who she is and that she is celebrating the happiest day of her daughter's life.
The happiest day of her daughter's life can be expensive! That is why one of the biggest trends in wedding décor is incorporating life-like flowers to the arrangements to keep the budget down. Budget brides love this option because they don't have to spend thousands of dollars to purchase fresh flowers, struggle to keep it fresh until the big day and only to throw it away at the end of the day. Crepe paper flowers are perfect for weddings with big ideas but on a modest budget.
This Mother of the Bride corsage is made of fine crepe paper to give the peonies a life-like look and a personalization with the Brother P-touch Embellish. Follow the instructions below on how to make a gorgeous paper flower peonies corsage.
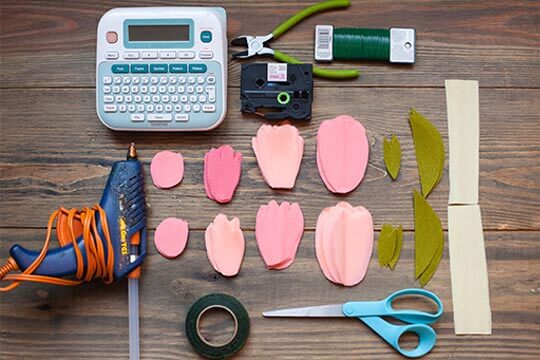
You'll be making two large peonies and two small buds for the corsage. Start by cutting 2 sets of crepe papers as instructed below:
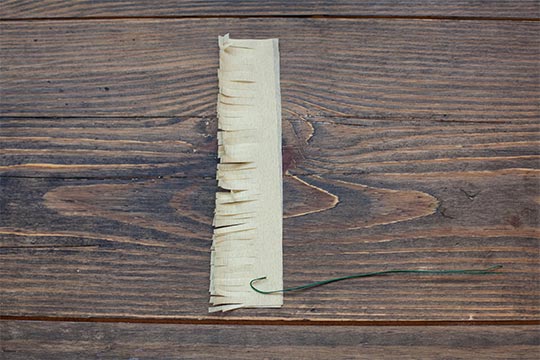
Start with the yellow crepe paper. Stack the two sheets of crepe paper and cut the strip ¾ in horizontally. Create frays from top to bottom.
Cut an 8 inch wire. Fold it in half and bend the top end into a hook.
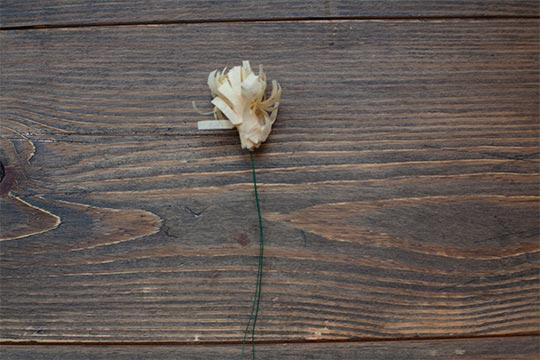
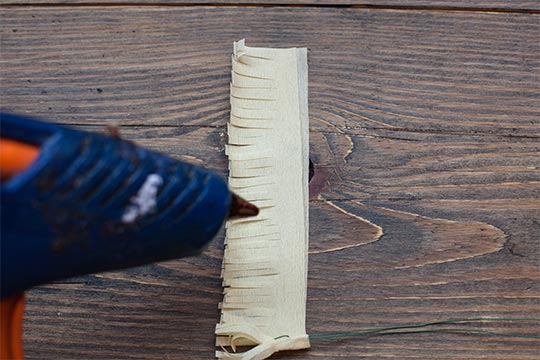
Hot glue along the uncut side of the yellow crepe paper. Roll the hook along the glue while wrapping the yellow crepe paper around the hook. You are creating the pollen of the peonies.
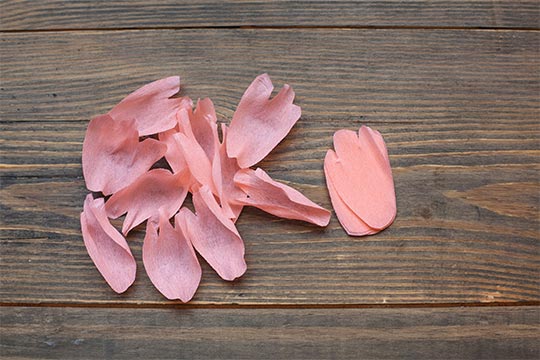
Take the small to medium petal and use your thumb to spread the interior of the petal outward. Stretch the crepe paper to create a curved petal. Stretch the curvy tip of the petal to spread the crepe paper. This creates a realistic looking peonies petal. Do this for the 12 petals.
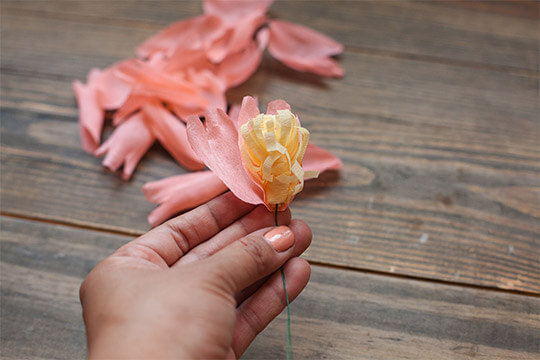
Wrap a petal around the pollen. Hot glue the petal to the pollen. Continue wrapping the pollen petal by petal.
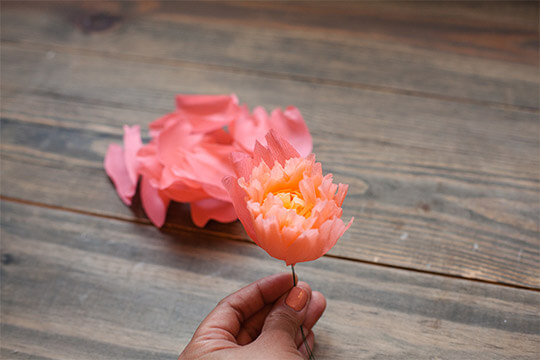
Repeat step 5 with the medium petals. Continue wrapping the next layer of petals like in step 6.
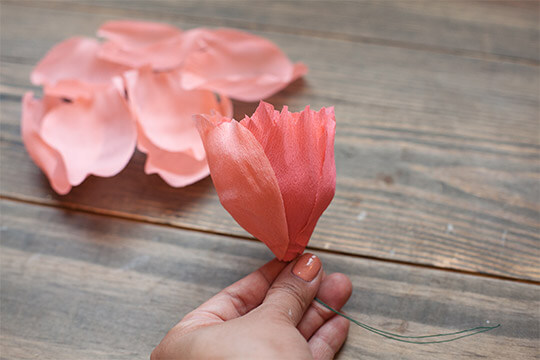
Repeat step 5 and 6 with the large petals.
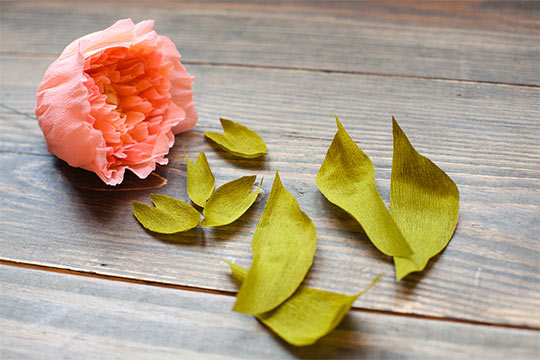
Stretch the leaves the same way the petals are stretched.

Hot glue the small and large leaves at the bottom on the peonies.

Repeat steps 2-10 for the second peonies. Use a mix of pink crepe papers. When done, wrap the peonies stems together using the floral tape.

Make two small buds using the remaining small petals. Stretch and wrap the petals around the wire. Continue to layer the bud until all of the petals are used up. Use the remaining large leaf to wrap it around the buds.

Wrap the buds and peonies together using the floral tape.

Use the P-touch Embellish to create the following message:
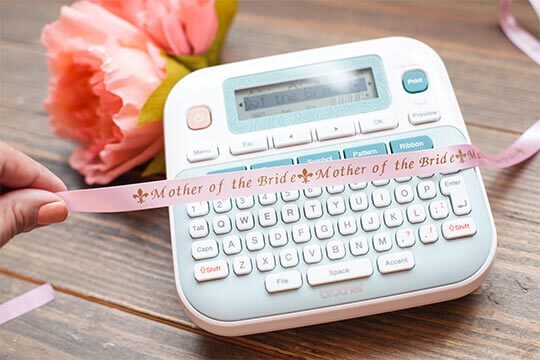
Clear the setting on the P-touch Embellish. Type in “Mother of the Bride”. Select Font, then Style and select Vertical. Print the ribbon. Then clear the message and print another ribbon with the name of the Mother of the Bride.
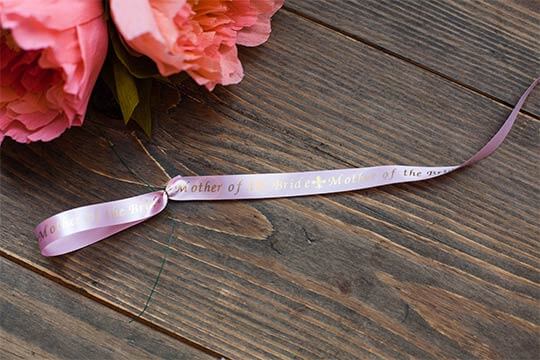
Cut 4 inches of wire. Fold the long Mother of the Bride ribbon back and forth pinching the center of the ribbon with the wire. Twist the vertical ribbons behind the wire and create a draping ribbon under the corsage.

Tie the ribbon around the stem of the peonies. Cut a V to trim the ends of the ribbon.
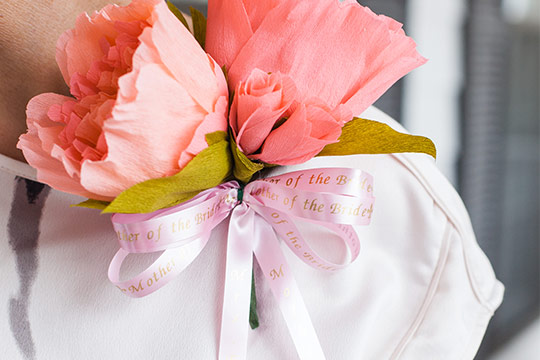
Use a corsage pin to attach the corsage to the Mother of the Bride's dress.
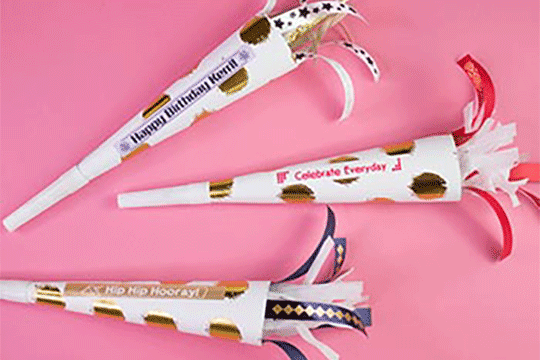
Ready to be loud and proud with this DIY party horn? Stand out and personalize any occasion with the P-touch Embellish.
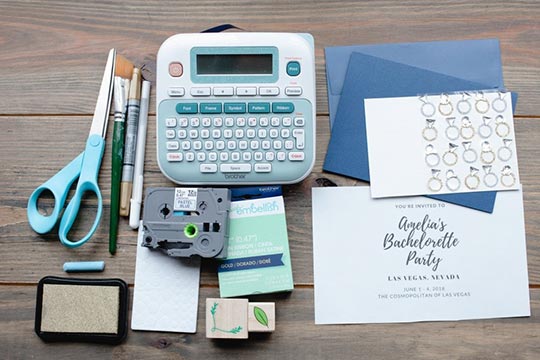
When it's time to send out the invitations, set the tone for an extravagant weekend with a classy DIY invitation. This decorative invitation can be made using some basic crafting supplies and the Brother P-touch Embellish ribbon and tape printer.
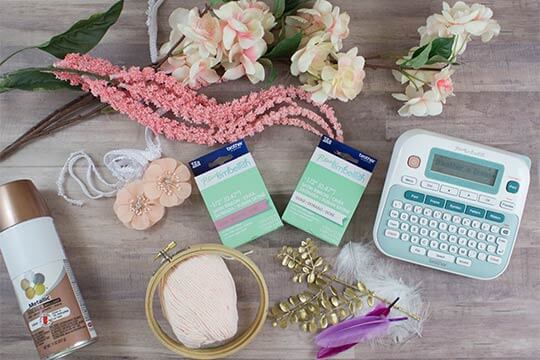
Dream Catchers are the perfect addition to any room and will hopefully bring sweet dreams! Add a personalized touch to your dream catcher with a few easy steps using the P-touch Embellish.