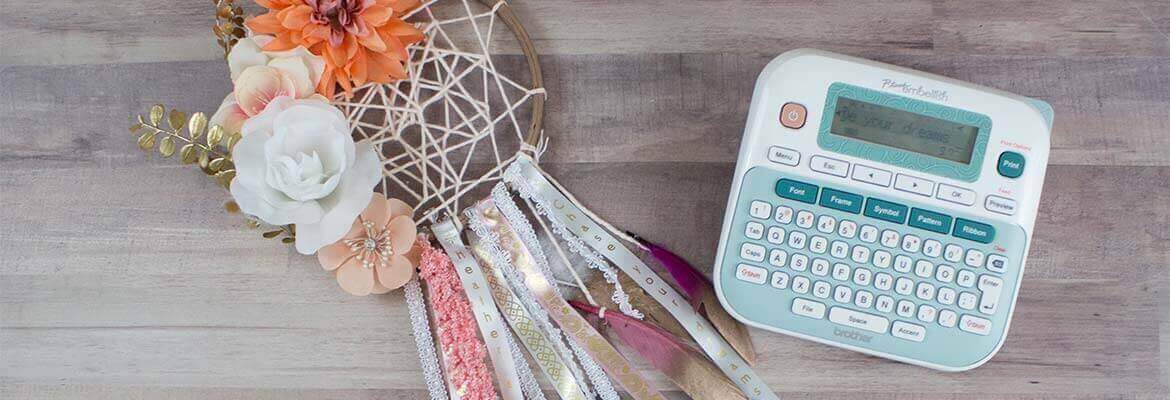
Dream Catchers are the perfect addition to any room and will hopefully bring sweet dreams! Add a personalized touch to your dream catcher with a few easy steps using the P-touch Embellish.
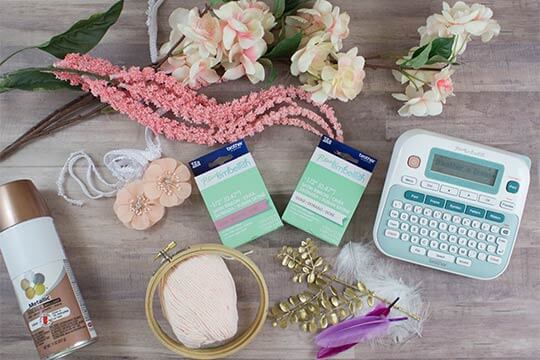
Materials:
- Brother P-touch Embellish
- P-touch Embellish satin ribbon (pink and white ribbon with gold lettering)
- 1 wooden ring
- Yarn, twine, or string
- Various types and colors of ribbon
- Various types of artificial flowers and leaves
- Beads, feathers, and other desired embellishments
- Hot glue gun and glue sticks
Step 1:
In a well-ventilated room or outdoors, spray the wooden ring with rose gold spray paint. Wait 15-30 minutes for the paint to dry.
Step 2:
Once the paint has fully dried, secure a long piece of yarn, twine, or string to the top of the wooden ring. Pull the string to meet the wooden ring about 2-3 inches from the initial knot and wrap the piece of yarn around the outer edge of the wooden ring. Tie another knot to secure the yarn to the wooden ring and continue moving around the wooden ring with this same process (every 2-3 inches). When the string returns to the initial knot, tie a final anchoring knot.
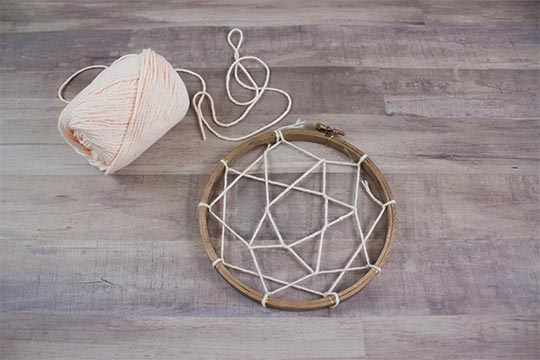
Step 3:
Once the outer edge of string has been attached, begin to form the middle weave. Loop the string through the first layer, in between the knots on the wooden ring, and continue this pattern all the way around. When the second circle has been completed, move to the third, and fourth, until the string has formed a small circle in the middle of the wooden ring.
Step 4:
If there is enough string left over, pull the string back to the outer edge of the wooden ring and tie the string to begin the weaving process again. When the string is short enough to complete the weave, pull to the outer edge of the wooden ring and secure with a knot. Try to finish the knot near the beginning knots so the extra string can be covered with decorative pieces
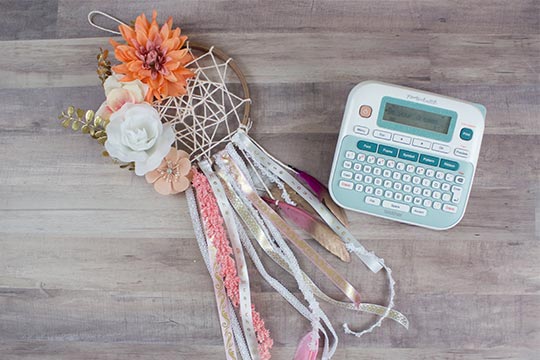
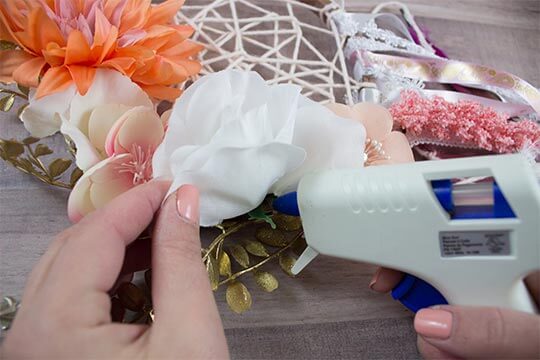
Step 5:
At this point, the dream catcher is almost complete. The last step is to decorate the outer edge of the wooden rim with flowers, and various colors and types of ribbon. Choose different sizes, colors, and types of flowers to create a border and secure with hot glue -- this also helps to cover the knots that were tied previously.
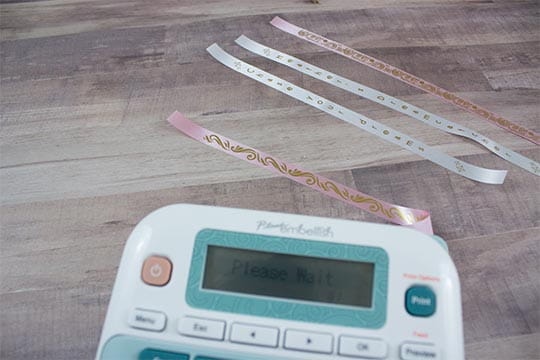
Step 6:
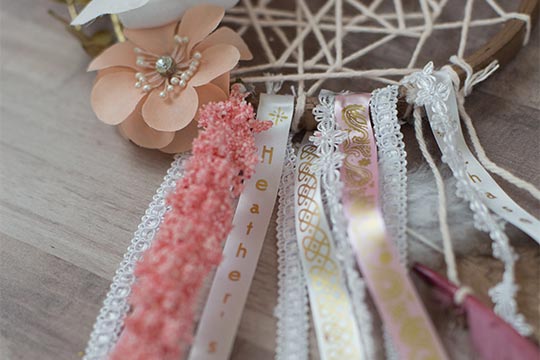
Use the P-touch Embellish to create a personalized message and patterns on different colored strands of ribbon. For the personalized ribbon, select the Adams font, type message and select, Frame 21 to create the star bursts. Be sure to also set the P-touch Embellishment text to “Vertical” so that it can be read while hanging. Print and cut the ribbon. Create a variety of 10.5-inch patterns in white and pink ribbon. Attach the ribbon at varying lengths to create a whimsical look.
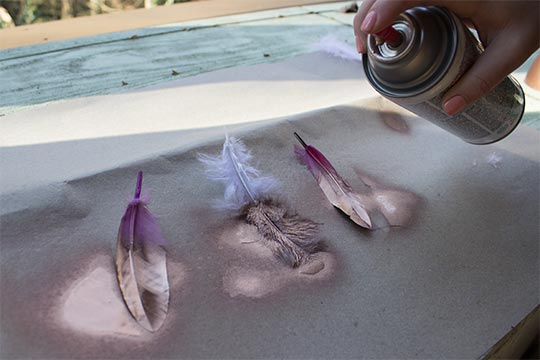
Step 7:
Spray paint the bottom half of feathers with the gold spray paint and tie to the ends of a few strands of trim to add to the design.
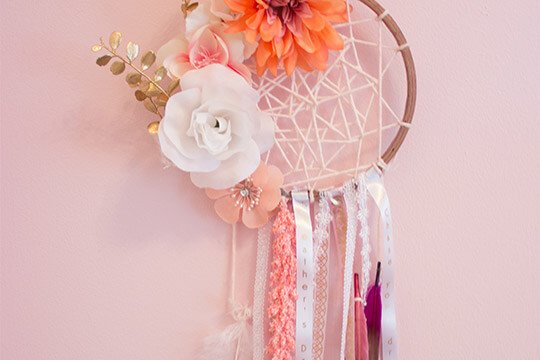
Step 8:
Create a loop with more yarn or string and secure to the top of the dream catcher with hot glue. Hang above bed and have sweet, sweet dreams!
Check Out These Featured Projects
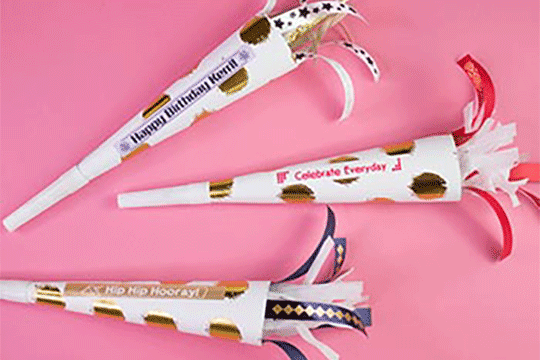
Party Horns
Ready to be loud and proud with this DIY party horn? Stand out and personalize any occasion with the P-touch Embellish.
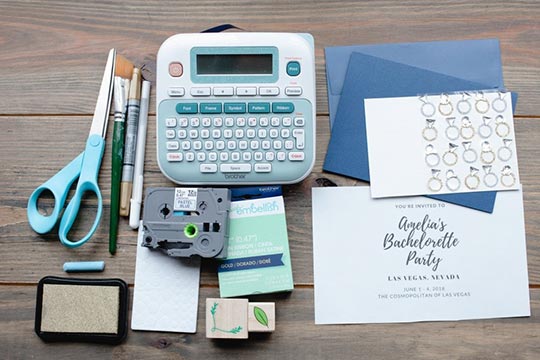
Bachelorette Invitation
When it's time to send out the invitations, set the tone for an extravagant weekend with a classy DIY invitation. This decorative invitation can be made using some basic crafting supplies and the Brother P-touch Embellish ribbon and tape printer.
Dream Catcher
Dream Catchers are the perfect addition to any room and will hopefully bring sweet dreams! Add a personalized touch to your dream catcher with a few easy steps using the P-touch Embellish.
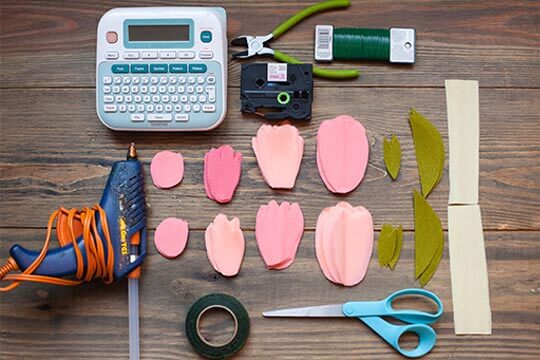
Mother of the Bride Corsage
The happiest day of her daughter's life can be expensive! This Mother of the Bride corsage is made of fine crepe paper to give the peonies a life-like look and a personalization with the Brother P-touch Embellish.
 1 Item has been added to your cart
 Account
 Quick ActionsReplenishments