Give your little goblins an extra special treat this Halloween with personalized treat bags. With a few simple steps, our free template download and your Brother P-touch Embellish you can create spooky goody bags that are sure to put a smile on your kiddos faces!
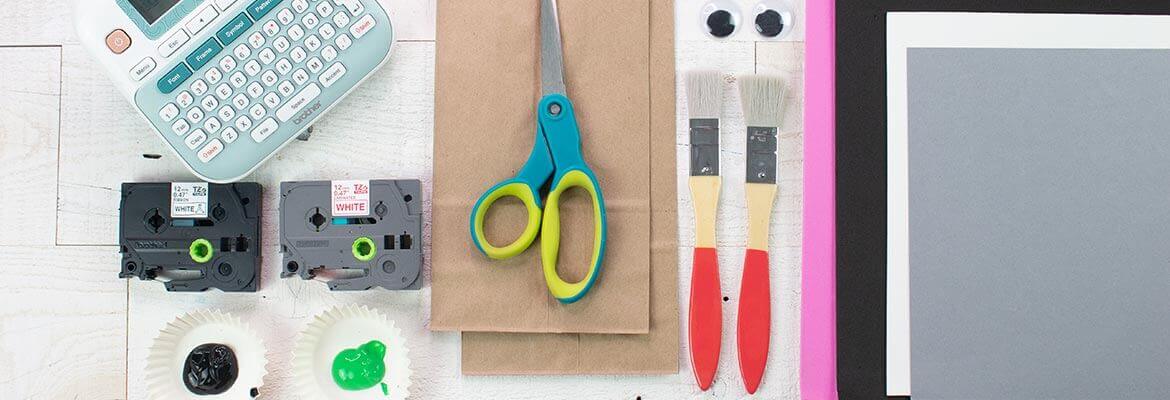
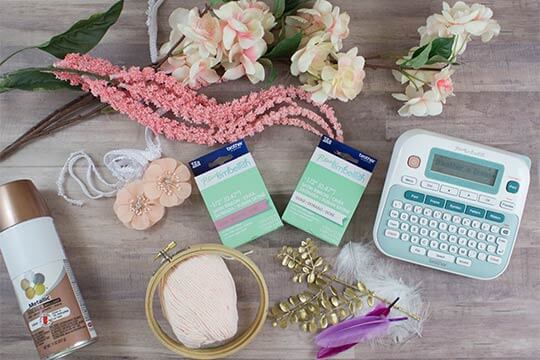
Materials:
- Brother P-touch Embellish
- Red on White Brother TZe tape
- Gold on Red P-touch Embellish Satin Ribbon Cartridge
- Black on White P-touch Embellish Satin Ribbon Cartridge
- Black and green acrylic paint & brushes
- Googly eyes
- Adhesive back foam in pink, black, white and gray
- Scissors
- Glue
- Free template download
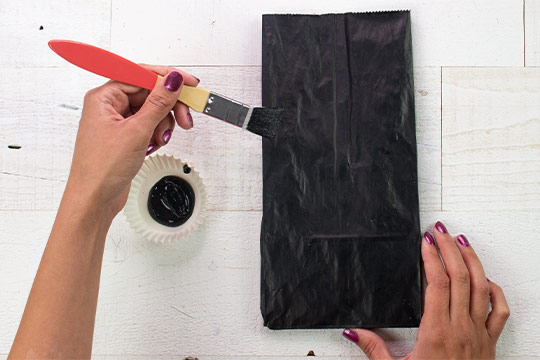
Step 1:
Paint both sides of the brown bag using the black acrylic paint. Let the bag dry completely.
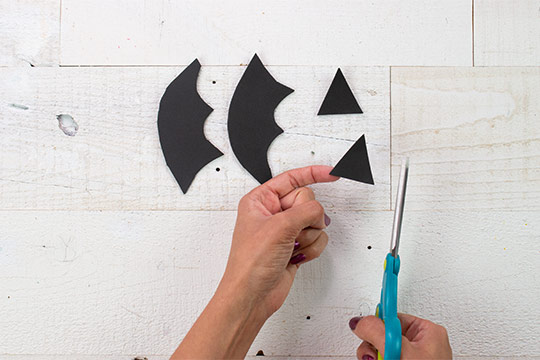
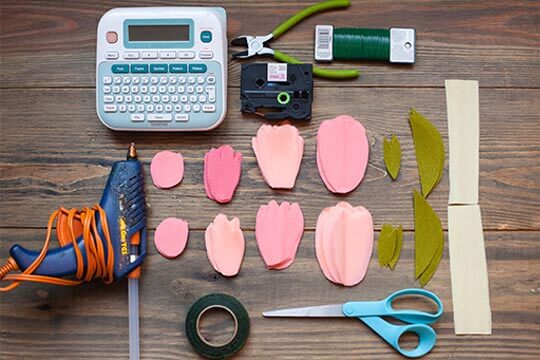
Step 2:
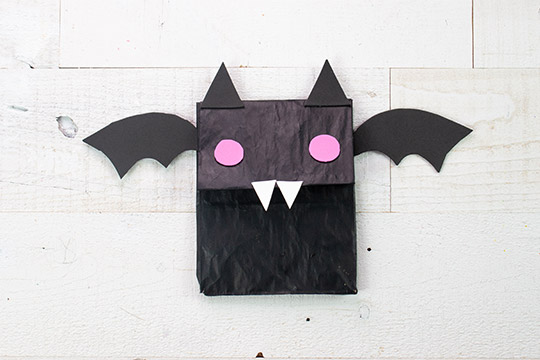
Using the adhesive back foam and the template, cut out two white fangs, two small pink circles for cheeks, two medium black triangles for ears and two black wings.
Step 3:
Fold the top 1/3 of the bag over and attach foam parts to create the face.
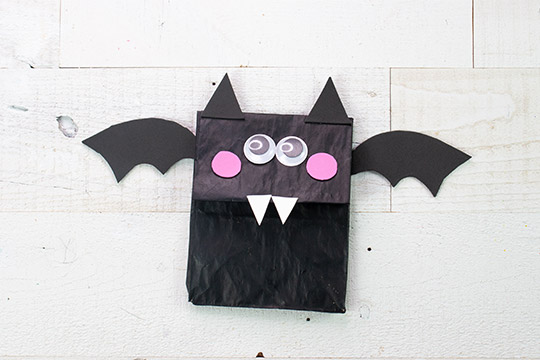
Step 4:
Attach the googly eyes (if they are not adhesive backed use glue).
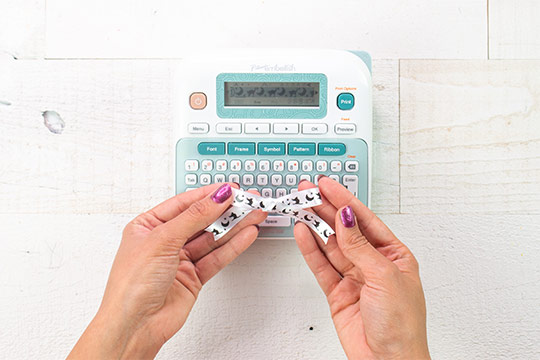
Step 5:
Add a personalized touch by using the P-touch Embellish. Add repeating black cat and moon/stars symbols and select 10 inches to print on black on white ribbon. Tie in a bow and attach to the top of the bag with glue.
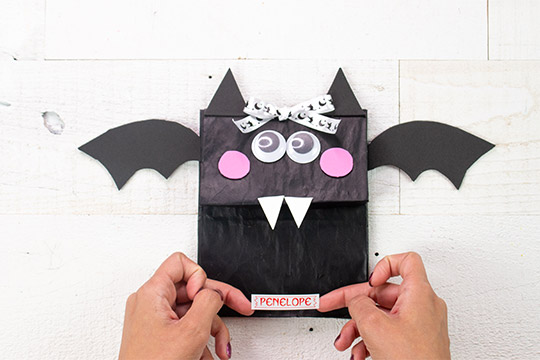
Step 6:
Next, switch the ribbon cartridge to the tape cartridge. Select your favorite frame, type out the child’s name in your favorite font and print. Remove the tape backing and stick on the bag. Fill the treat bag with your kiddos favorite treats and seal shut.
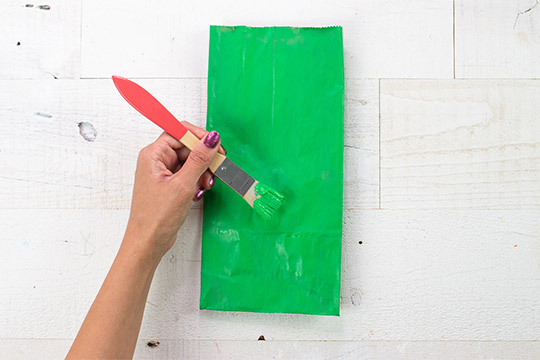
Step 1:
Paint both sides of the brown bag using the green acrylic paint. Let the bag dry completely.
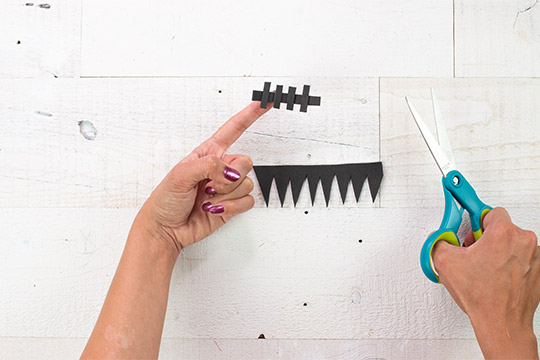
Step 2:
Using the adhesive back foam and the template, cut out the hair, mouth and bolts.
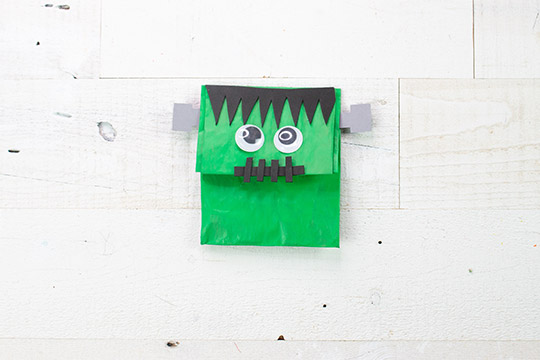
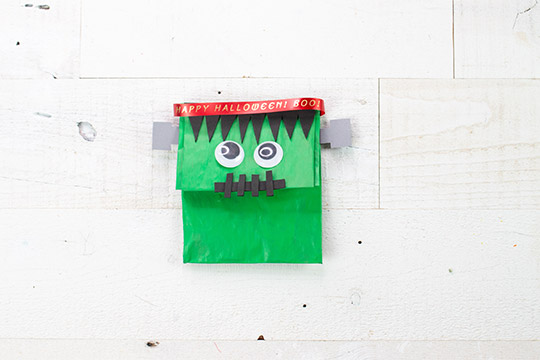
Step 3:
Fold the top 1/3 of the bag over and attach the foam parts to create the face. Attach the googly eyes (if they are not adhesive backed use glue).
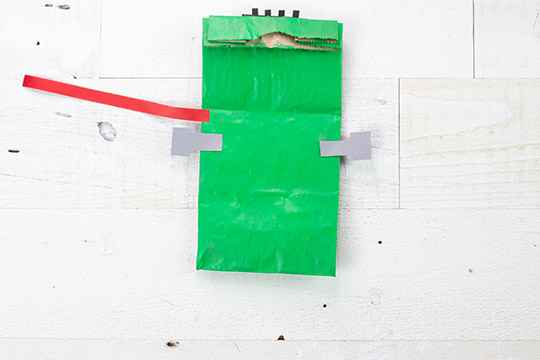
Step 4:
Add a personalized touch by using the P-touch Embellish. Type out “Happy Halloween! Boo”. Select your favorite font and print on gold on red ribbon.
Step 5:
Attach by gluing the end of the ribbon on the inside of the flap. By leaving the ribbon loose, it can be used as a handle.
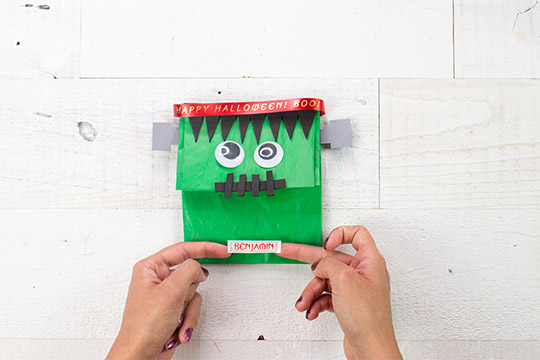
Step 6:
Next, switch the cartridge to the red on white tape. Select your favorite frame, type your kiddos name and print. Remove the tape backing and stick on the bag. Fill the treat bag with your kiddos favorite treats and seal shut.
Check Out These Featured Projects
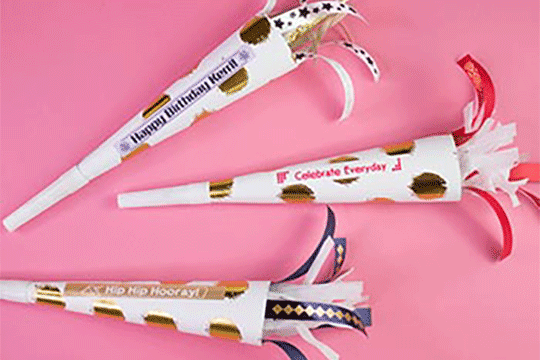
Party Horns
Ready to be loud and proud with this DIY party horn? Stand out and personalize any occasion with the P-touch Embellish.
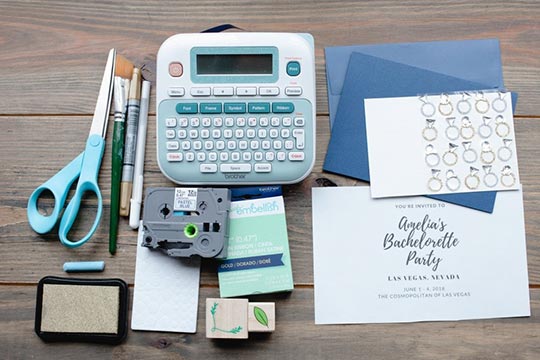
Bachelorette Invitation
When it's time to send out the invitations, set the tone for an extravagant weekend with a classy DIY invitation. This decorative invitation can be made using some basic crafting supplies and the Brother P-touch Embellish ribbon and tape printer.
Dream Catcher
Dream Catchers are the perfect addition to any room and will hopefully bring sweet dreams! Add a personalized touch to your dream catcher with a few easy steps using the P-touch Embellish.
Mother of the Bride Corsage
The happiest day of her daughter's life can be expensive! This Mother of the Bride corsage is made of fine crepe paper to give the peonies a life-like look and a personalization with the Brother P-touch Embellish.
 1 Item has been added to your cart
 Account
 Quick ActionsReplenishments